Agent settings
After a user is provided with inbox agent access, you can define the properties (display picture/name, languages, concurrency, etc.) and the scope of the agent's work on the Agent Settings page. Further, you can classify the type of requests (live chat/email ticket) that these agent can receive on Group settings.
1. View agent details
Follow the given steps to configure agent settings:
-
Open Settings > Team > Inbox.
-
Search and select Agents.

-
Details of all the users with Inbox agent access will be on this page.

You can search for a particular agent by typing the name in the search bar.

Modify/Add existing agent properties

-
To change the basic properties of an agent, click on the edit icon.
-
Name and Description: You can add the agent Name and Description, which will be visible to the end customer when they are interacting with the inbox agent. Description can be set as per the industry, example: Customer support agent, Live chat, Client help specialist, Customer representative, etc. You cannot modify the agent's name once configured.
-
Alias name(for enterprise yellow.ai customers): Alias name is used to conceal the agent's name from the customer, you have the option to show an Alias name instead of agent name in the chat window. The agent's information can still be tracked in reports, but a substitute name can be displayed to the customer. Learn more here.
-
Display picture: Add an image by clicking on Upload photo. When the agent is assigned to a customer, the avatar, name and description mentioned in the agent settings will be visible to the customer.

- Concurrency: You can define the Concurrency for live chat and email tickets according to the business workflow. The maximum standard value for live chat concurrency is 6-10 and email concurrency is 20.
infoConcurrency is the maximum number of tickets that an agent can handle at any point in time. For example, if concurrency is set to 20, an agent will not be able to handle more than 20 tickets at once.
- Default language: You can set the Default language for an agent. Default language determines the language in which the agent is expected to send messages to the customer and help resolve queries.
noteBy default, most of the conversations will be in English. If the agent has set any other language (for example French) the bot uses auto translation.
- Available for call: This determines the ability of the agents to engage in video calls. This checkbox must be selected so that the live agent can take video calls or request a video call with the customers.
- Signature: The Signature field lets admins assign a creative or informal name to an agent, such as Real Game Changer. This name can be used in email templates to create a more casual and engaging tone, especially during marketing conversations. Once a signature is added for an agent, you can insert it into emails using the dynamic variable
{{agent.signature}}in email templates.
-
Modify concurrency for agents in bulk
To modify the concurrency of multiple agents at once:
- Select the required agent names
- Click Bulk edit
- Change the concurrency
- Click Update.

2. Configure chat screen UI for agents
Admin can provide (enable/disable) special permissions for agents interface by clicking the +Configure agent UI button.

On the left, there is a list of all the agent names and on the right, there is a checklist of special abilities.

Add agent permissions
By default, all these fields are checked (available to the agents). If you want to disable any of these, you can de-select the box next to the required field. The unchecked fields next to the agent names will not be available for the agent.
| Field | Description |
|---|---|
| Enable message redaction | Enable this option to allow specific agents and administrators to mask sensitive information in chat messages without deleting the underlying data, ensuring that personally identifiable information (PII) or confidential content can be hidden from unauthorized views while preserving audit integrity. |
| Add only internal notes & block reply | If this field is de-selected, the agents can reply to the customer on the chat screen and also add internal notes for the collaborators/agents/admins. When this field is selected, agents can only add internal notes to the assigned live chat and cannot send a textual reply to the customer. Use-case: During escalations, special agents(supervisors/level 2 agents) would want to have the ability to add internal notes to a customer chat, so that the agent can see these updates as internal notes and answer the query. |
| Ticket report download visibility | |
| Enable Attachments | If this field is de-selected, it will not allow agents to send any unwanted attachments that you as a company strives to support |
| Public chat URL visibility | Every live chat has a chat transcript associated with it, if you disable this for a particular agent, they will not be able to access it or share it with their internal colleagues (Copy icon will not be available on the chat screen). |
| Chat transcript download visibility | If this field is de-selected, the agent will not be able to download the chat transcript (Download icon will not be available on the chat screen). |
| User activity visibility | For web bots, User activity tab on the chat screen displays the URLs that the bot user has visited on the website before getting connected to the live agent. If this field is de-selected, the user activity is not displayed to the agent. |
| User location visibility | Based on the IP address, approximate location of the bot user is tracked. If this field is de-selected, agent will not be able to see the bot user's location. |
| Enable Emoji | If this field is de-selected, the agent will not be able to send emojis in the chat. |
| Ability to pause/unpause bot | The toggle in Basic details on the chat screen displays if the bot is paused/running. When the live agent is connected, bot is paused (only the agent will be able to respond to the user and the bot will not be able to interfere in the conversation). If the bot user is asking questions that are configured in the bot, the agent can select toggle (to running) and allow the bot to answer the queries. If this field is de-selected, the toggle will not be visible to the agent. |
| Allow agent to view attachments sent by bot | The agent will be able to view the previous interaction between a bot and the customer (including the files/images) that took place before connecting to the live agent. If this field is de-selected, the agent will not be able to see the attachments in the previous chat(only text messages will be displayed). |
| Show WhatsApp phone number of the user | Details of WhatsApp bots such as phone numbers are tracked. If this field is disabled, the WhatsApp number of the bot user will not be visible to the agent. |
| Allow to edit contact | Customer details passed through raise ticket nodes can be modified on the chat screen. If this field is de-selected, agents cannot edit/update bot user contacts. |
| Enable reporting sensitive files for deletion | Agent can mark an attachments sent by customers as sensitive by clicking on the disclaimer option. This will delete the attachment from the backend in 15 days. |
| Hide bot messages | Enabling this will hide bot messages tab in the chat section for an agent. |
Bulk update agent permissions
UI settings on the chat screen/agent permissions can be updated for multiple agents.
- Use search/select all/manually select the respective agents.
- Select/de-select permissions and click Update.
Previously configured data for the agents will be over-ridden by the new values.

Message Redaction to protect sensitive information with controlled visibility
Message Redaction allows you to mark specific messages in a conversation as sensitive, ensuring that personal or confidential information is masked from view while remaining securely stored for compliance and audit purposes. Whether it's a credit card number, identification detail, or any PII (Personally Identifiable Information), redaction helps your team stay aligned with data privacy regulations.
By using Message Redaction, your organization takes a proactive step toward data security, customer trust, and regulatory compliance—all while empowering agents with tools designed for responsible data handling.
-
Message Redaction is a gated feature. To enable it for your account, please contact Yellow.ai Support.
-
Message redaction applies only to text messages and not for attachments.
What happens when a message is redacted?
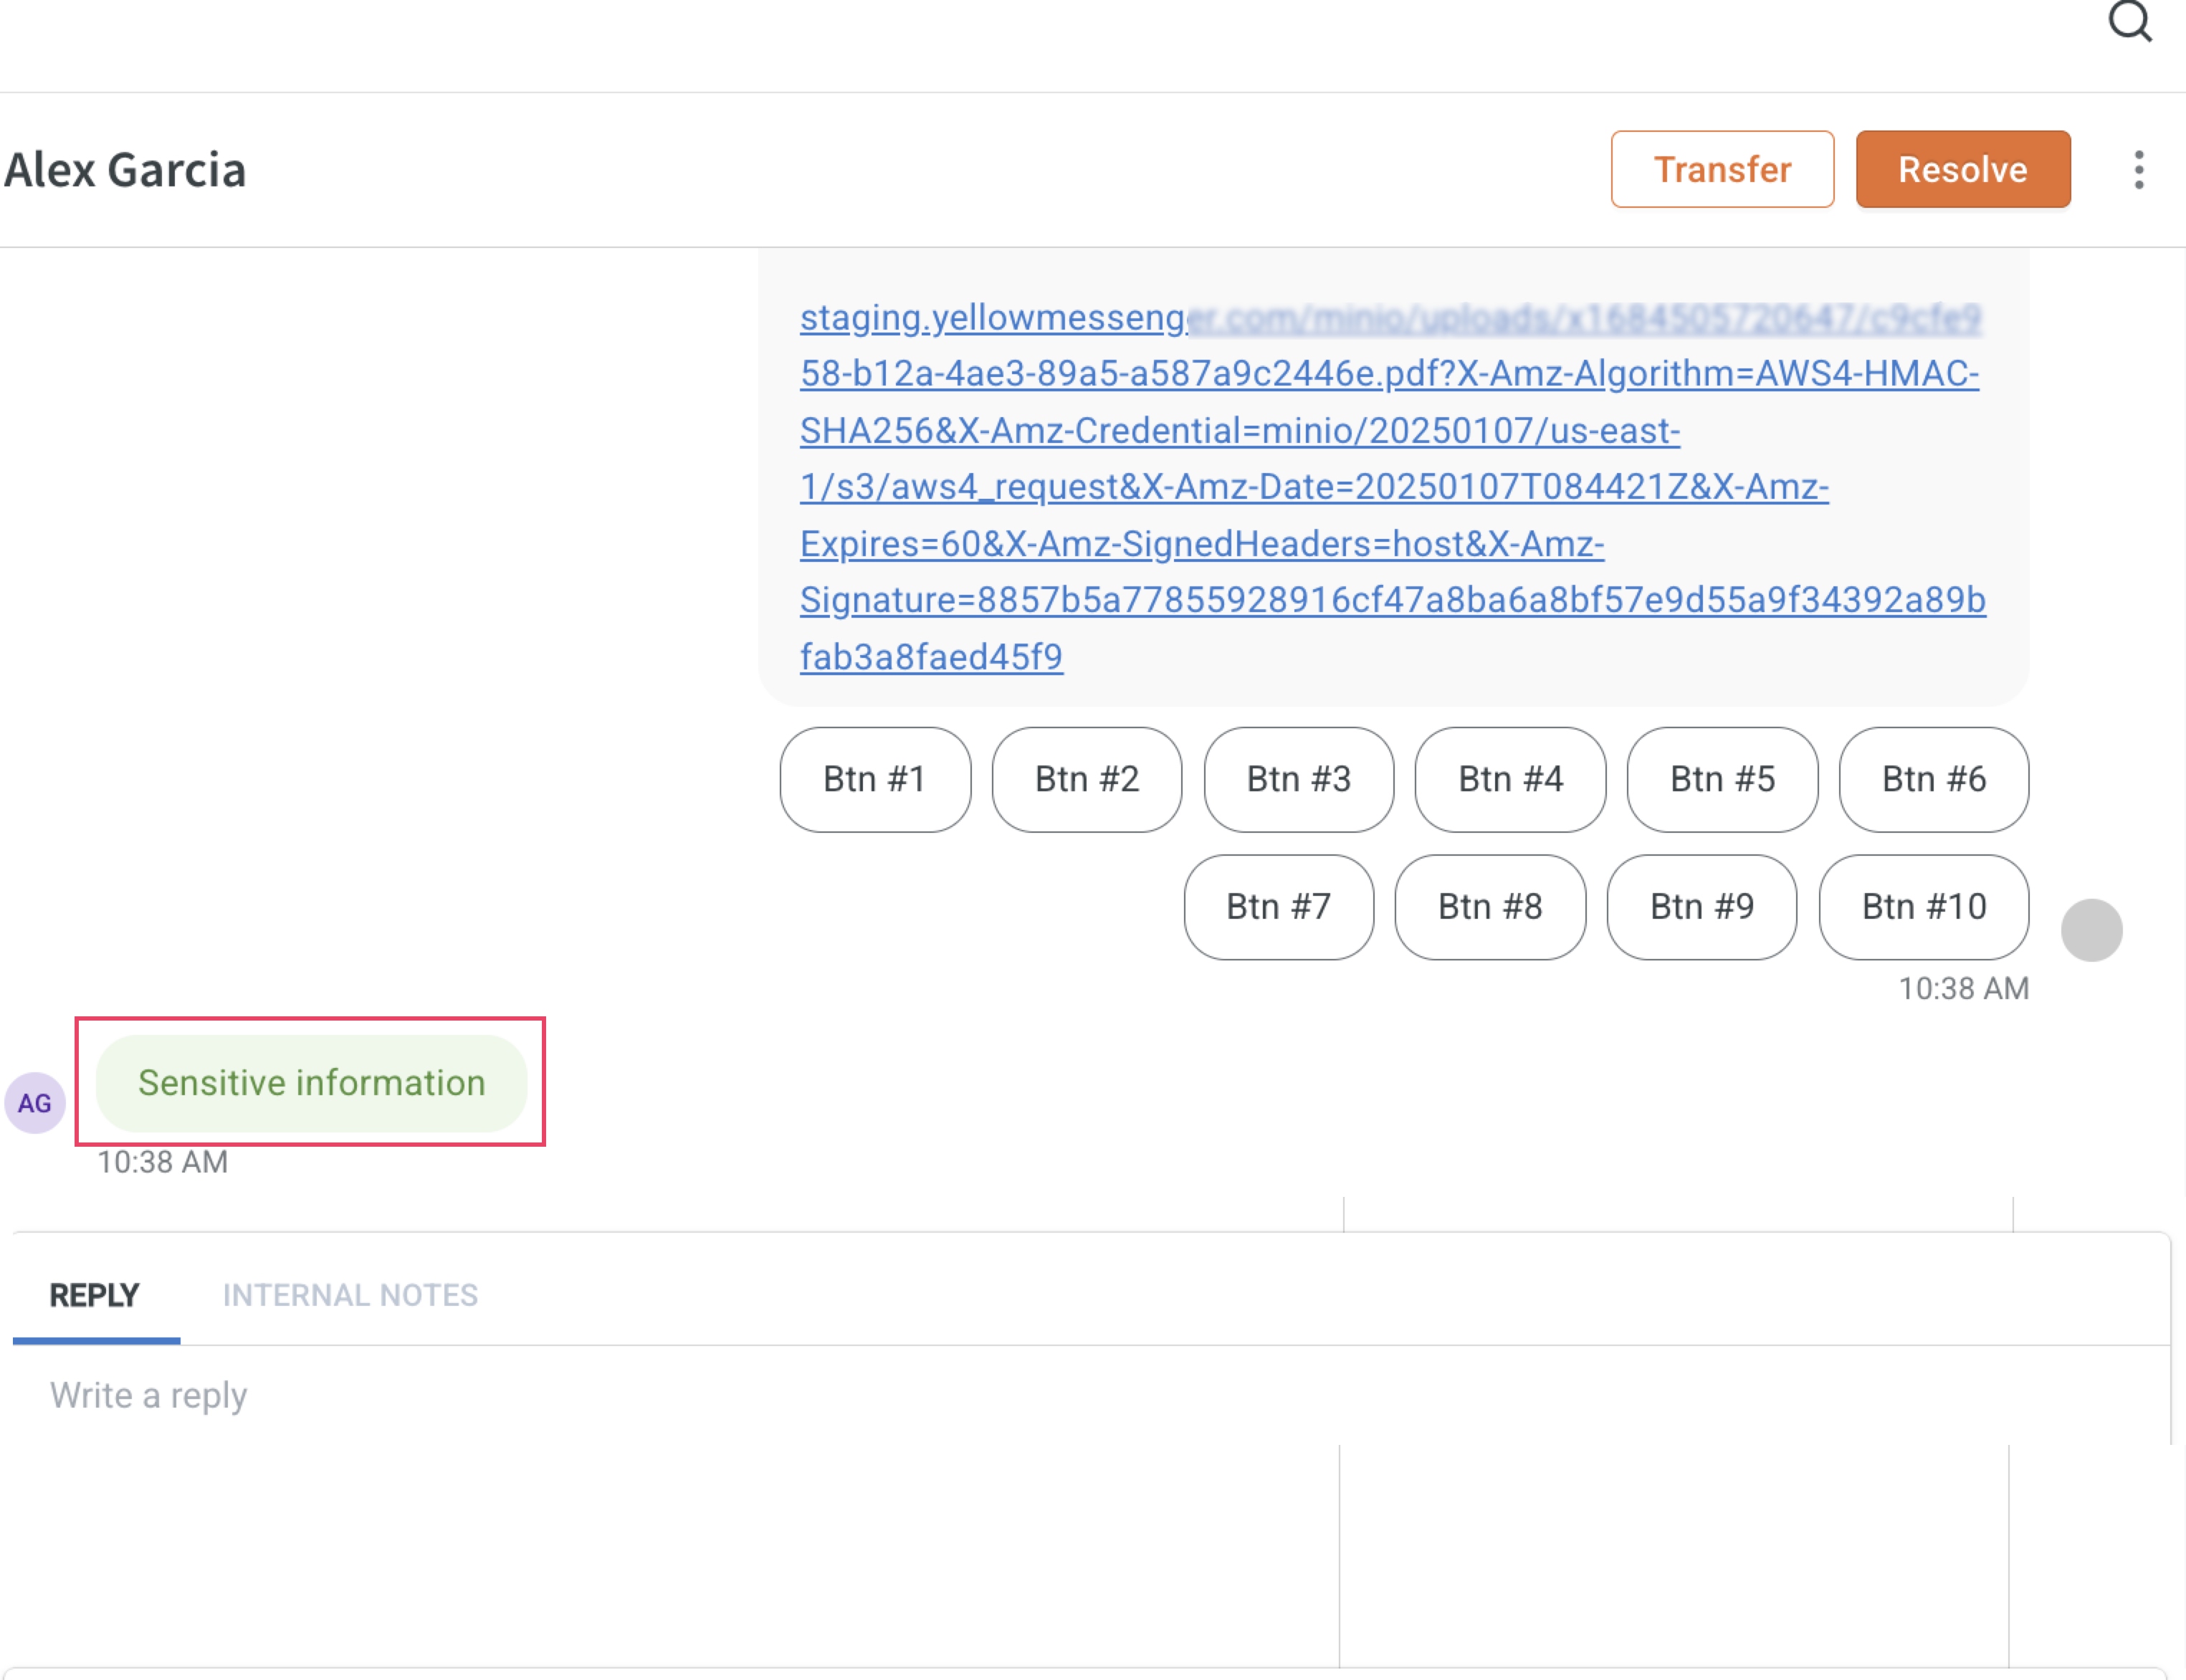
Once redacted, the message content is replaced with a standard placeholder like:
Sensitive information
Who can redact messages?
Redaction is a privileged action. Only agents who have been granted redaction rights by an admin can perform it.
To enable redaction access:
- Go to Settings → Agent Permissions (or Admin Console).
- Find the agent you want to authorize.
- Enable the option: Enable message redaction

- Save the changes.
Once enabled, the agent will see an options icon next to each message, which includes the Redact option for that message.
How to redact a message (for agents)
If you have redaction access, follow these steps:
-
Navigate to the conversation where the sensitive message is located.
-
Hover over the options icon next to the message you want to redact and click Redact.

-
Confirm the redaction by clicking Redact.
The message will immediately be masked across all parts of the platform.


Where redacted messages are reflected
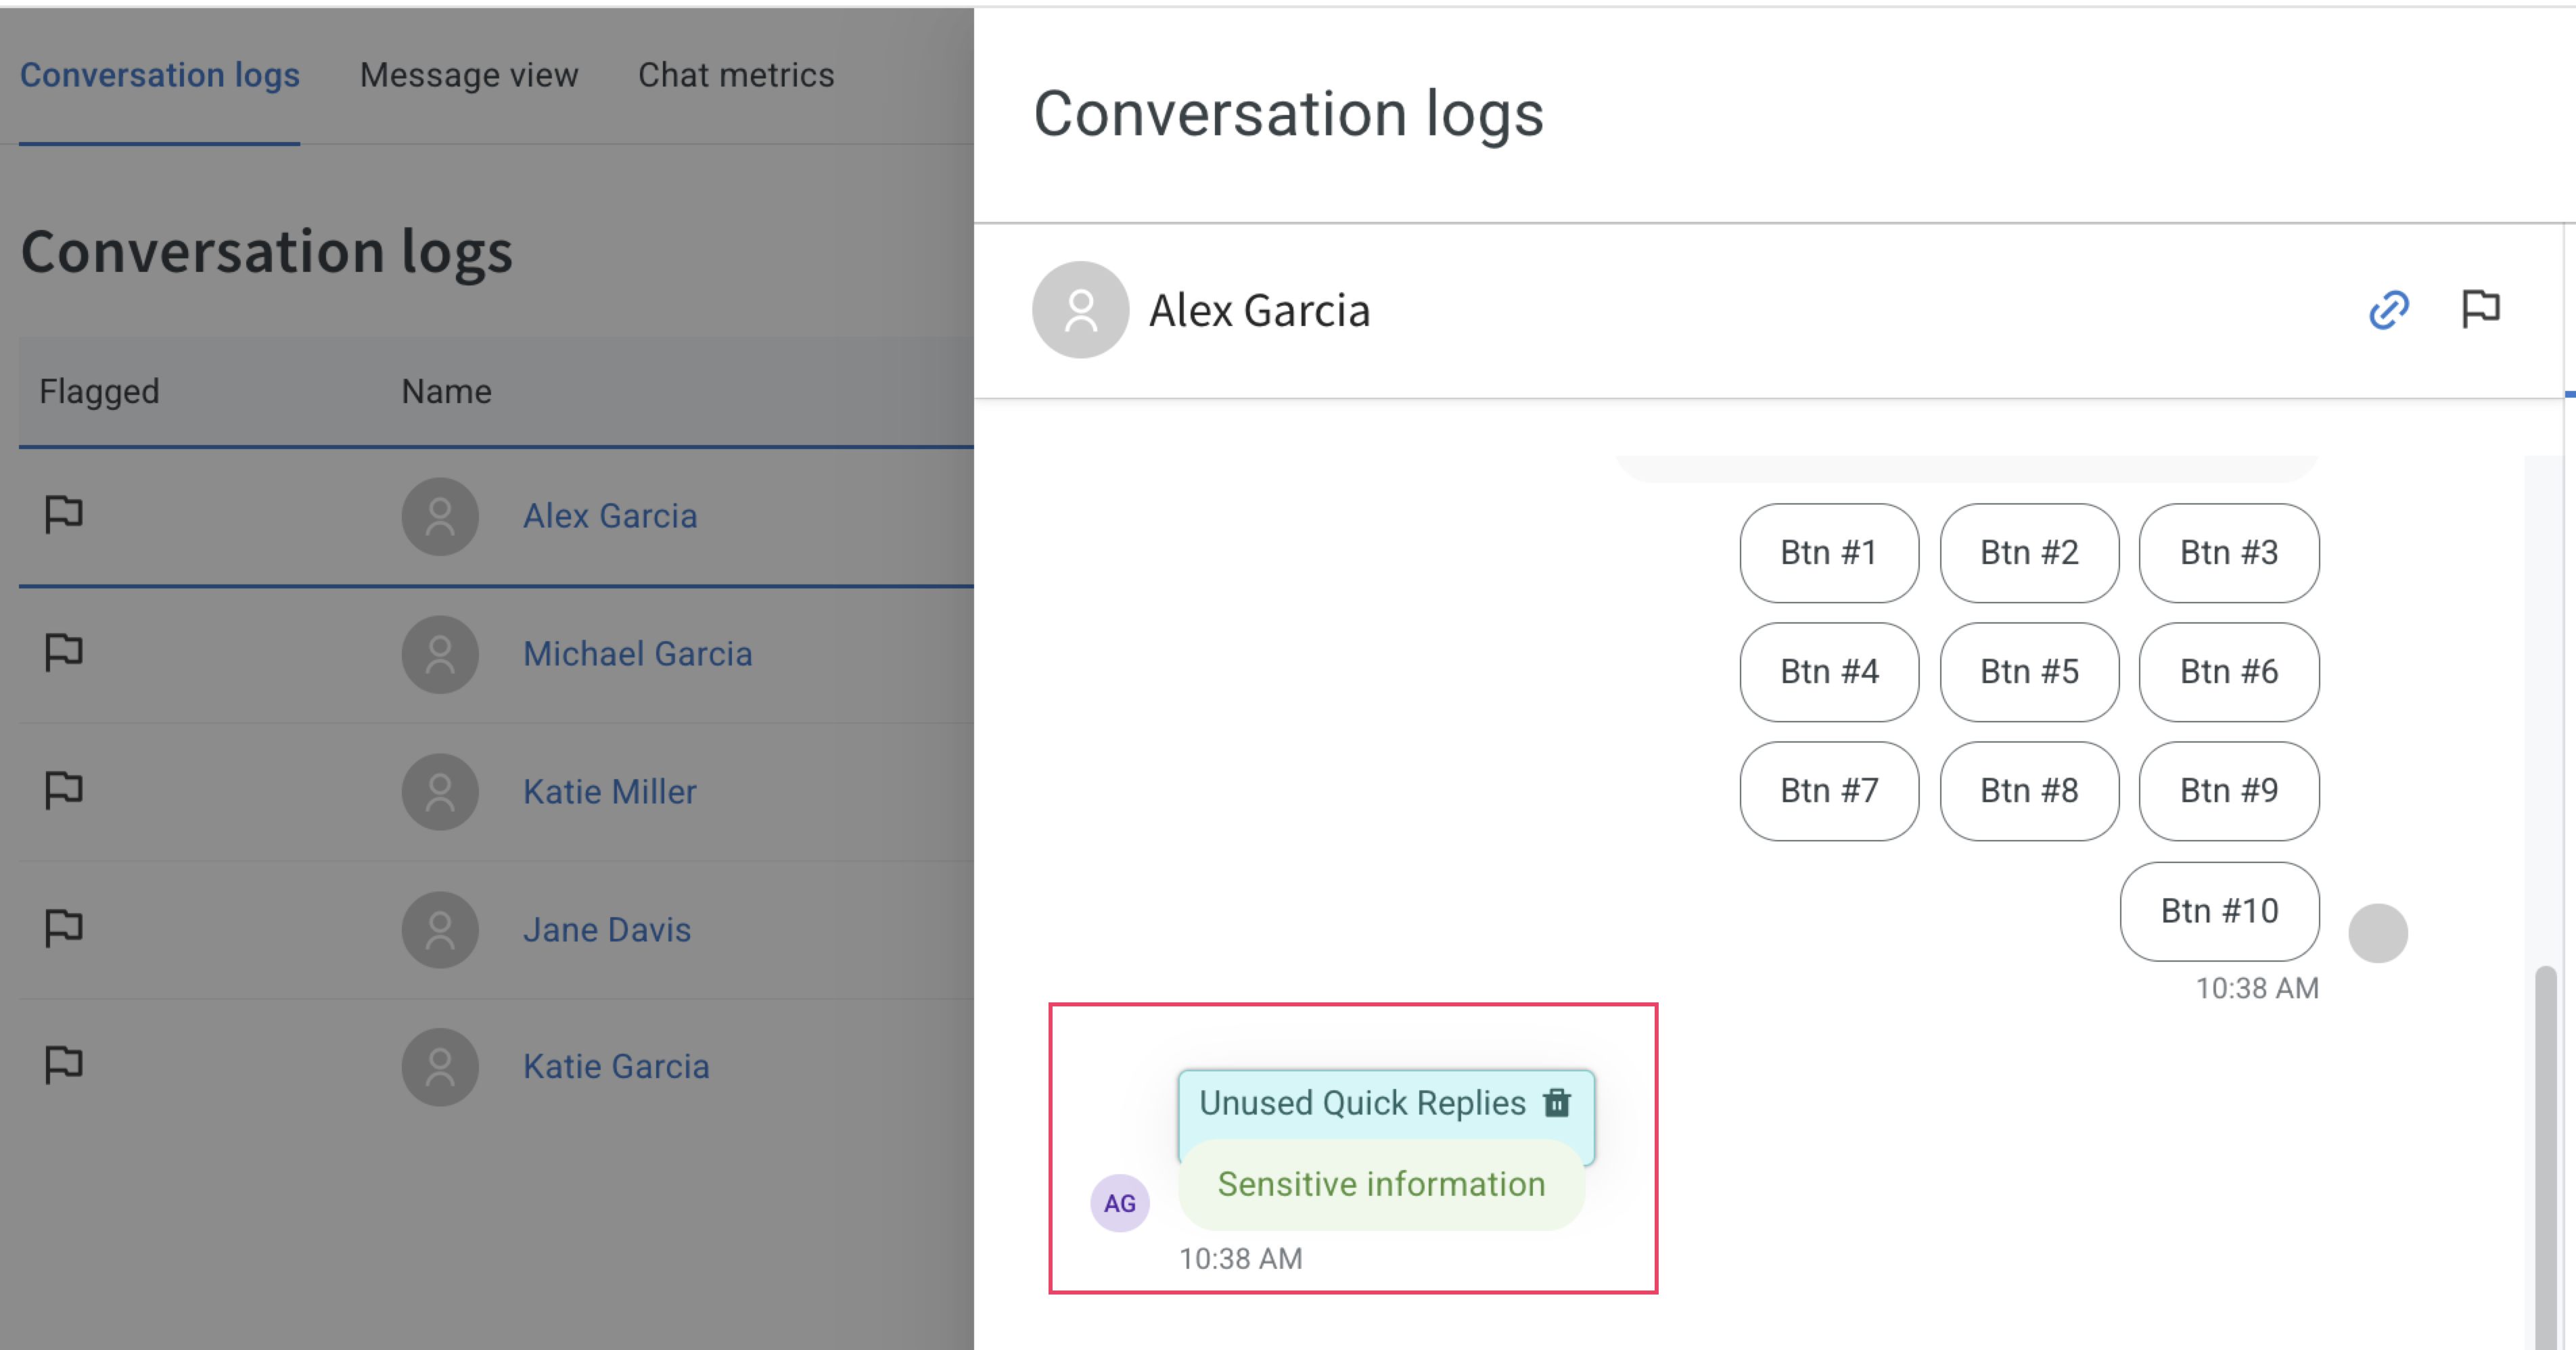
Redacted messages appear as Sensitive information in:
- Agent and Admin Inboxes
- Live Chat Window
- Conversation Logs
- Chat Transcripts
- Data export files (CSV/Excel)
Each redaction is logged with metadata, in Audit logs, which includes:
- Who performed the redaction
- When it was redacted
- Redaction applies at the message level, not entire conversations.
- Messages can only be redacted by agents assigned to that ticket.
- Admins can redact messages across any conversation.
- Redacted messages cannot be unmasked once marked.