Generate Google Translate API key and enable auto-translate
In this article, you will learn:
- What is the purpose of auto translate?
- How to enable auto-translate?
- Steps to generate a google translate API key
Auto-translate overview
With the Auto translate feature agents can talk with customers who speak different languages. With auto-translation, messages will automatically be translated to the preferred language of both parties. You can see its functioning on the chat screen.
- Any incoming language will be auto-detected by the system. You can also hardcode to translate only a particular set of languages. Once a foreign language is detected, Agents can identify the language at the top of their chat input box. If needed, agents can manually change the language.
- All incoming and outgoing messages would be translated according to the agents’ and end-users preferred language. Agents can toggle and see both the original and translated message by clicking on the label - Show translated / Show original.
- If for any reason, the agents want to send a generic message such as an address without being translated, they can disable the auto-translate toggle in the chat input box. This will stop translation for that message alone. After that message is sent, the toggle will automatically enable itself for the translation of the next message.
Purpose of the translate toggle (used in rare cases)
Assume, the user has typed a sentence and the language is detected as French (using google translate) and updated on the toggle. The agent identifies this language to be Italian. The agent can change the language on the toggle for better translation.
Use cases of auto translate
- Improving customer service: With auto-translate, agents can effectively communicate with customers who speak different languages, enabling businesses to offer better customer service and support to a global audience.
- Breaking down language barriers: Auto-translate eliminates language barriers, allowing people who speak different languages to communicate with each other efficiently.
- Streamlining communication: Auto-translate can save businesses time and resources by eliminating the need for multilingual agents or human translators.
- Facilitating international expansion: Auto-translate is a valuable tool for businesses that want to expand their operations globally, as it allows them to communicate with customers in different regions and countries.
- Enhancing collaboration: Auto-translate can foster collaboration among teams that speak different languages, enabling them to work together on projects and achieve their goals more effectively.


- The cost of the Translate API is borne by the client.
- You can either choose to auto-translate all the incoming languages or hardcode to translate only a particular set of languages. If you have set it to auto-translate any language in the bot, it will likely increase the billing.
- The translation will also work when transferring chats. For example, when agent ‘A’ whose default language is English transfers the incoming French chat to agent ‘B’ whose default language is Hindi, our system will translate all the previous messages from English to Hindi for agent ‘B’.
Enable auto-translate settings
Follow the steps below to enable auto-translate:
Prerequisite
To Auto translate messages, you must first set Translate user message to YES in Automation while configuring the Raise Ticket node.

- Open Settings > Inbox.
- Search for Auto Translate.

- To enable Auto to translate for Inbox, you need to generate and connect your Google Translate API key to your account by following the given steps (explained in detail in the next section):
- Create a New Project in your Google Cloud account.
- Activate Google Translation API service
- Generate your API Key
- Restrict the API usage (optional)
- Once your API key is validated, you would get a success notification. If not, check the API key and try again. If the issue persists, regenerate the API key.

Generate google translate API key
Follow the below steps to generate the google translate API key:
-
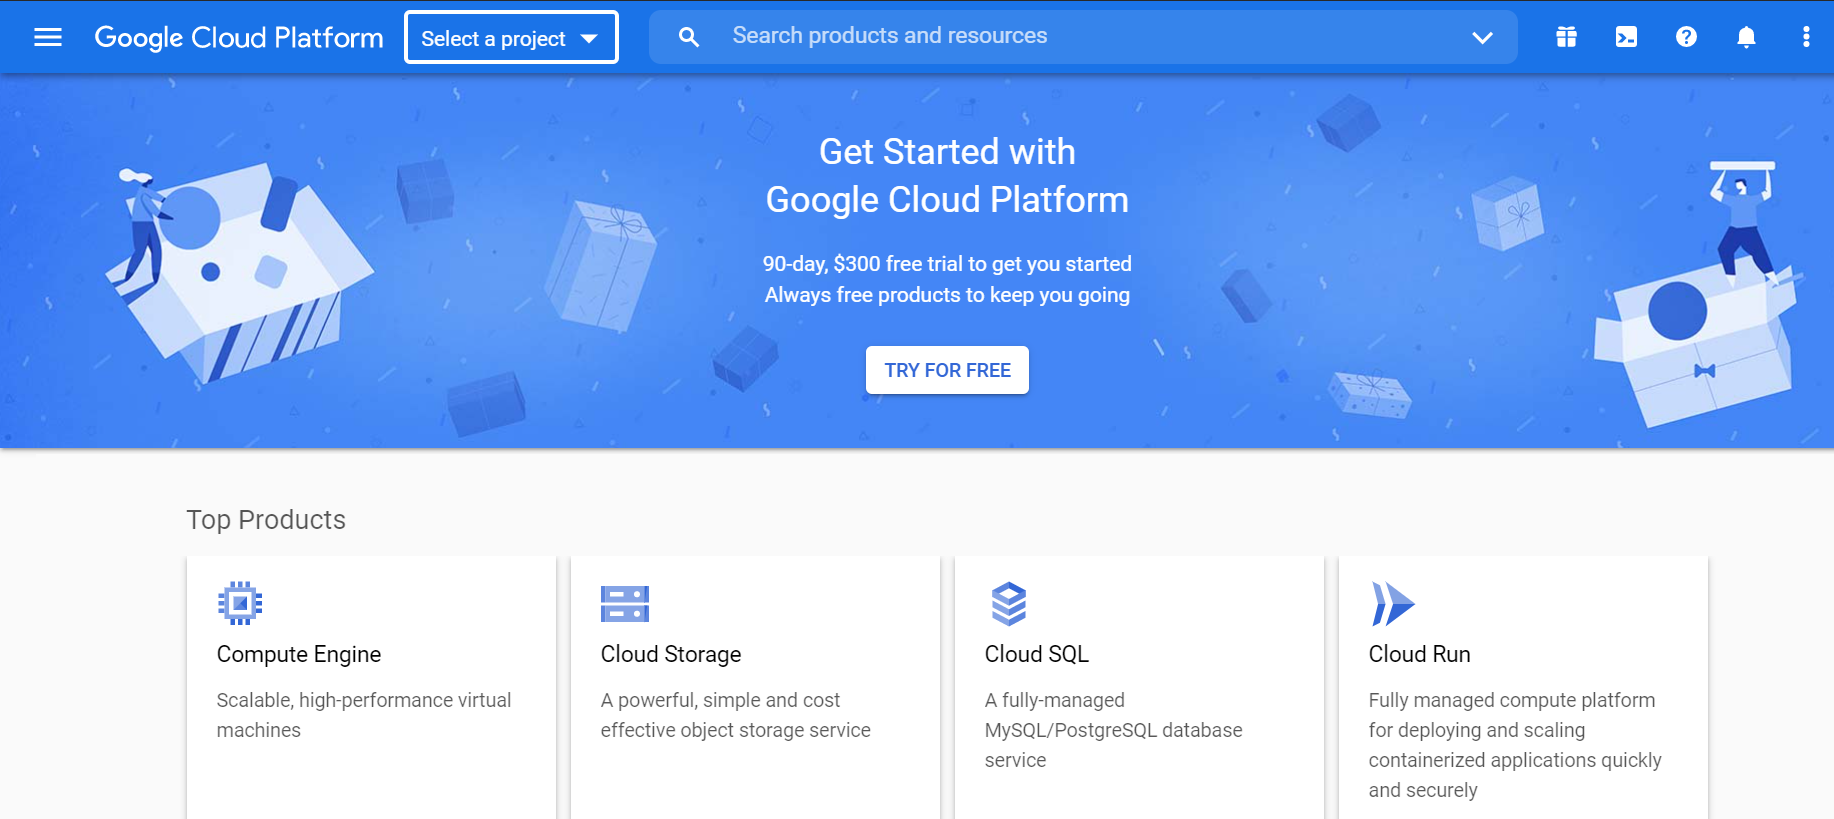
Go to Google Cloud Platform console and log in with your Google credentials.
-
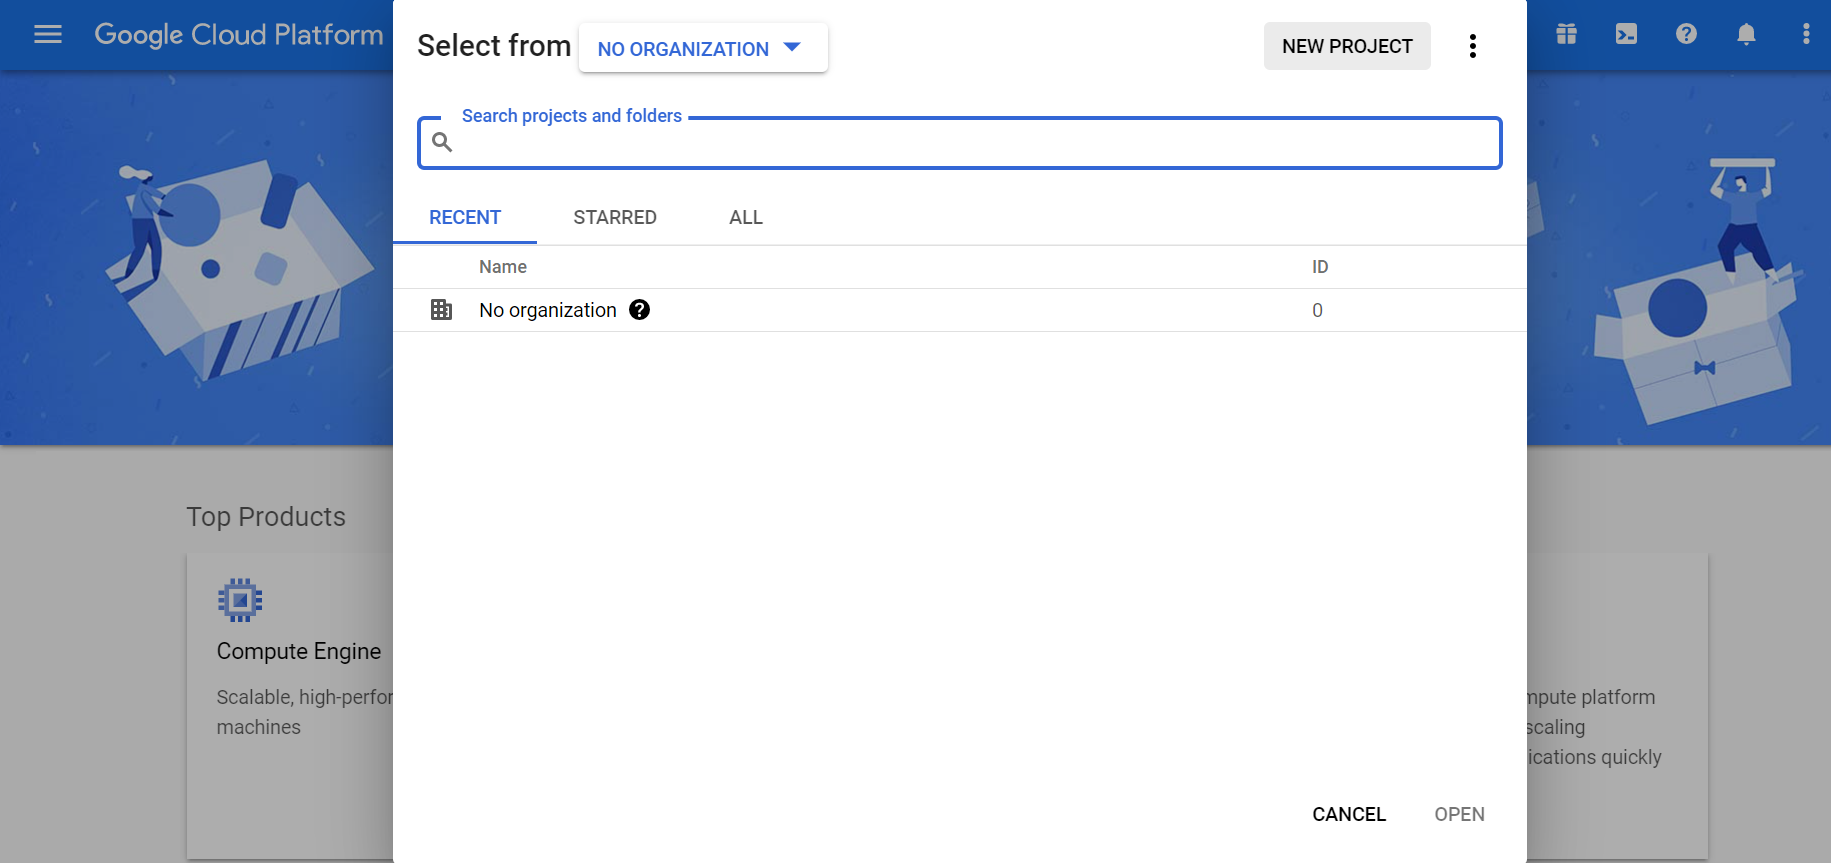
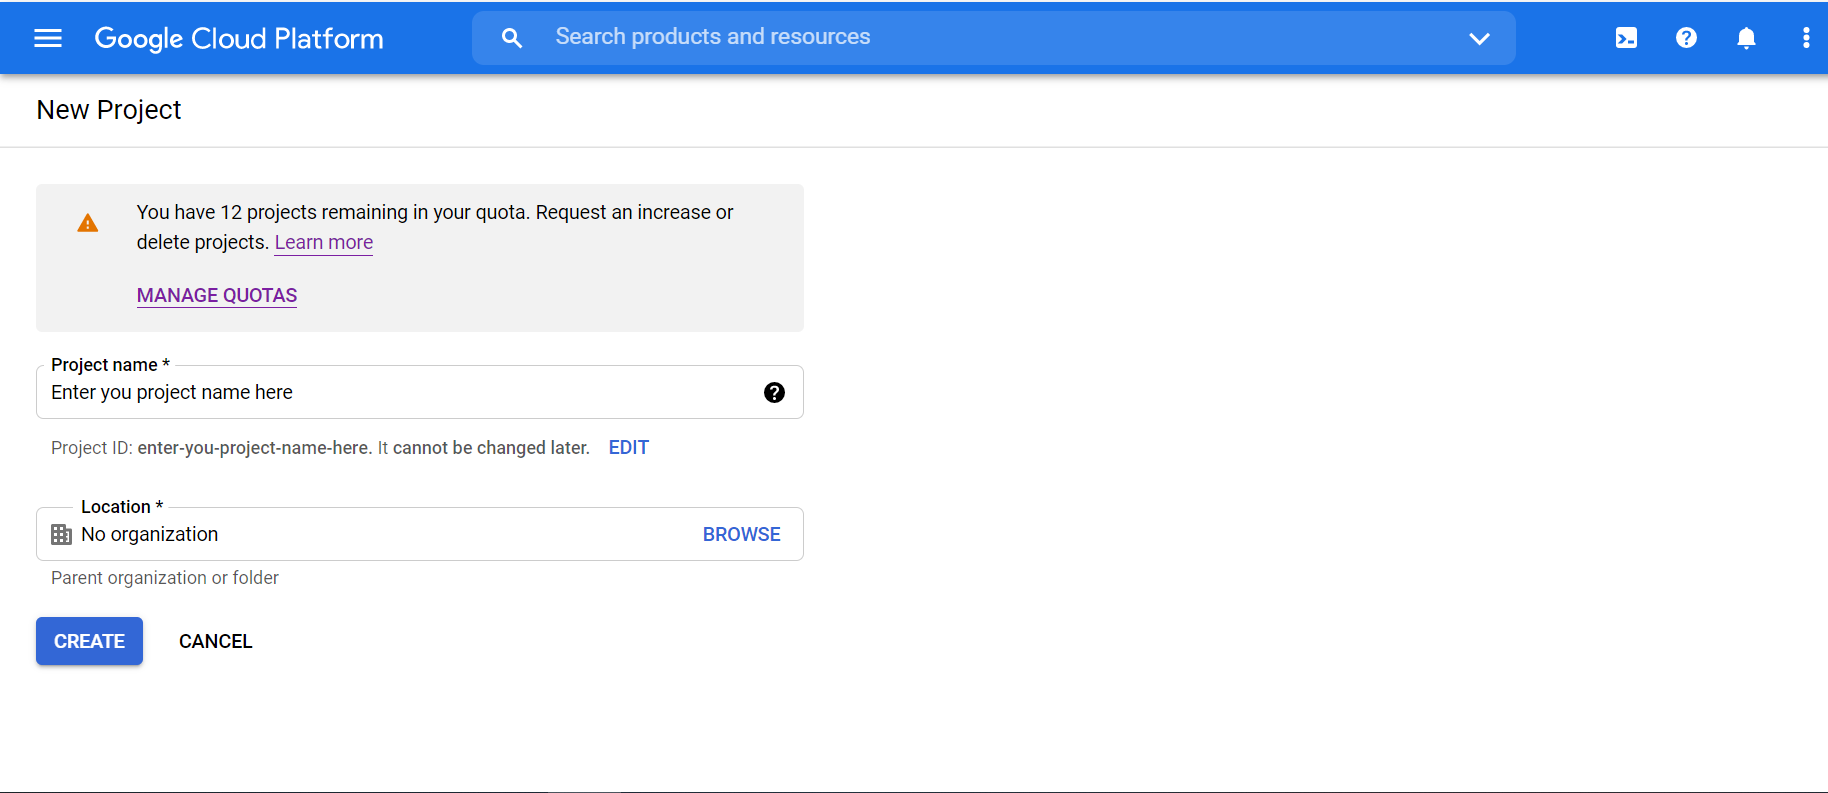
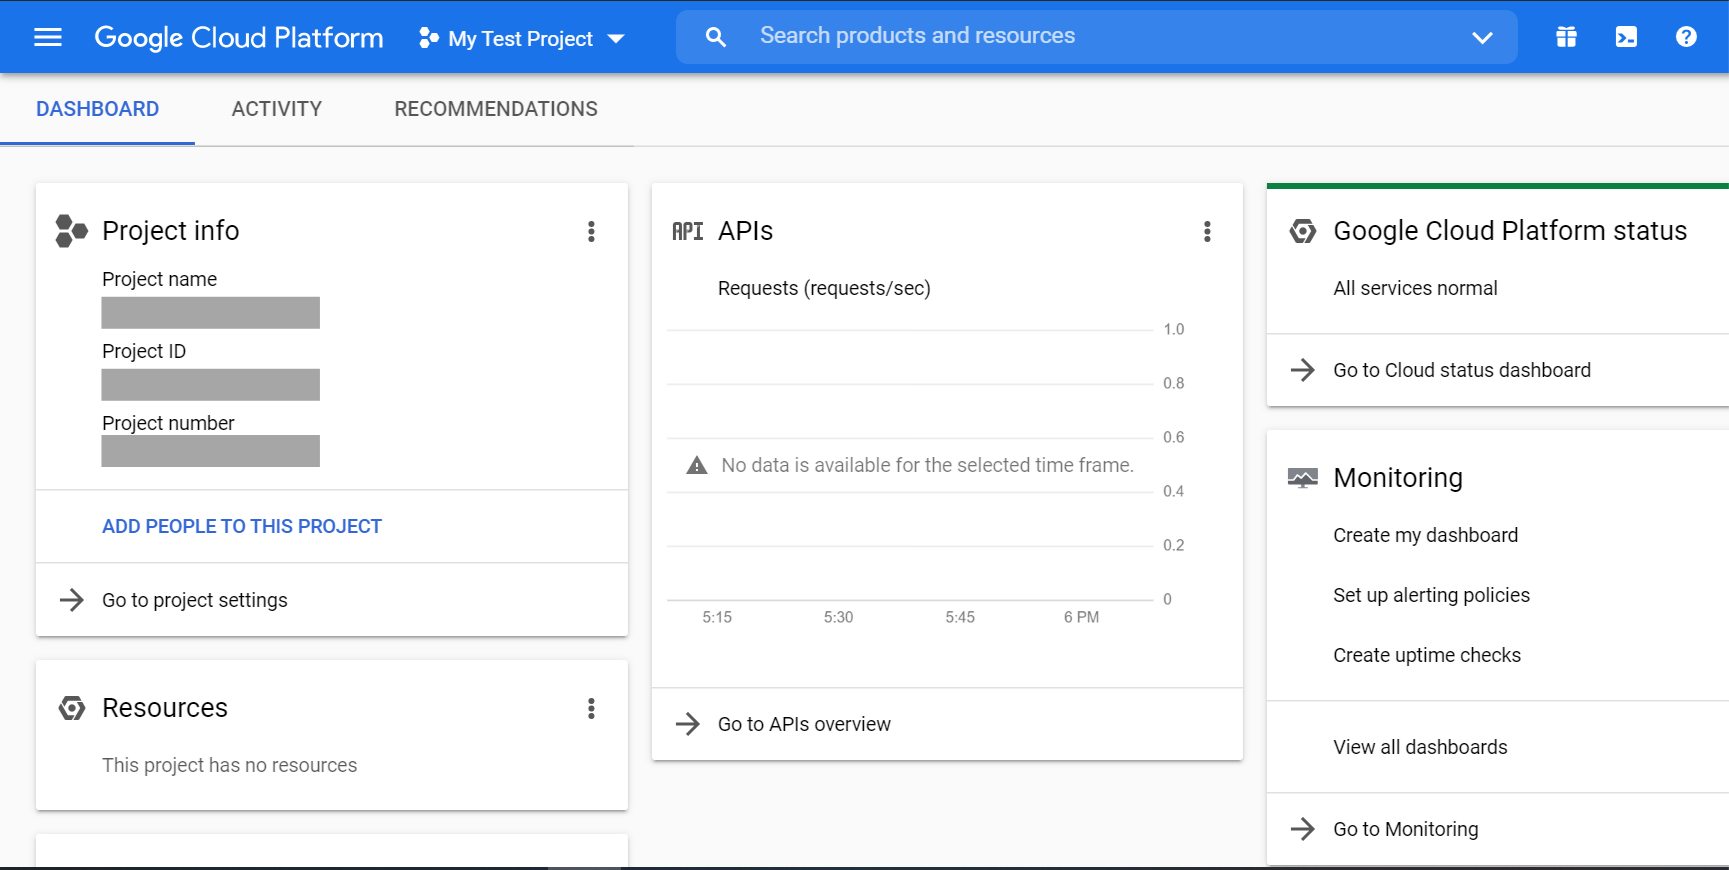
Create a New Project from the top menu bar. Give it a name and select Create. You will be directed to the project dashboard.
-
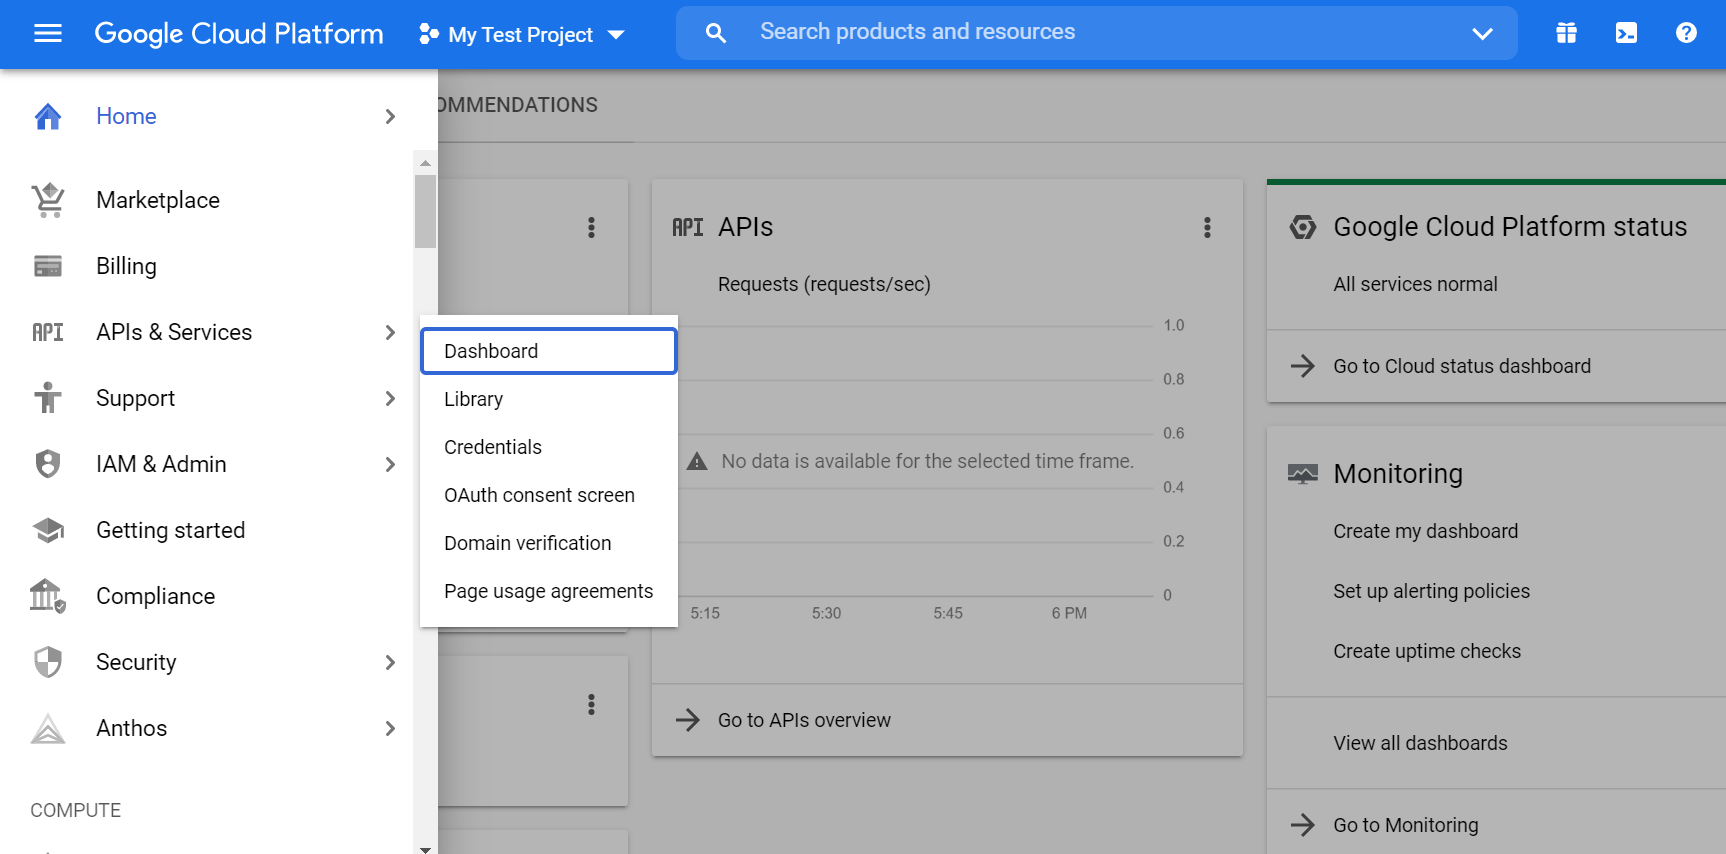
Click the left hamburger button and select APIs & Services.
-
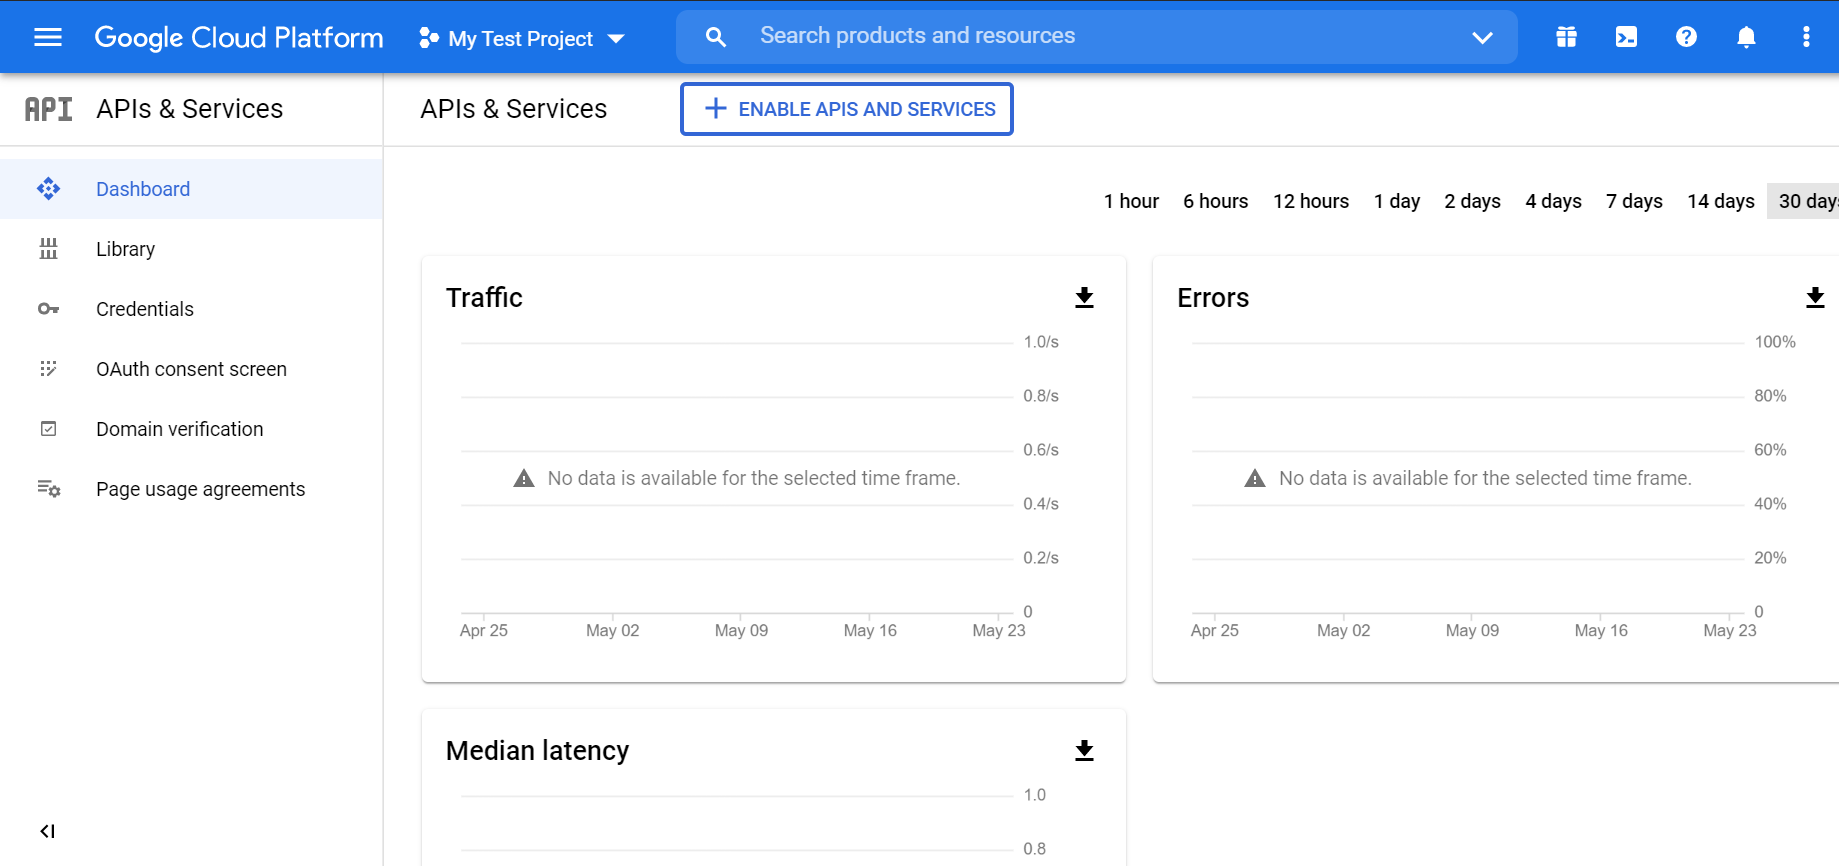
Press Enable APIS and SERVICES in the Dashboard.
-
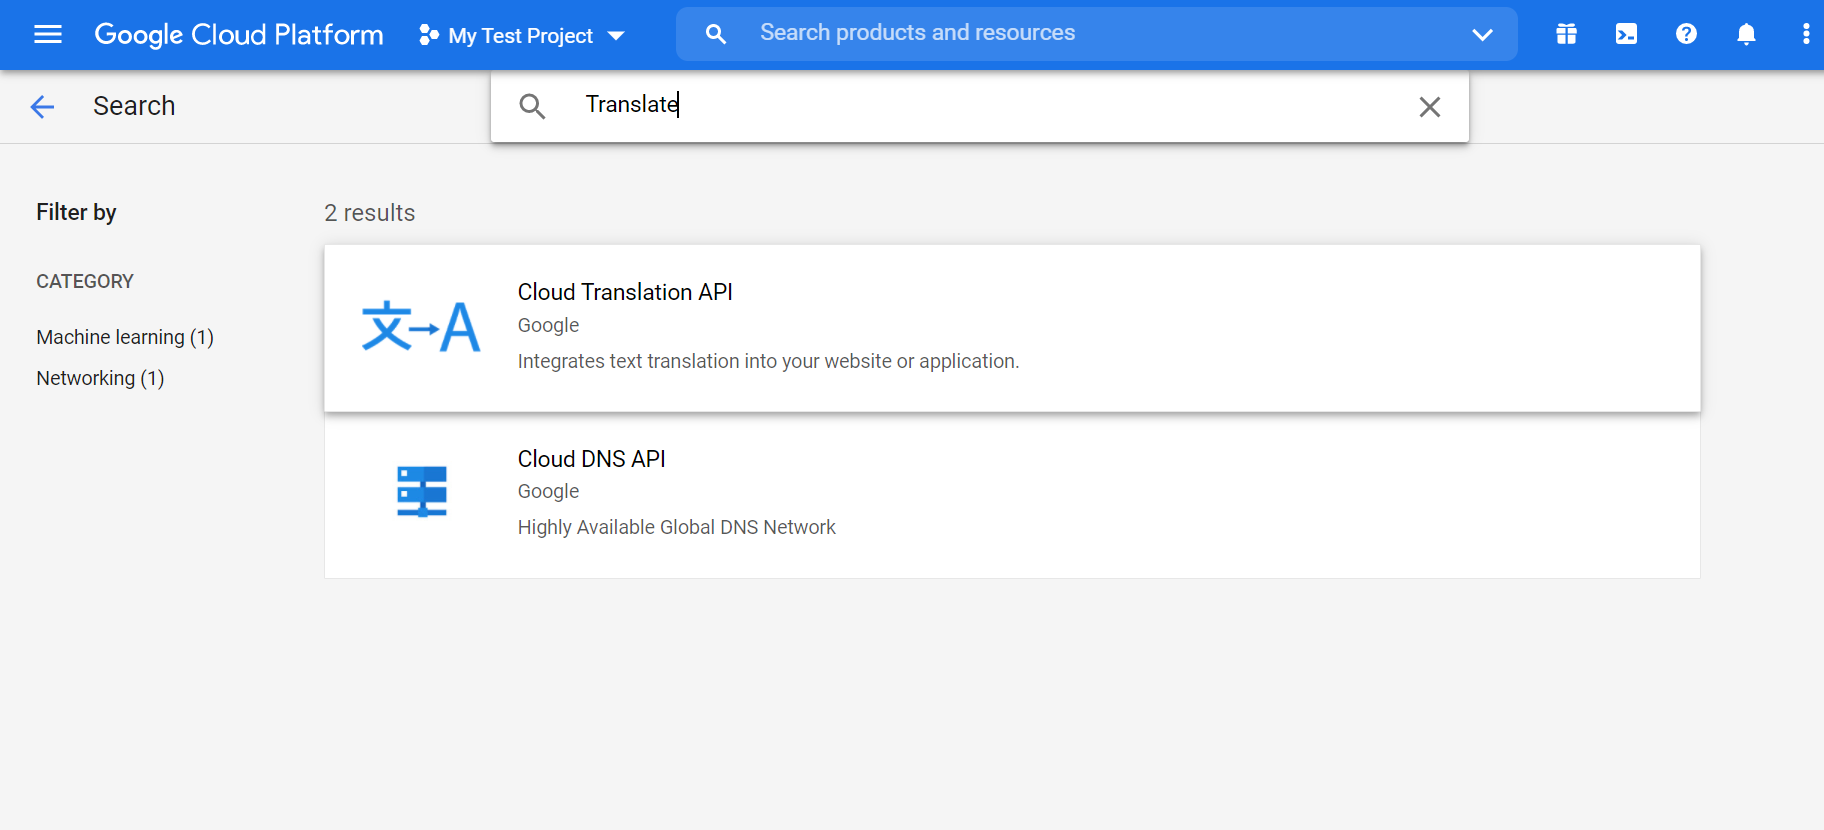
Now search for translate and click Google Cloud Translation API1.
-
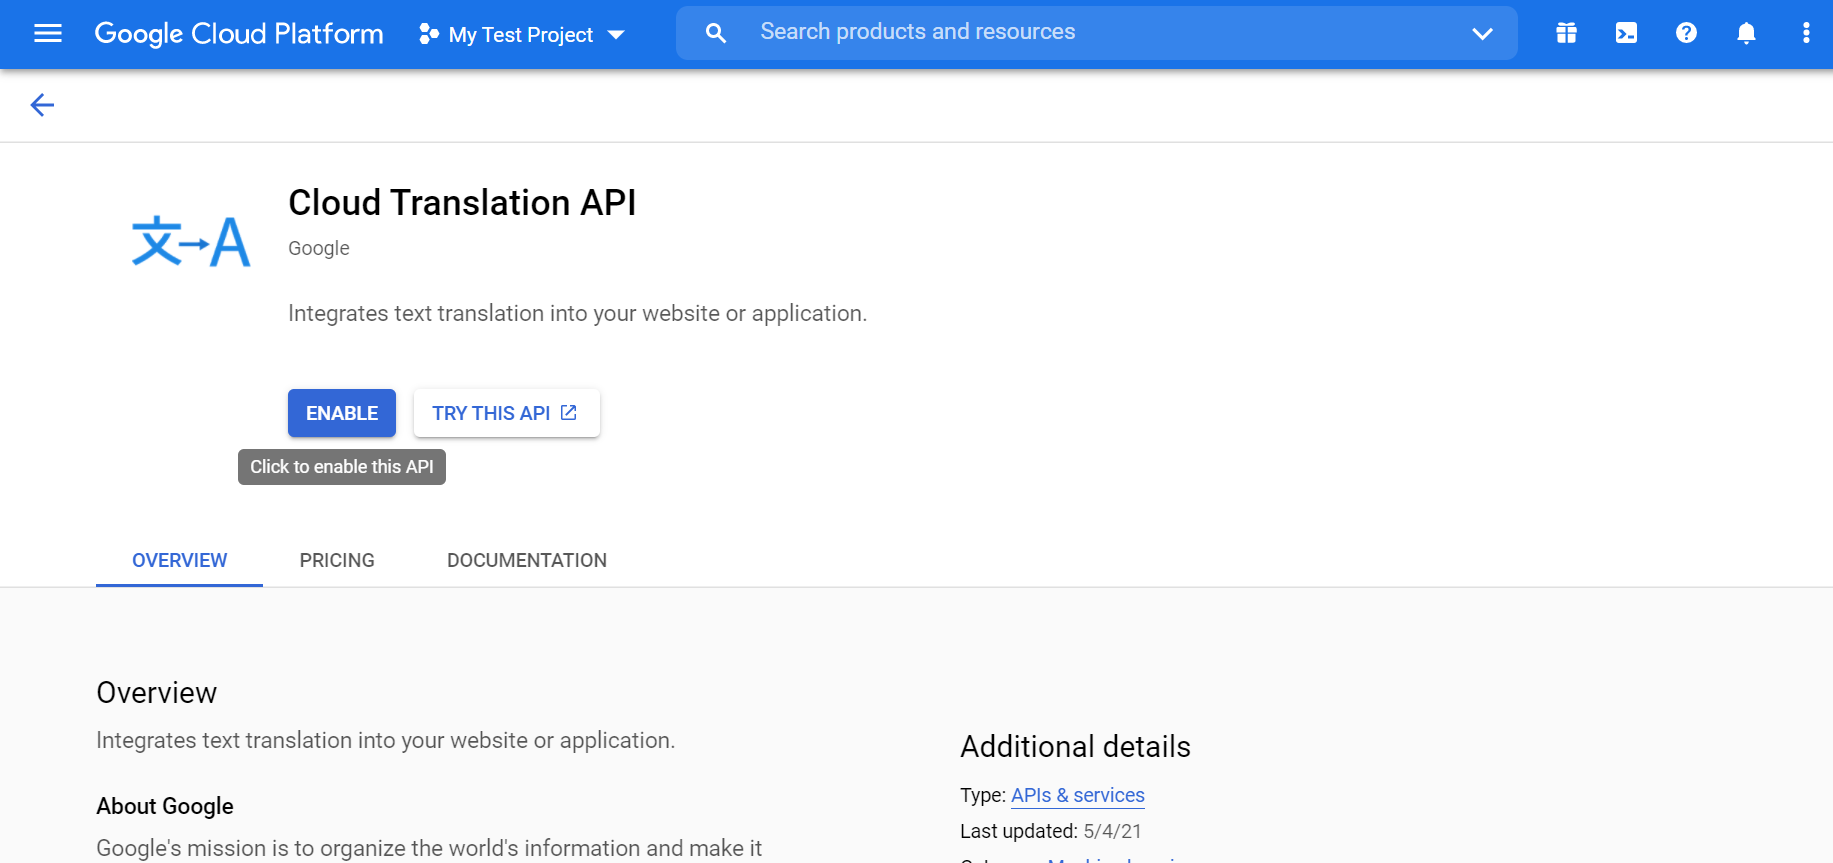
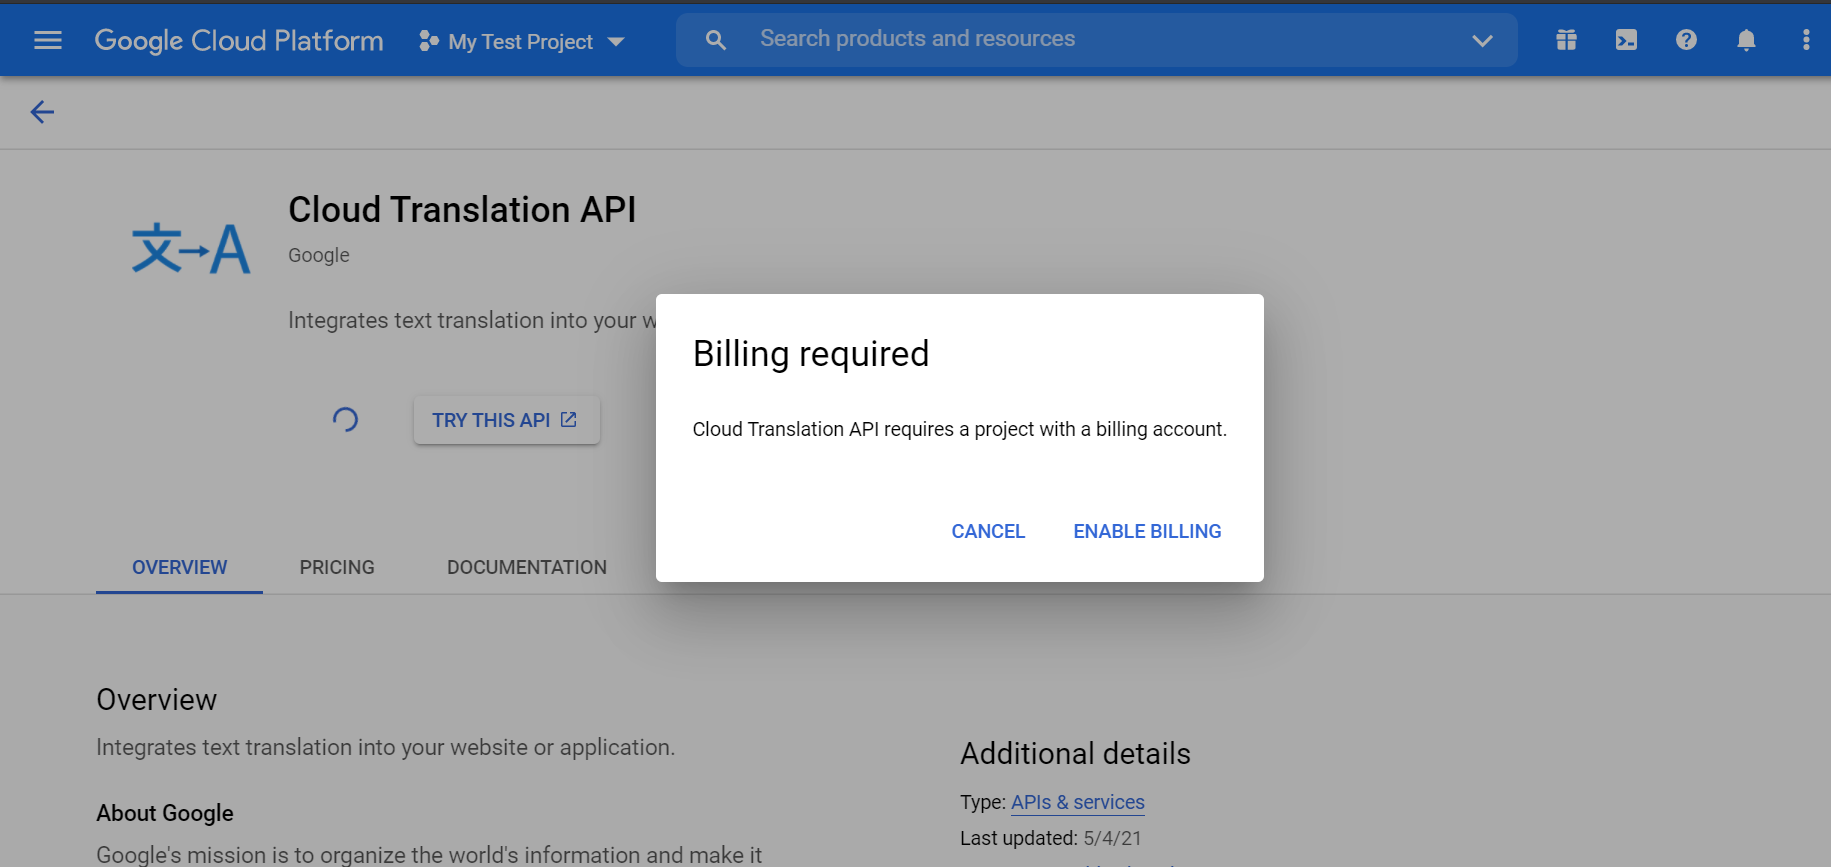
Click Enable. This activates your Google Translation API service.
After you have enabled API, you might be asked to enter the billing details if you haven’t done it already. You need a paid account to use Google’s Translation services.
-
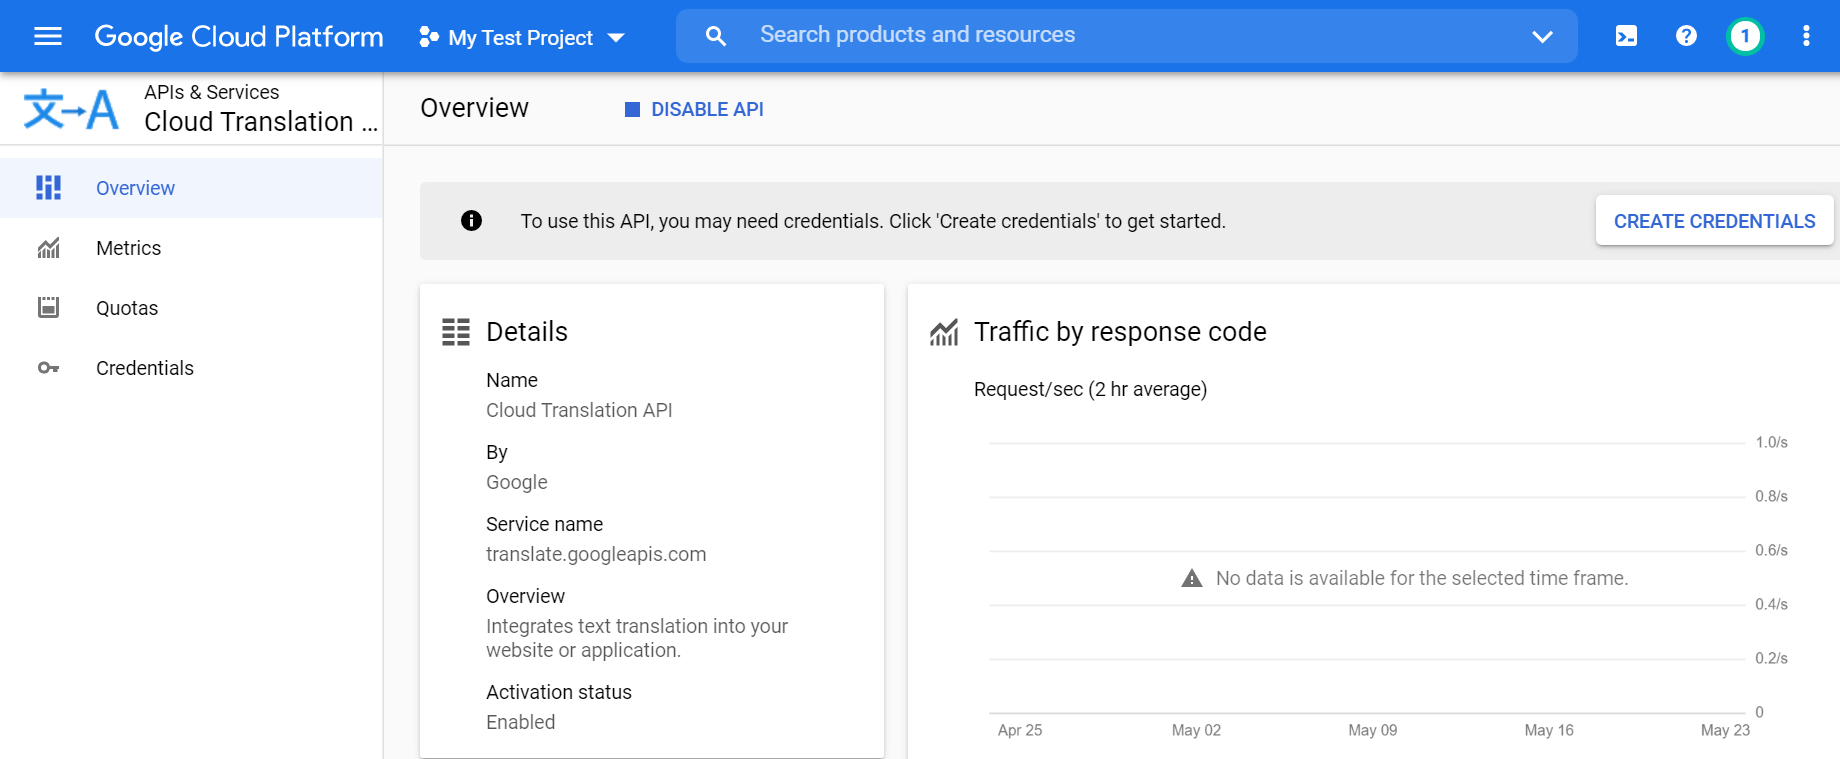
To generate your API key, select the create credentials button from the screen. If you can’t find the button, Go to the credentials option from your side menu bar.
-
Click the Create credentials drop-down button and select the
API key.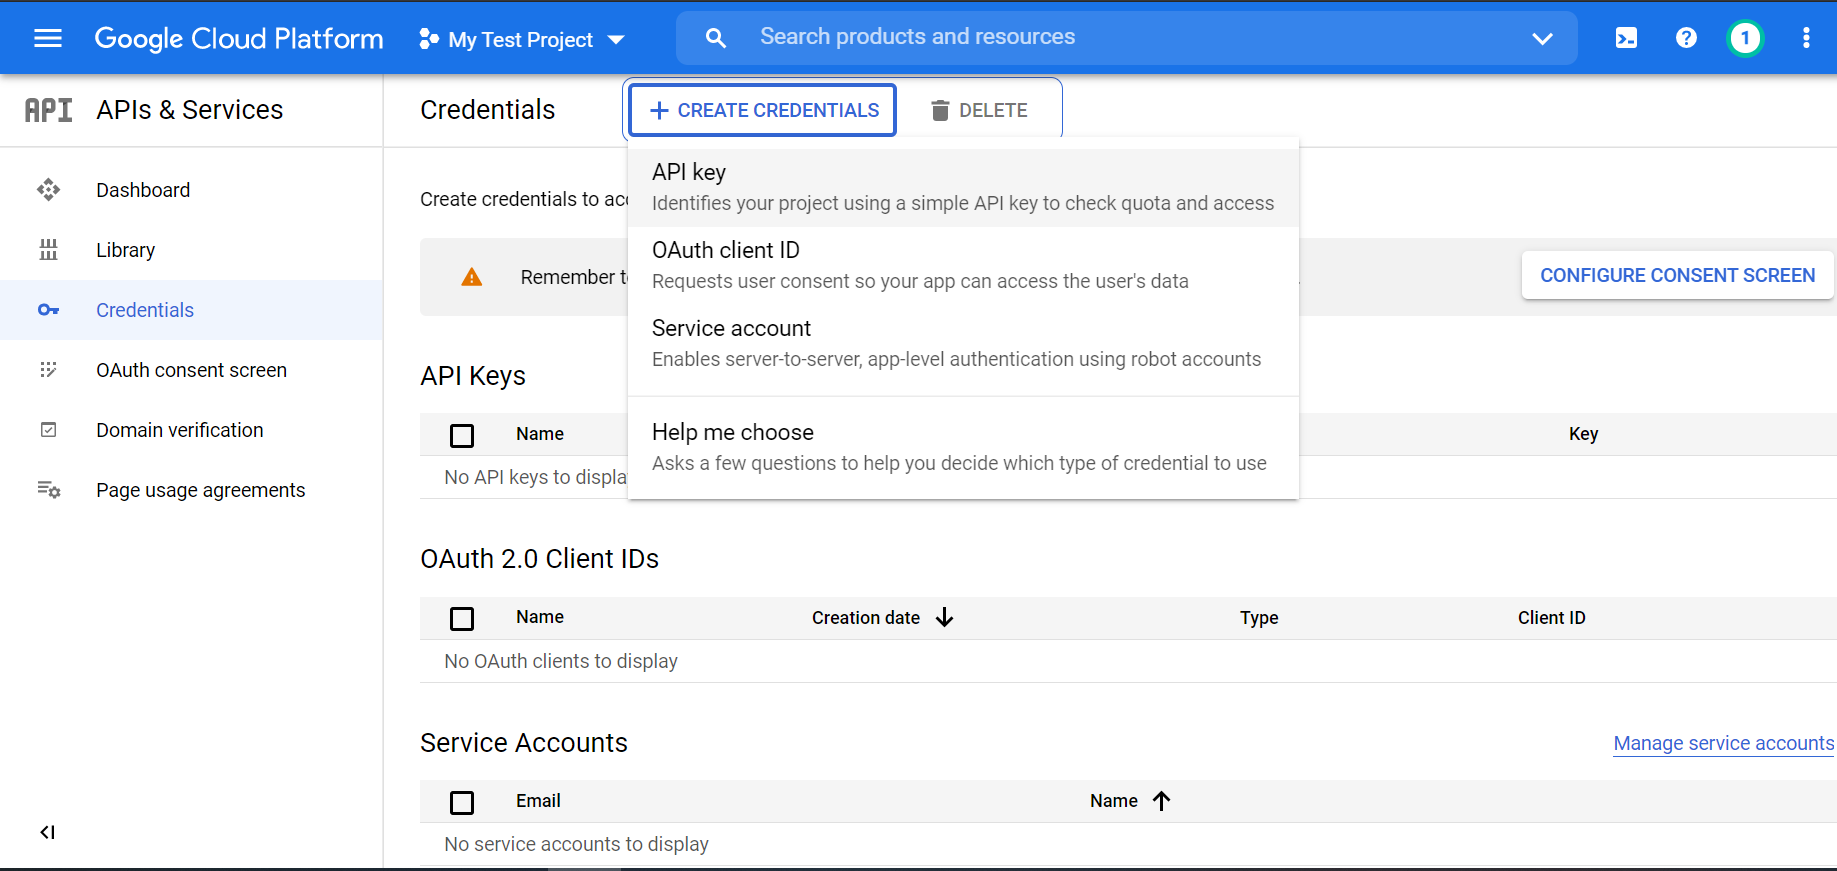
-
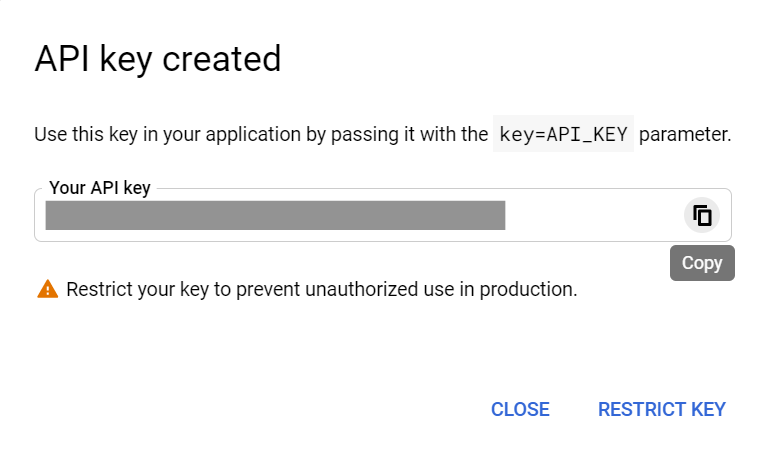
Your API key would be displayed in a pop-up window. You can copy and paste this into your yellow inbox account.
-
You can also restrict your API key to prevent unauthorized or overuse of your account. There are two types of restrictions:
- Restrict the API on where it is being used
- Restrict its usage quota.
