Camspay payment integration
Yellow.ai Integration with Camspay Payment Gateway allows you to generate payment links and view payment status with the Yellow.ai platform.
1. Connect Camspay payment with Yellow.ai
Before starting the integration process, from your Camspay dashboard, obtain the merchant ID, sub-biller ID, API key, and encryption-decryption key from the Camspay team.
In a two-tier environment, you can connect an integration app in the Development environment. In a three-tier environment, you can connect the integration app either in Staging or Sandbox. All connected integrations are available in the live environment.
-
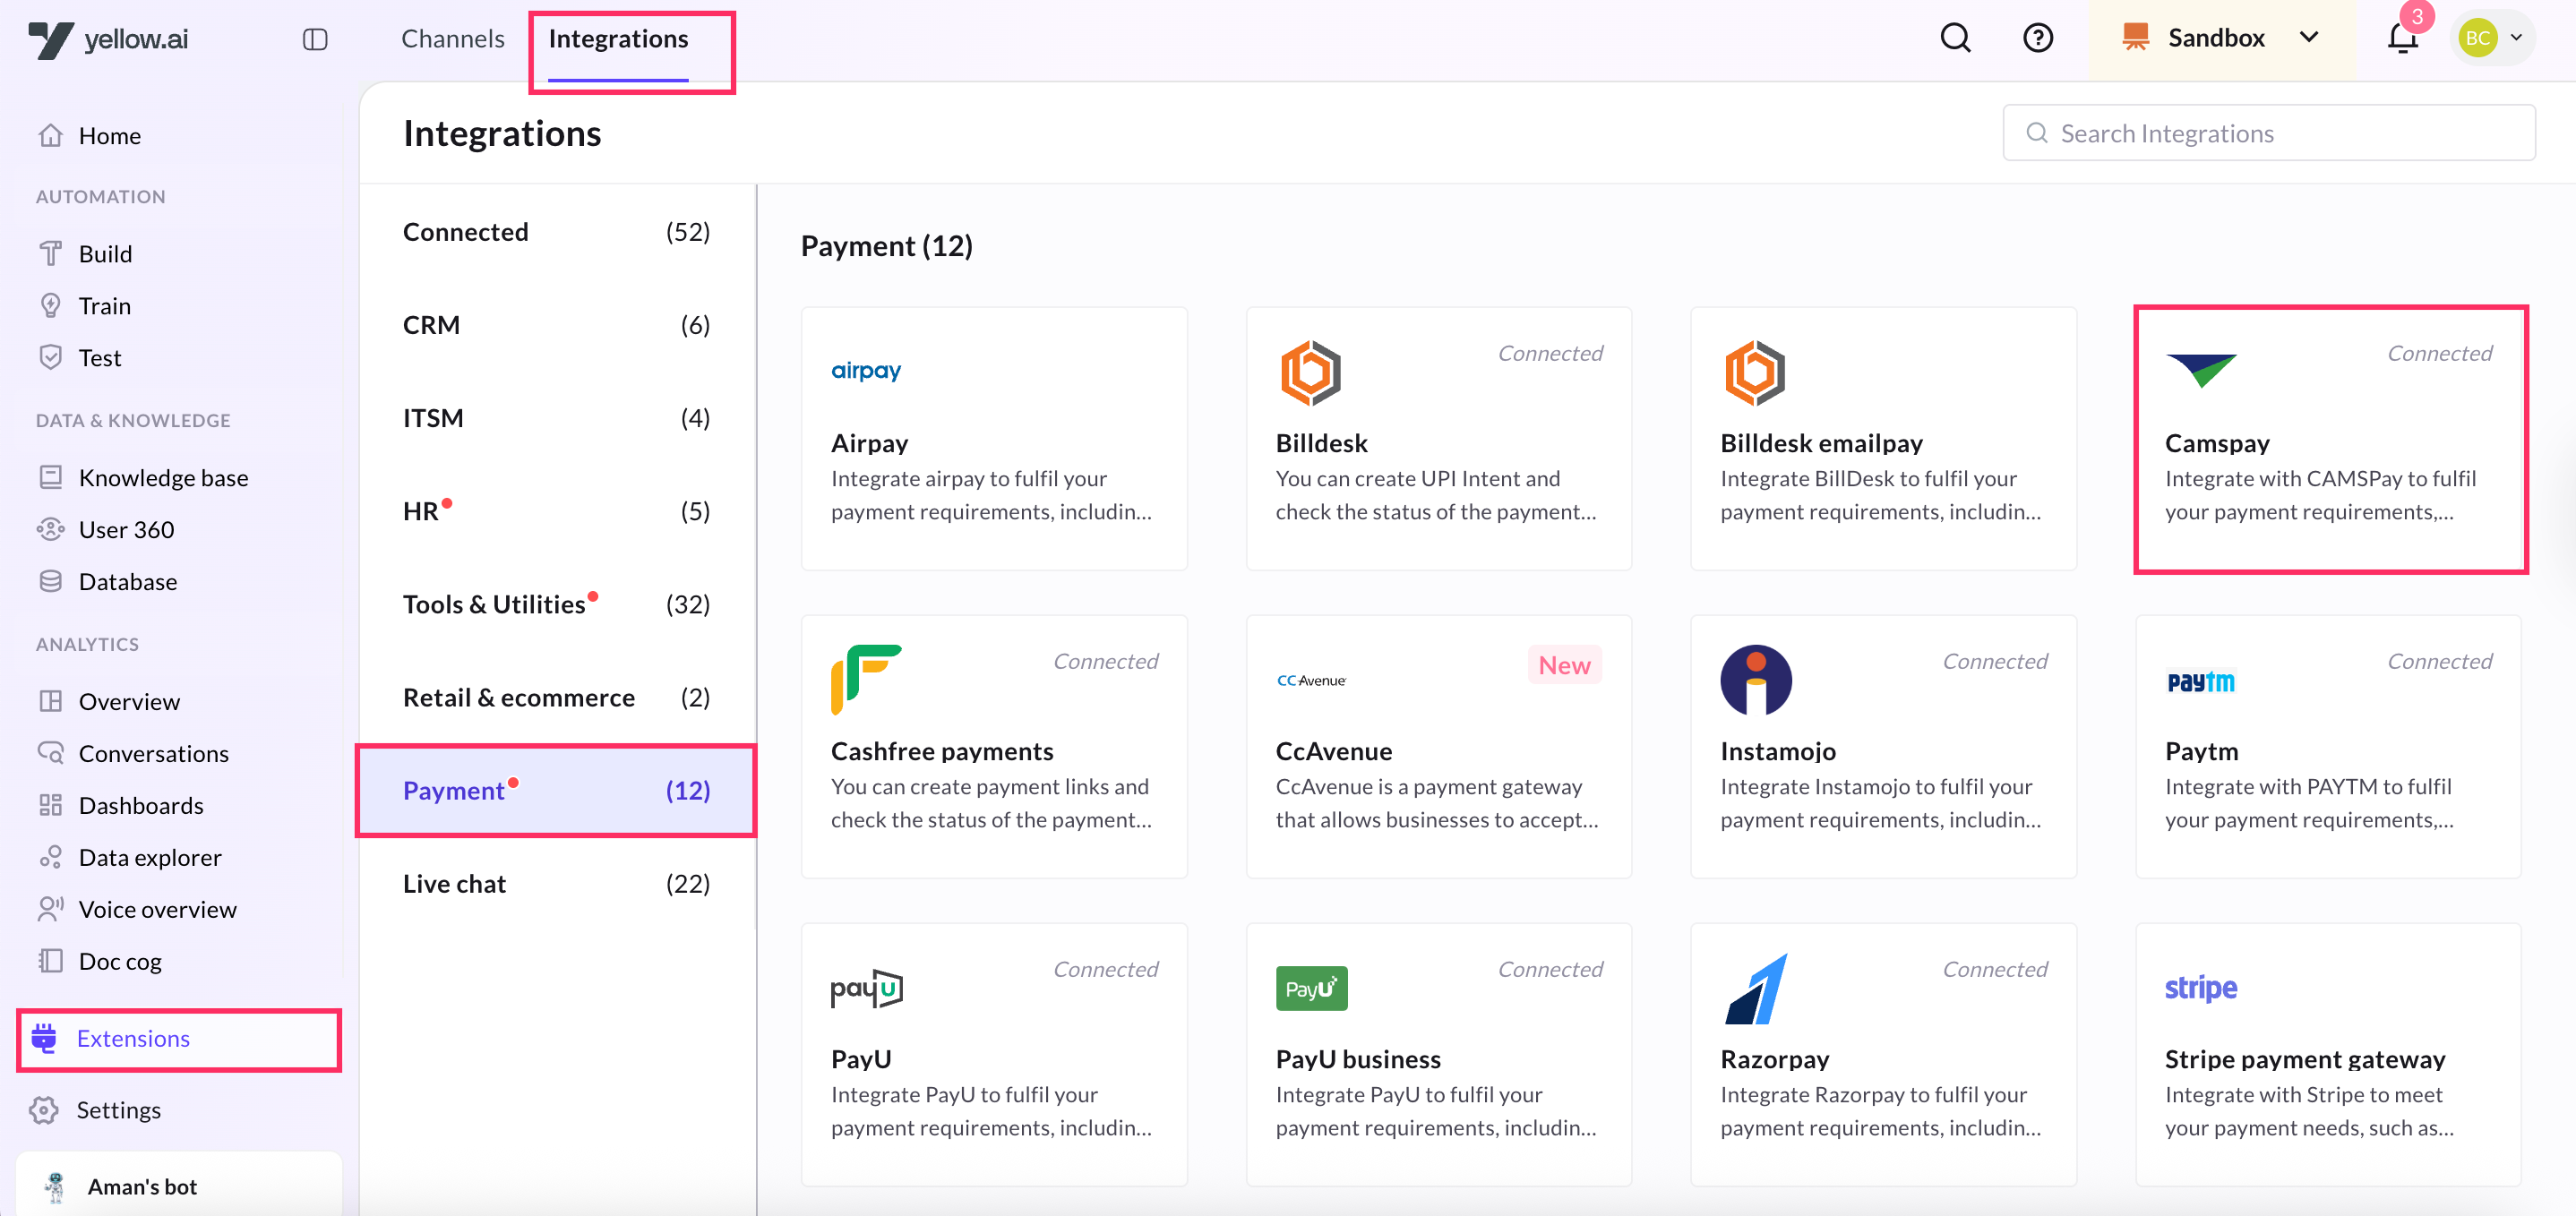
On the cloud platform, navigate to the Development/Staging environment and click Extensions > Integrations > Payment > Camspay. You can also search for the Camspay Payment using the Search box.
-
In Give account name, enter a unique name for the integration. You can use only lowercase alphanumeric characters and underscores (_).
-
Enter your Camspay Payment account's Merchant ID, Subbiller ID, API key, Encryption-Decryption key, and the API Base URL captured from the Camspay.

-
Click Connect.
-
To connect more accounts, click + Add account and follow the above mentioned steps to connect each account.
You can add a maximum of 15 merchant accounts.
2. Configure webhook URL
The webhook URL serves as a callback endpoint where Camspay can send notifications or updates regarding the payment related events.

Click here to learn how to configure Webhook URL in your app.
3. Enable integration event in your AI agent
Open Automation > Events > Integrations > Camspay payment status and select Activate by clicking the menu next to it.

Camspay Payment Status event allows you to execute specific actions in response to events. For example:
- Display a message in the AI agent conversation when a payment is successful.
- Show order details in the AI agent conversation when an order is placed.
| Event | Description |
|---|---|
| Camspay Payment Status | Returns payment/refund status |
Click here to learn about enabling integration events.
4. Trigger AI agent flows with integration events
In the start node of a flow, select Trigger type as Event and select Camspay payment status next to it.

Click here to learn how to trigger flows with events.
5. Generate Camspay payment links in AI agent conversation
Once your Camspay account is successfully connected, configure the node, follow:
- Go to Development/Staging environment and navigate to Automation > Build > Select the flow where you want to add the Generate payment link node.
- Click Add node > Integrations > Camspay.

- Choose the Action, Create payment request and configure the input fields.

Details within the selected action:
| Field Name | Data Type | Description |
|---|---|---|
| Amount | string | Payment amount |
| Customer Email | string | Email address of the customer |
| Customer Mobile | string | Mobile number of the customer |
| Customer Name | string | Full name of the customer |
| Failure redirect URL | string | URL to redirect to after failed payment |
| Remarks | string | Additional comments or notes. Ex: Purpose of the payment |
| Success redirect URL | string | URL to redirect to after successful payment |
| Transaction ID | string | Unique transaction identifier generated for each payment |
| Device type | string | Device type used for the transaction. Ex: Web or Mobile |
| Intent call | string | Selecting Y/N will open payment links based on the device. Select Y(yes) for a WhatsApp AI agent, to open the UPI link in the apps available on the phone. Select N(no) for a Web AI agent, to open payment link in a new browser tab. |
| Pay type | string | Primary payment type. Example: UPI, Net Banking(NB), Credit card(CC), Debit card(DC) and all the mentioned types |
| Sub pay type | string | Secondary payment method or subtype. Example: UPI, Net Banking(NB), Credit card(CC), Debit card(DC) and all the mentioned types |
| User defined field 1 | string | Custom field for additional data (1) |
| User defined field 2 | string | Custom field for additional data (2) |
| User defined field 3 | string | Custom field for additional data (3) |
| User defined field 4 | string | Custom field for additional data (4) |
| User defined field 5 | string | Custom field for additional data (5) |
| User defined field 6 | string | Custom field for additional data (6) |
| User defined field 7 | string | Custom field for additional data (7) |
| User defined field 8 | string | Custom field for additional data (8) |
| User defined field 9 | string | Custom field for additional data (9) |
| User defined field 10 | string | Custom field for additional data (10) |
| VPA | string | Virtual Payment Address (for UPI transactions) |
Generate payment link is deprecated. We highly recommend you to use only Create payment request action.