Amazon Connect Live Chat
For businesses using Amazon Connect for contact center support, the Amazon Connect Live Chat integration enables your Yellow.ai AI Agent to escalate conversations to a live Amazon Connect agent when needed. Using the Raise Ticket node in the agent flow, you can trigger a live chat session, allowing end users to seamlessly transition from bot-driven conversations to real-time agent support on Amazon Connect.
1. Prerequisites
Before integrating Amazon Connect Live Chat with Yellow.ai, ensure you have the following details from your AWS account:
- Region: AWS region where your Amazon Connect instance is hosted. Once you login to the console, you can see the Region ID in the Select Region and in the URL.
- Access Key ID & Secret Access Key: IAM user credentials with appropriate Amazon Connect permissions.
- Instance ID: Found in your Amazon Connect ARN.
- Contact Flow ID: Unique ID of the contact flow used for chat.
- On AWS Management, navigate to the Amazon Connect console.
- Go to the Instances page console and select your Connect instance.
- On the Routing tab, you'll see a list of contact flows.
- Click on the specific contact flow you want to find the ID for. The Contact Flow ID will be part of the ARN displayed in the overview.
2. Find required AWS Parameters
🌍 Region
To find the AWS Region (specifically for your Amazon Connect instance), follow these steps:
Option 1: From the Amazon Connect Console
-
Go to the Amazon Connect console.
-
On the Instances page, locate your instance.
-
The Region is shown in the URL and instance details. For example:
https://<instance-alias>.awsapps.com/connect/home- If the URL is
https://my-support.awsapps.com/connect/home, the region can often be inferred from the instance's full ARN (see below).
- If the URL is
Option 2: From the Instance ARN
-
In the Amazon Connect console, go to your instance's Account overview.
-
Copy the Instance ARN. Example:
arn:aws:connect:us-east-1:123456789012:instance/abcd1234-ef56-gh78-ij90-klmnopqrstuv -
The third segment in the ARN (
us-east-1) is the Region where your instance is hosted.
Region examples
| Region Name | Region Code |
|---|---|
| US East (N. Virginia) | us-east-1 |
| US West (Oregon) | us-west-2 |
| Asia Pacific (Mumbai) | ap-south-1 |
| Europe (Frankfurt) | eu-central-1 |
🔐 Access Key & Secret
To generate an access key and secret for an IAM user:
- Sign in to the AWS Management Console as an IAM user with appropriate permissions.
- Navigate to IAM → Users.
- Select the desired user.
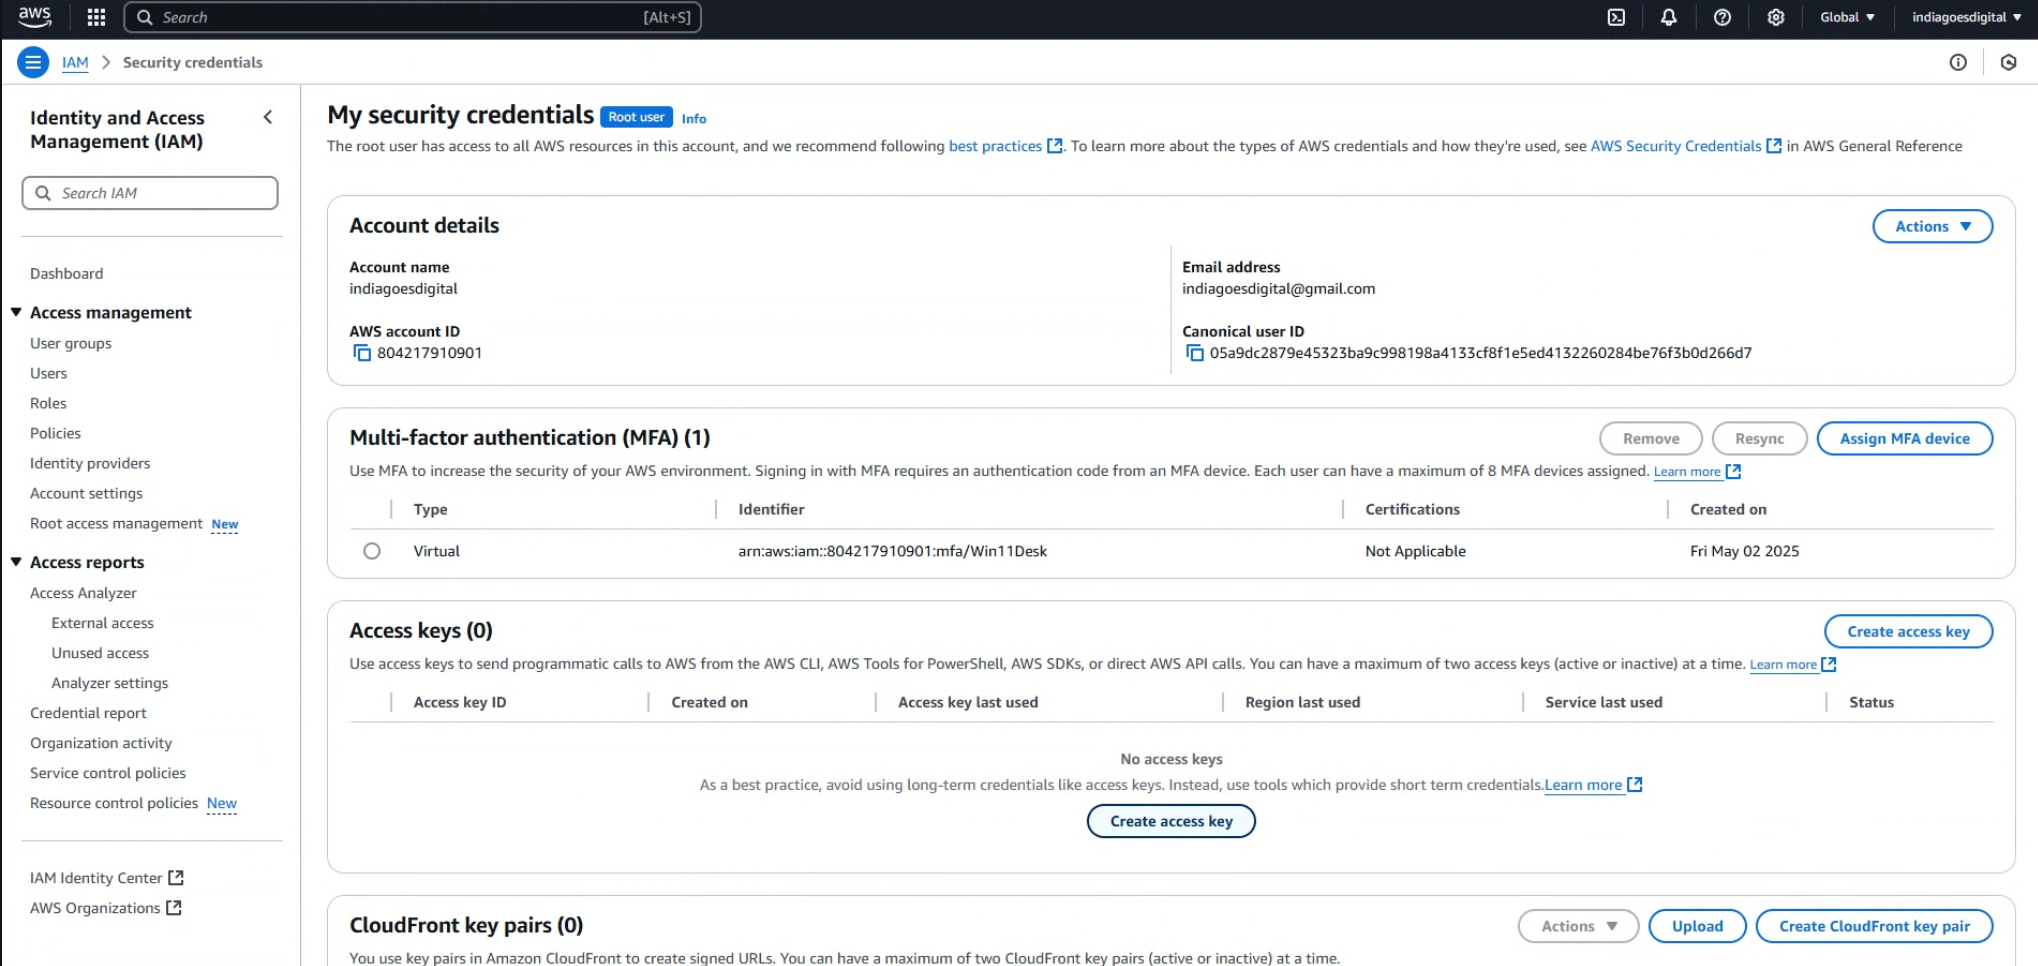
- Go to the Security credentials tab.
- Under Access keys, click Create access key.
- Choose Command Line Interface (CLI) as the use case.
- Click Next, then Create access key.
- Download and securely store the access key ID and secret access key.(AWS Documentation, AWS Documentation)
- It is recommended to avoid using root user credentials for daily tasks. If necessary, root users can create access keys by navigating to My Security Credentials in the AWS Console and selecting Create access key under the Access keys section. (AWS Documentation)
🆔 Instance ID
To locate your Amazon Connect Instance ID:
- Open the Amazon Connect console.
- On the Instances page, select your instance alias.
- On the Account overview page, in the Distribution settings section, find the Instance ARN.
- The Instance ID is the segment following
instance/in the ARN.(AWS Documentation)
Example ARN:
arn:aws:connect:us-east-1:123456789012:instance/abcd1234-ef56-gh78-ij90-klmnopqrstuv
Here, abcd1234-ef56-gh78-ij90-klmnopqrstuv is the Instance ID.
🔁 Contact Flow ID
To create Contact Flow ID, you need to have the contact flow and the Amazon Connect instance in the same AWS Region to avoid region conflicts.
To retrieve the Contact Flow ID:
- Sign in to the Amazon Connect console with an Admin account or an account assigned to a security profile that has permissions to view contact flows.
- In the navigation pane, choose Routing, then Contact flows.
- Select the desired contact flow.
- Click Show additional flow information to view the Flow ID.(AWS Documentation)
3. Integrate Amazon Connect with Yellow.ai
- Log into your Yellow.ai bot and switch to the appropriate environment (Development/Staging/Sandbox).
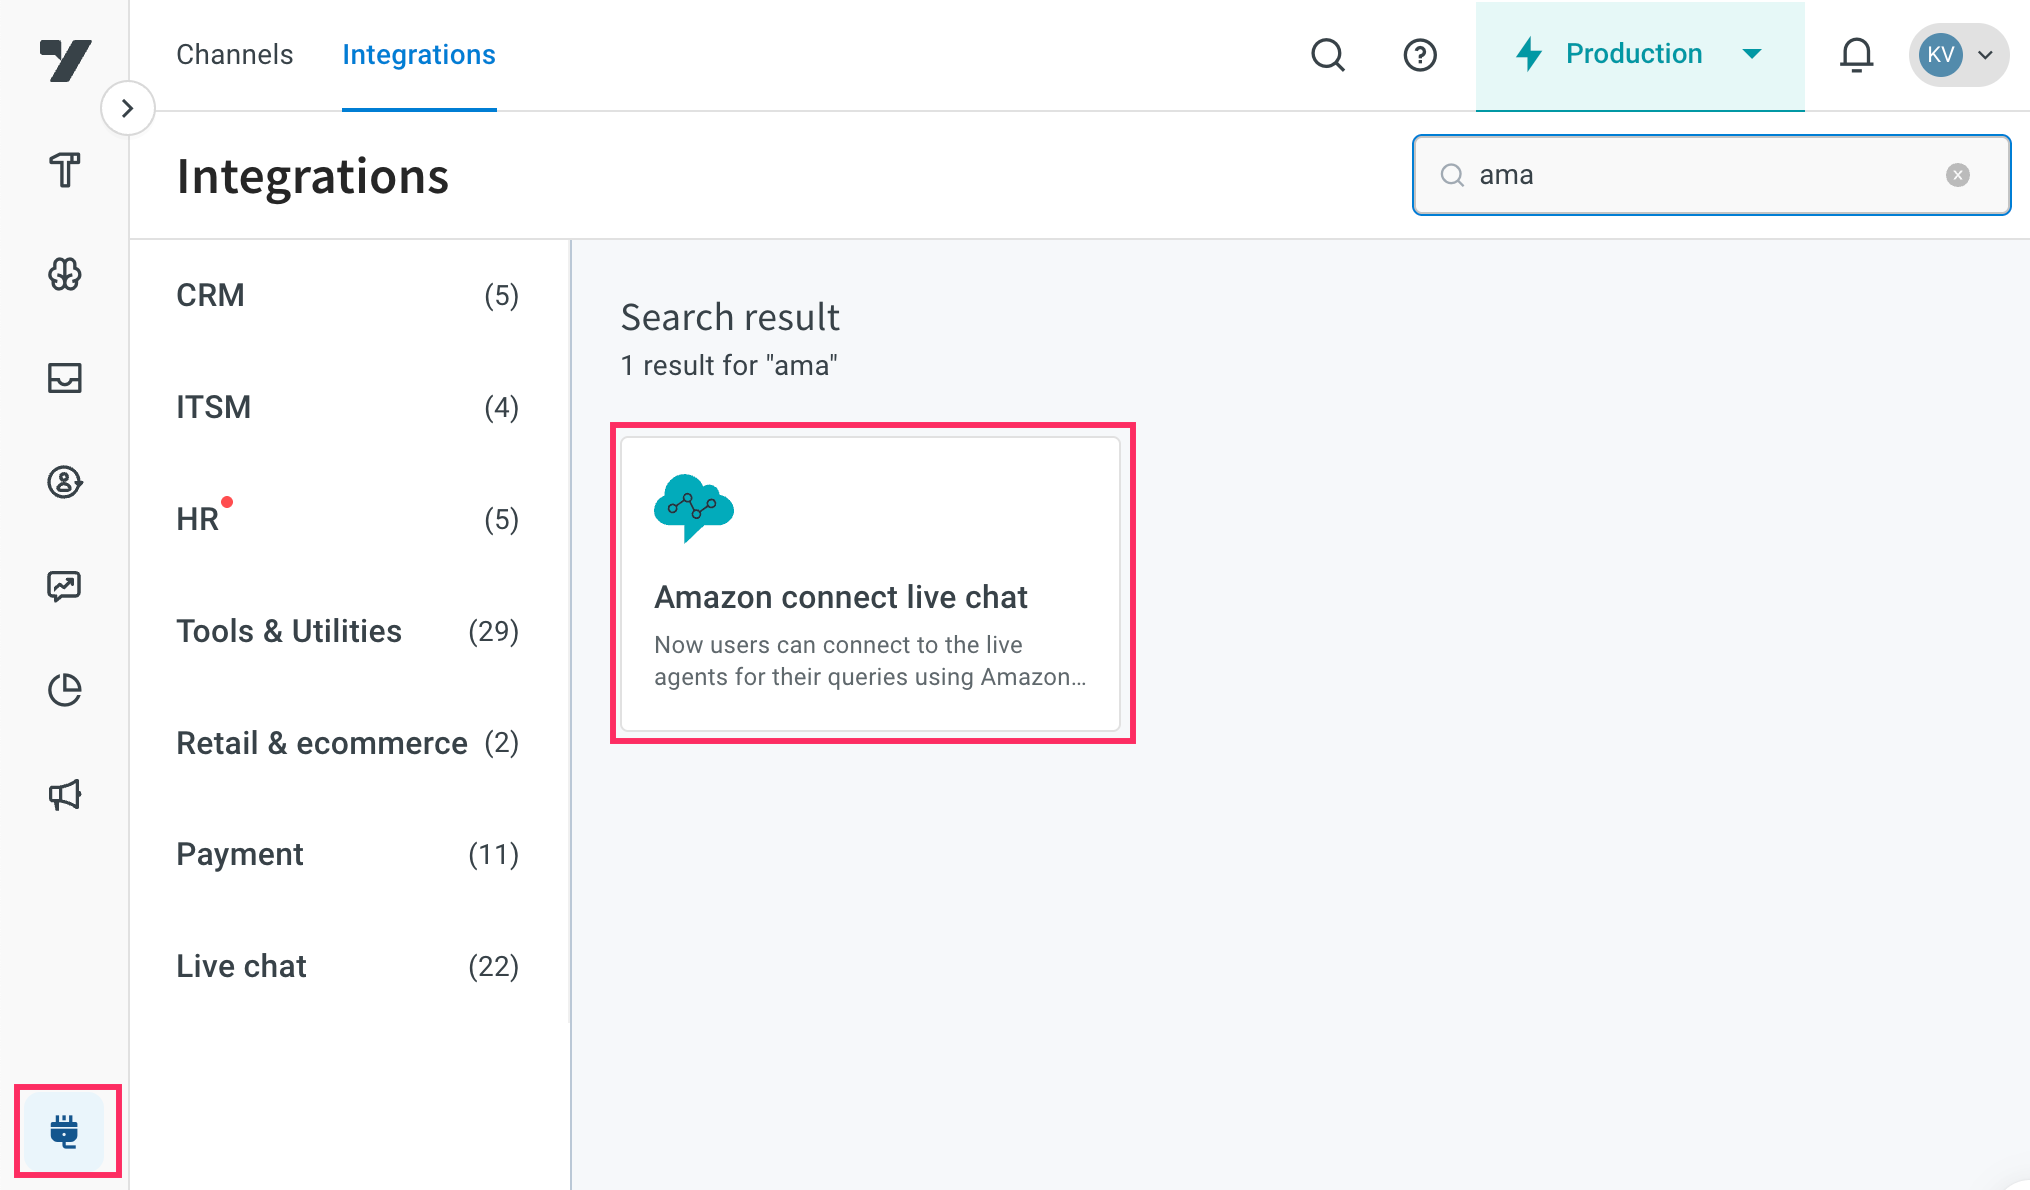
- Navigate to Extensions > Integrations > Live Chat > Amazon Connect Live Chat.
- Configure the following fields to integrate Amazon connect live chat:

| Field Name | Description |
|---|---|
| Account Name | A unique name for the Amazon Connect account. Use only lowercase alphanumeric characters and underscores (_). The same name will be used in the production environment as well. Example value: support_team_account |
| Region | The AWS region where your Amazon Connect instance is hosted. Example value: us-east-1 |
| Access Key ID | AWS access key ID for an IAM user with required permissions for Amazon Connect. Example value: AKIAIOSFODNN7EXAMPLE |
| Secret Access Key | AWS secret access key corresponding to the above key. Keep this confidential. Example value: wJalrXUtnFEMI/K7MDENG/bPxRfiCYEXAMPLEKEY |
| Contact Flow ID | The ID of the contact flow that defines the chat experience. Example value: 12345678-1234-1234-1234-123456789012 |
| Instance ID | Unique identifier of your Amazon Connect instance. Example value: abcd1234-ef56-gh78-ij90-klmnopqrstuv |
| Polling Timeout (ms) | Time in milliseconds to wait for a response before timing out (before auto-closing chat). Example value: 30000 |
| Chat Duration (minutes) | Maximum time in minutes that a chat session can remain active. (default: 25 hours, configurable: 60–10,080 minutes) Example value: 60 |
- Click Connect. You can connect up to 15 accounts in total.
4. Connect your Amazon Connect Live Chat account to your AI agent
To Configure Connect Live Chat in your AI agent conversation:
- In the Automation module, go to Build.
- Navigate to the flow where you want to add the live agent flow and insert Raise a ticket node (Integration > Raise a ticket).
- In Live chat agent, select Amazon connect live chat.
- Configure the following details:
| Option | Description |
|---|---|
| Account name | Select the account you want to associate with the live chat. |
| Message after ticket assignment | Enter the message to be sent automatically once the ticket is assigned to a live agent. |
| Name | Provide a label or identifier for the ticket. This helps categorize and reference it easily. |
| Mobile | Select the mobile number associated with the ticket. Useful for contacting the user if needed. |
| Email (Optional) | Select the email address linked to the ticket, if applicable. |
| Query | Select the variable where you want to capture the user's query |
| Amazon connect live agent custom fields* | Select the object variable to pass custom field values to live agents. Example: {"ticketId": "hello"} |
- To customize how your tickets are handled and processed, you can enable and configure Advanced options. These options allow you to set ticket priority, enable auto-translation, and add custom fields, tags, and departments.