Tools — Overview
Tools are the actions your v3 agent can take in the real world: run a workflow, search a knowledge base, escalate to a human, or transfer a call. Without tools, your agent can only talk. With tools, it can do.
This section walks you through every tool type that's live today, when to use each, and how to configure them.
Where to find tools
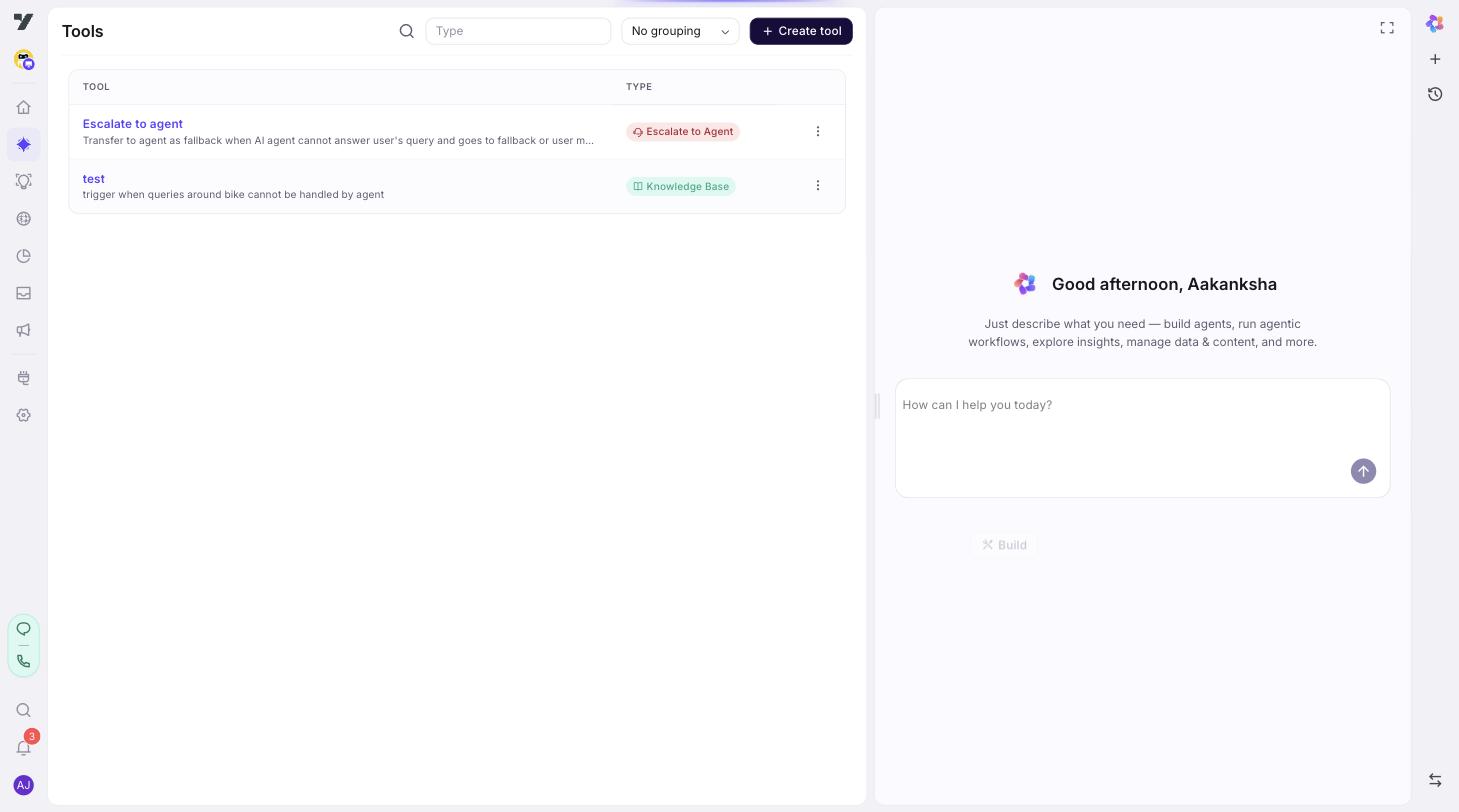
In your bot, go to AI Agent → Tools.
You'll land on the Tools list page — one place that shows every tool defined for this bot. From here you can:
- See every tool at a glance, with its type, name, and description.
- Filter by type (Workflow, Knowledge Base, Escalate to Agent, Transfer Call, API, Skill, Function).
- Add a new tool via the Add Tool button.
- Edit a tool by clicking its row — the configuration drawer opens on the right.
The page paginates 50 tools at a time. Searching by name works as you'd expect.
What tool types are available today?
Click Add Tool and you'll see a picker with three categories:
Core Built-in (live now)
| Tool | What it does |
|---|---|
| Workflow | Connect to an existing workflow you've built in the visual flow editor. Run multi-step business logic, integrations, or backend work. |
| Knowledge Base | Let your agent answer from documents and FAQs. Configurable confidence threshold, filters, history context, and result formatting. |
| Escalate to Agent | Route the chat to a human agent in Inbox. Optionally collect name/email/phone first, set priority, assign to a group. |
| Transfer Call | Forward an in-progress voice call to a human agent or SIP extension. |
Custom & MCP (coming soon)
- Connect MCP Server — connect any custom data source or API via Model Context Protocol.
- HTTP Webhook — trigger an external REST endpoint.
- Custom Function — write a JS snippet for the LLM to execute.
Integrations (coming soon)
- Slack, PostgreSQL, Google Calendar.
Coming-soon tools render in the picker but aren't clickable yet.
Anatomy of a tool
Every tool — regardless of type — has the same top-level shape:
| Field | Why it matters |
|---|---|
| Name | What you (and the LLM) refer to the tool as. |
| Description | A plain-English explanation of what the tool does. The LLM reads this to decide when to call the tool. This is the single most important field on the page. |
| Type | The execution type (Workflow, Knowledge Base, etc.). Set when you create the tool; not changed afterwards. |
| Input schema | The arguments the tool expects. The LLM extracts these from the conversation. |
| Output schema | The shape the tool returns. The agent reads these values to continue the conversation. |
| Type-specific config | Workflow target, KB filters, escalation rules, transfer settings — depending on type. |
Why description is the most important field
The LLM doesn't read your code. It reads your tool's name and description and decides whether to call it. A vague description gets you vague behavior:
❌ "Check stuff."
A precise description gets you reliable behavior:
✅ "Look up an order's status by order ID. Returns the current shipment state, tracking number, and ETA. Use this when the user asks about an order they've already placed — not for new orders."
Spend time on tool descriptions. It pays off every conversation.
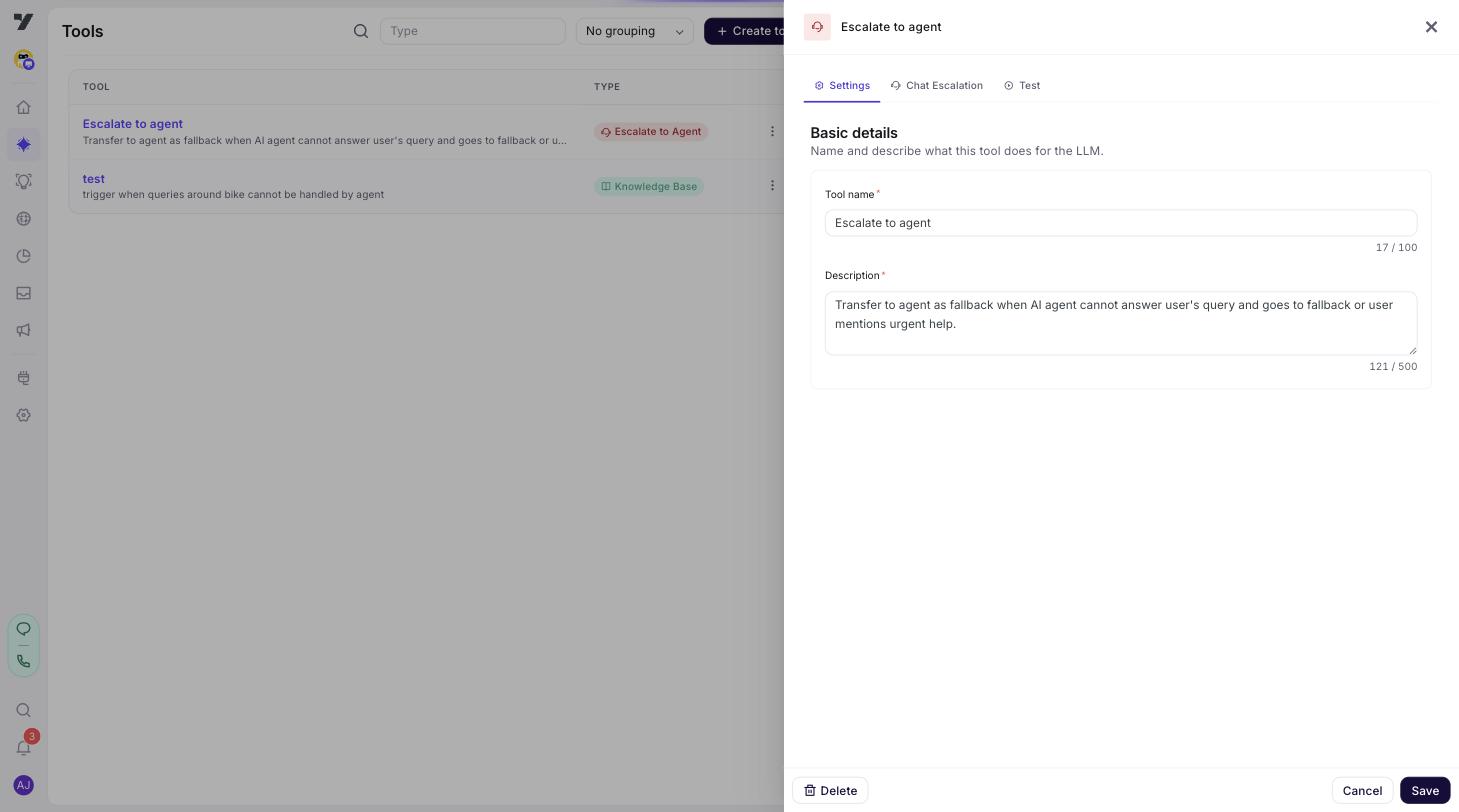
Tabs you'll see in the configuration drawer
When you open or create a tool, the right-side drawer shows several tabs depending on the type:
| Tab | When you'll see it | Purpose |
|---|---|---|
| Settings | Always | Name, description, input/output schema. |
| Actions | Workflow tools | Pick the target workflow. |
| KB Config | Knowledge Base tools | Confidence, filters, history, result formatting. |
| Chat Escalation | Escalate to Agent | Priority, assignment, fields to collect. |
| Voice Transfer | Transfer Call | Forward number, SIP, recording behavior. |
| Mocks | Workflow tools | Stub responses for testing without firing the real workflow. |
| Test | Always | Run the tool with sample inputs, see the output. |
Always Test before saving. The Test tab lets you call the tool with sample arguments and inspect what comes back — saves you a debugging round-trip later.
A typical "add a tool" workflow
- Open AI Agent → Tools.
- Click Add Tool.
- Pick the tool type.
- Fill in Name and Description. Be specific about when the LLM should call this tool.
- Configure the type-specific tab (target workflow, KB settings, escalation rules, etc.).
- Define the input schema (what arguments the tool needs).
- Open the Test tab and run the tool against a sample input. Confirm it returns what you expect.
- Save.
- The tool is now available to any agent in this bot. The super agent picks it up automatically based on its name and description.
How agents pick a tool
The super agent (and any agent it hands off to) sees the list of tools available to it, plus each tool's name, description, and input schema. When a user message arrives, the super agent:
- Decides whether any tool fits.
- If yes, picks the best-fit tool by description.
- Extracts the required input arguments from the conversation.
- Calls the tool.
- Reads the output and continues the conversation.
You influence step 1–3 with descriptions and routing logic. You influence step 4–5 with input/output schema design.
Best practices (high-level)
These apply to every tool type. Type-specific tips live on their own pages.
- Write descriptions for the LLM, not for humans. "What does this tool do, and when should you call it?" — answer both, in plain English, in the description.
- Keep input schemas minimal. Every input you ask for is one more thing the LLM has to extract correctly. Cut fields that aren't actually needed.
- Test every tool in isolation before wiring it into routing logic.
- Name tools consistently.
getOrderStatus,updateAddress,escalateToBilling— verb-first, scoped to the domain. Avoidtool1,helper, etc. - Use Routing Logic to make critical handoffs deterministic. "If the user mentions billing, call the
getInvoicetool" beats hoping the LLM figures it out. - One tool, one job. A tool that does five things is harder for the LLM to use correctly than five focused tools.
Read next
- Workflow tool — connect a flow as a tool.
- Knowledge Base tool — answer from documents and FAQs.
- Escalation tools — Escalate to Agent (chat) and Transfer Call (voice).
- Best Practices — patterns that consistently produce good agents.