Create your first AI-agent
Your AI Agent starts with a personality. Use Super Agent to define its tone and persona, shaping how it communicates and engages with users.
Once configured, the agent delivers consistent chat, voice, and multi-turn interactions—aligned with your brand, meeting user expectations, and scaling with ease.
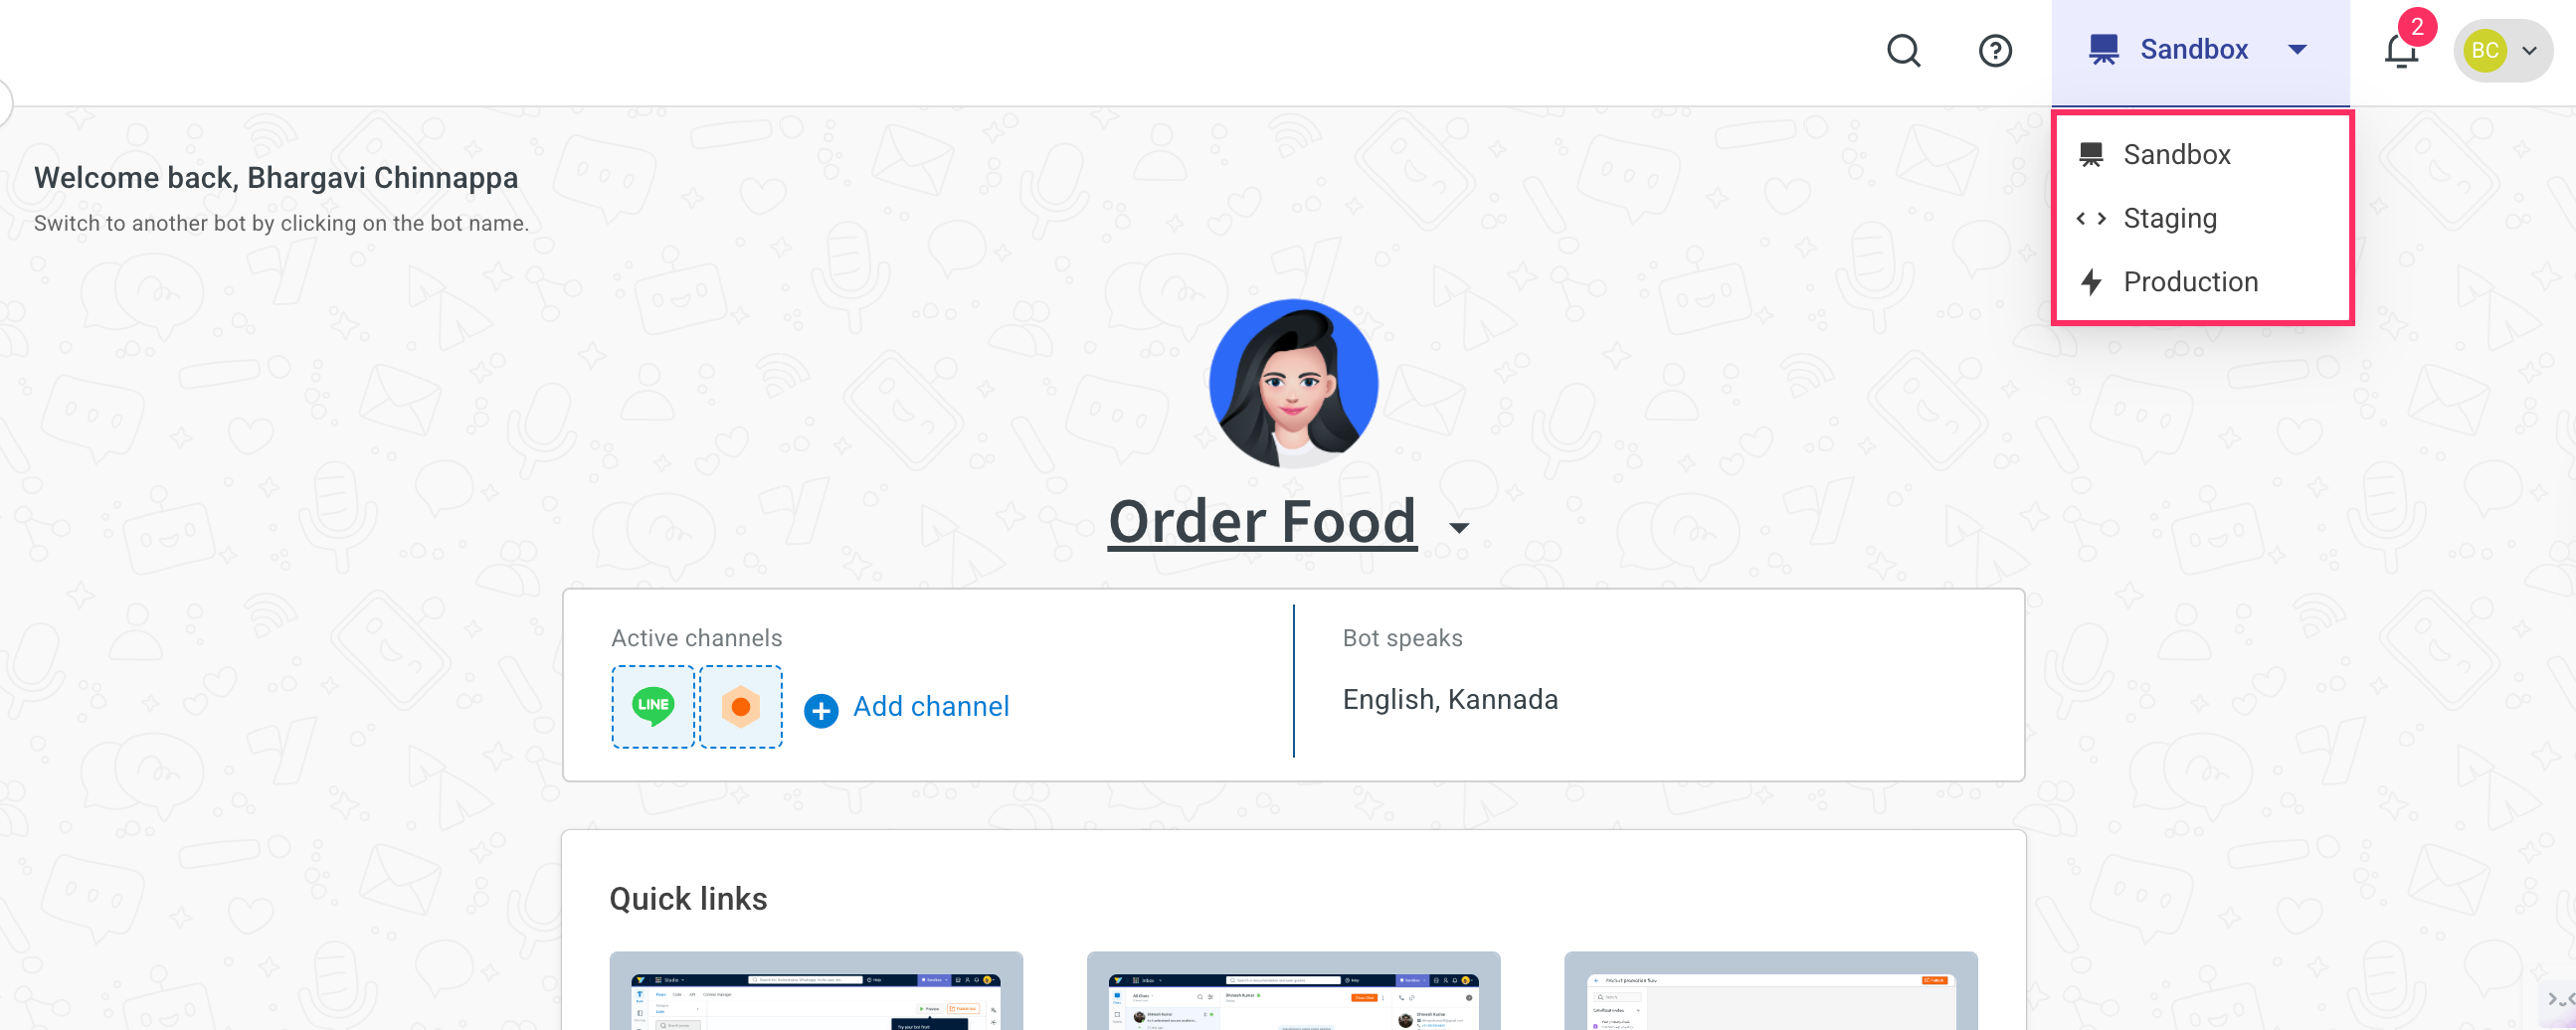
Switch to your base environment
All AI Agent development and testing should be done in non-production environments (Development, Sandbox, or Staging). You then need to validate the AI agent throughly before publishing.
Once an agent is ready, publish it to the Live/Production environment to make it available to end users.
- Use the environment switcher in the top-right corner to move between environments.
Create a new AI Agent (for Super Admins)
Only Super admins can create a new AI agent.
To create an AI agent, follow these steps:
-
Login to Yellow.ai platform.
-
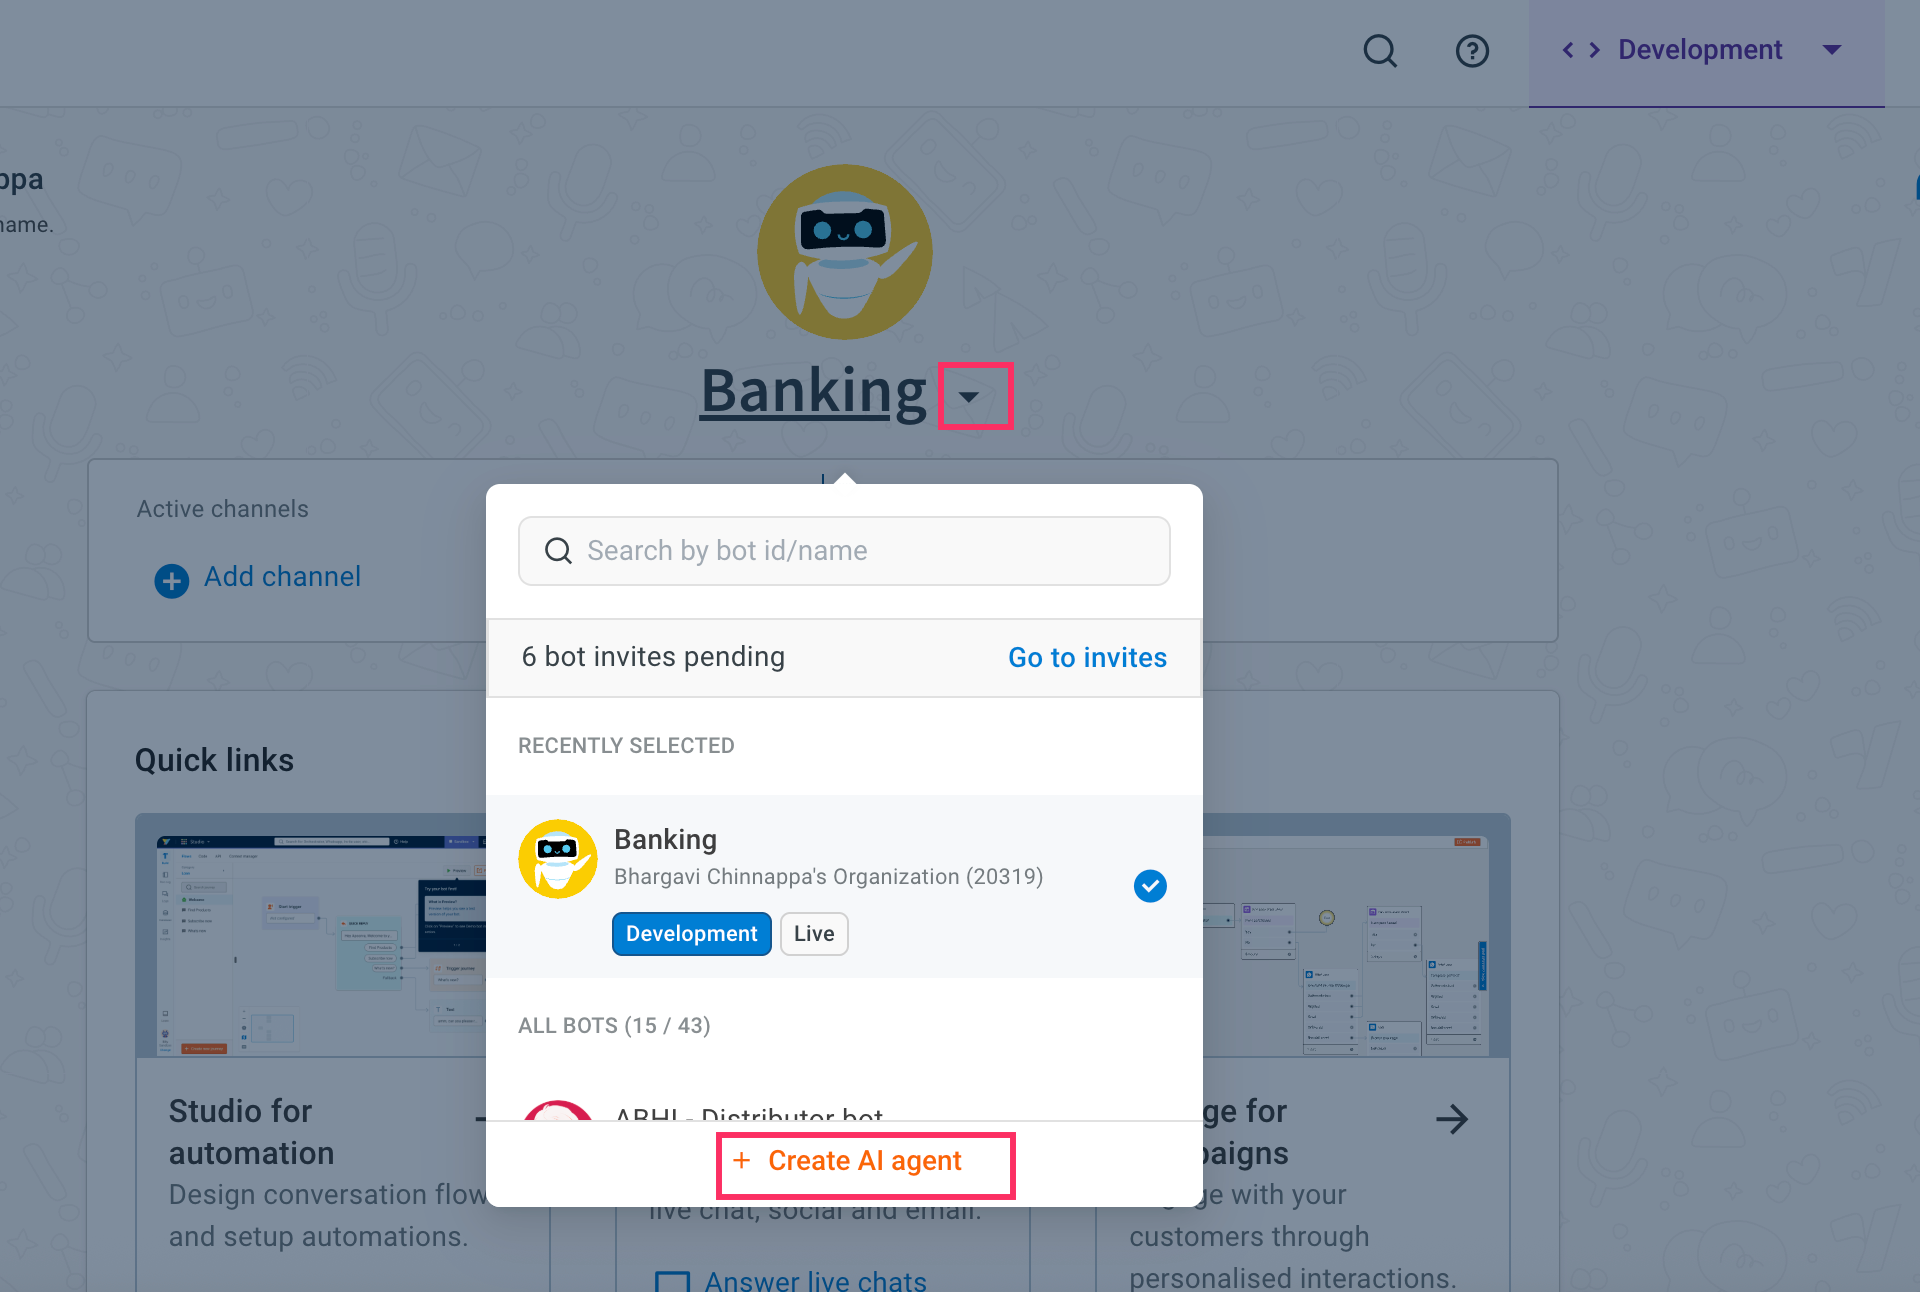
Go to the Overview page > click the AI-agent drop-down > + Create AI agent.
-
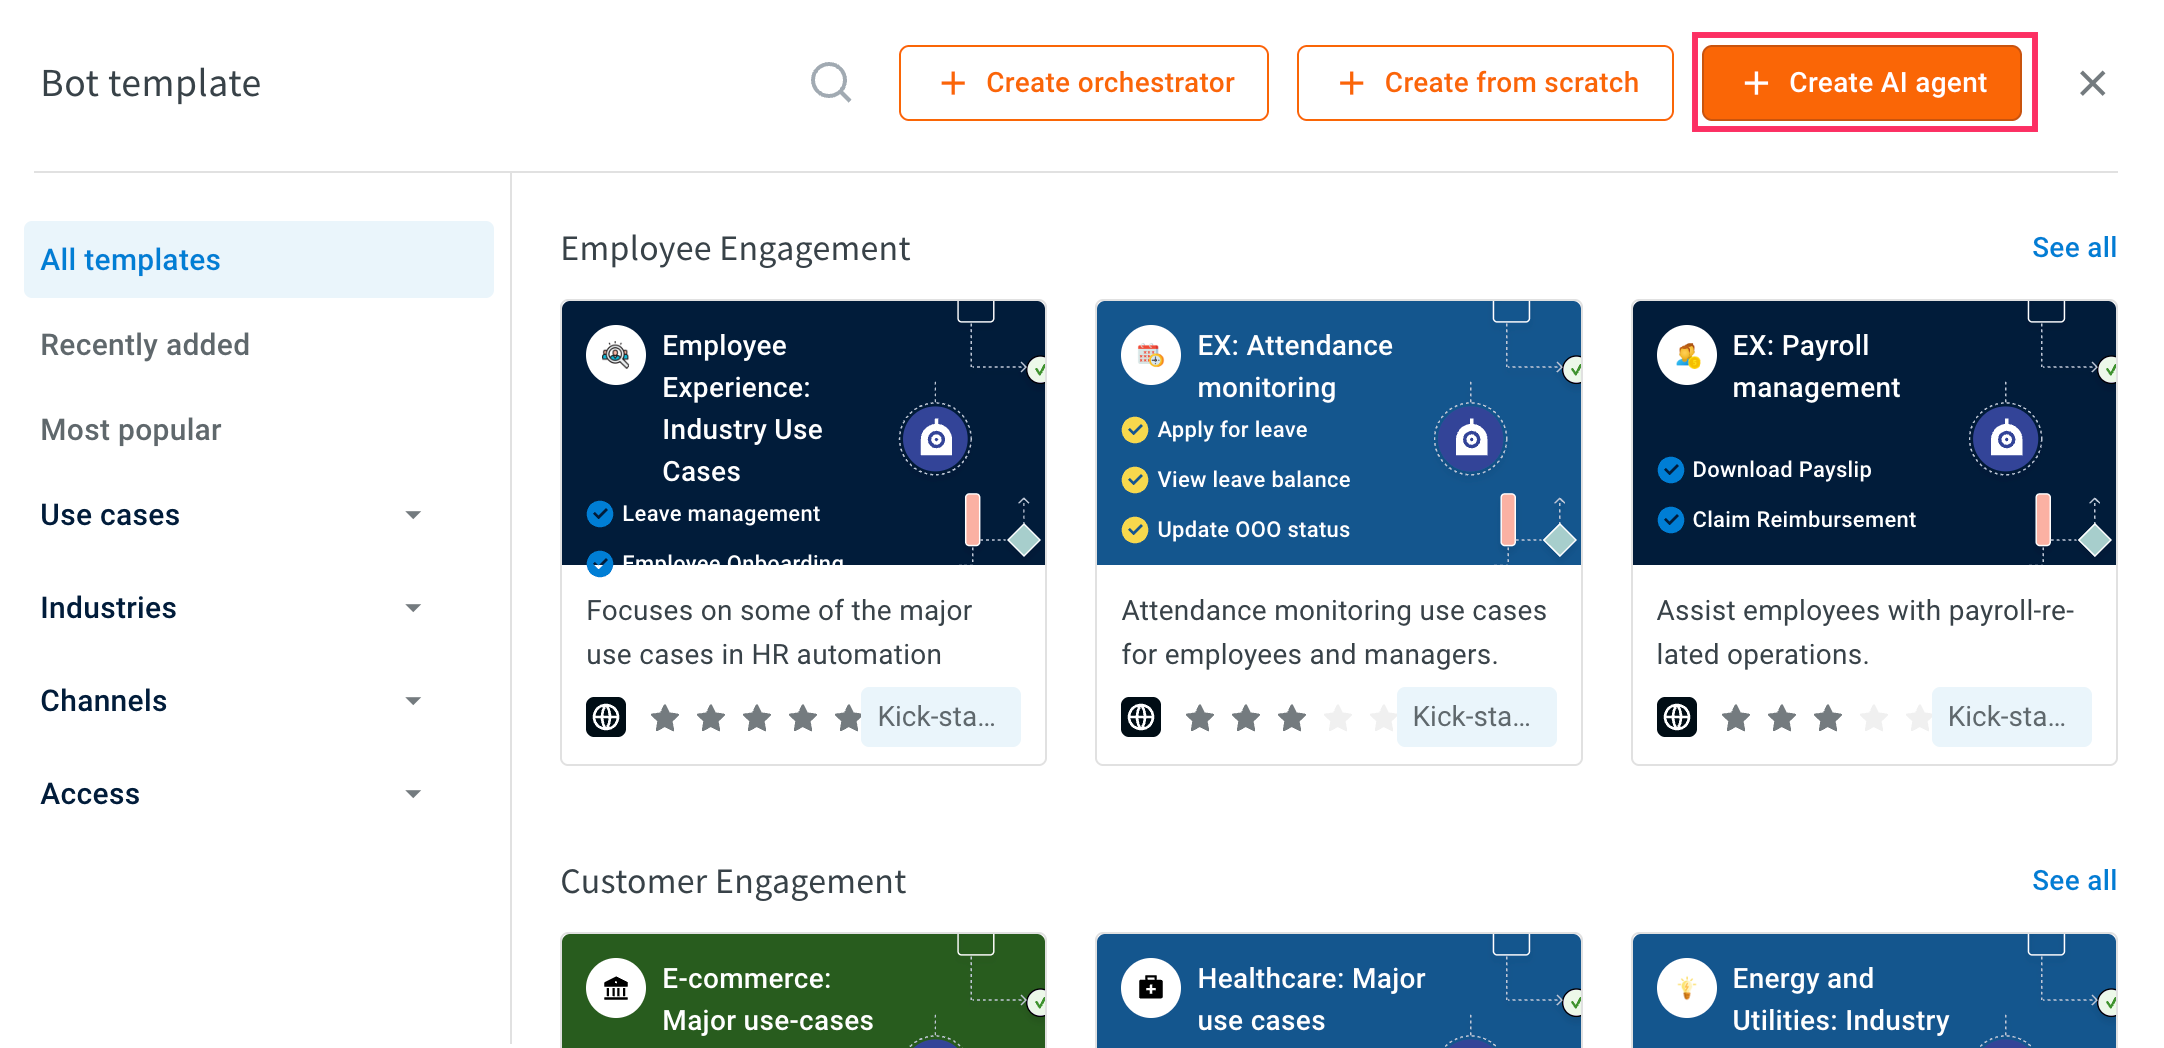
Click + Create AI agent.
-
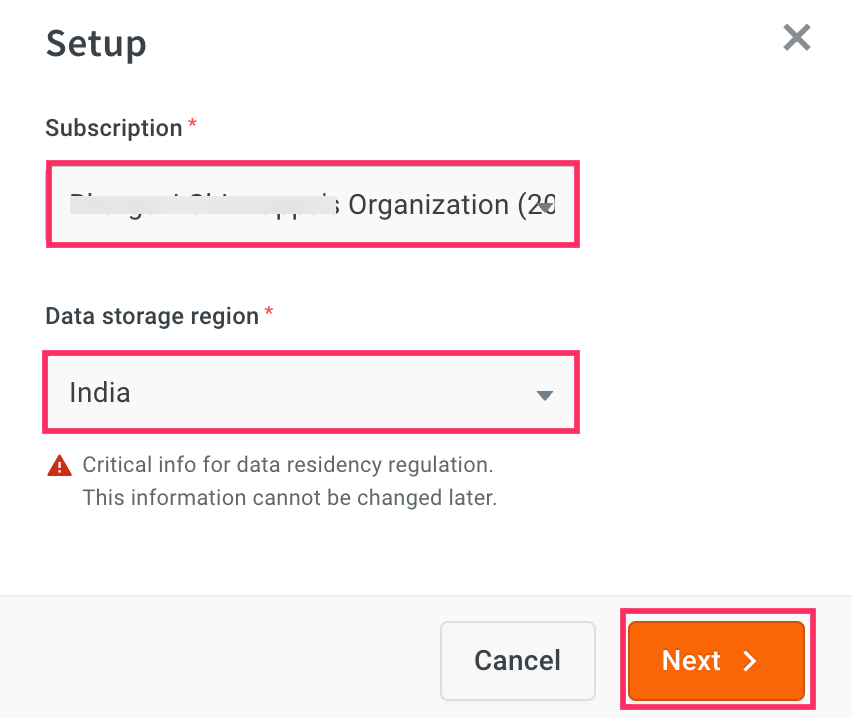
Choose the Subscription and appropriate Data storage region where your agent’s data will be hosted and click Next.
-
Define the following details and click Next.
Field Name Description Name Enter a unique name for your AI agent. Choose avatar Select an animated avatar to visually represent your AI agent. Select a persona This defines the agent’s tone and communication style. You can select from the following personas:
* Polite and persuasive: Ideal for sales agents.
* Empathetic and helpful: Best suited for support agents.
Witty: Best for marketing agents.Role Describe the role of the AI agent in less than 400 characters.
For example, you are a banking assistant who helps users with Yellow Banking-related queries. Your role is focused on assisting with personal loans-guiding users to apply loan, checking loan status, and answering loan specific questions for better accuracy and support.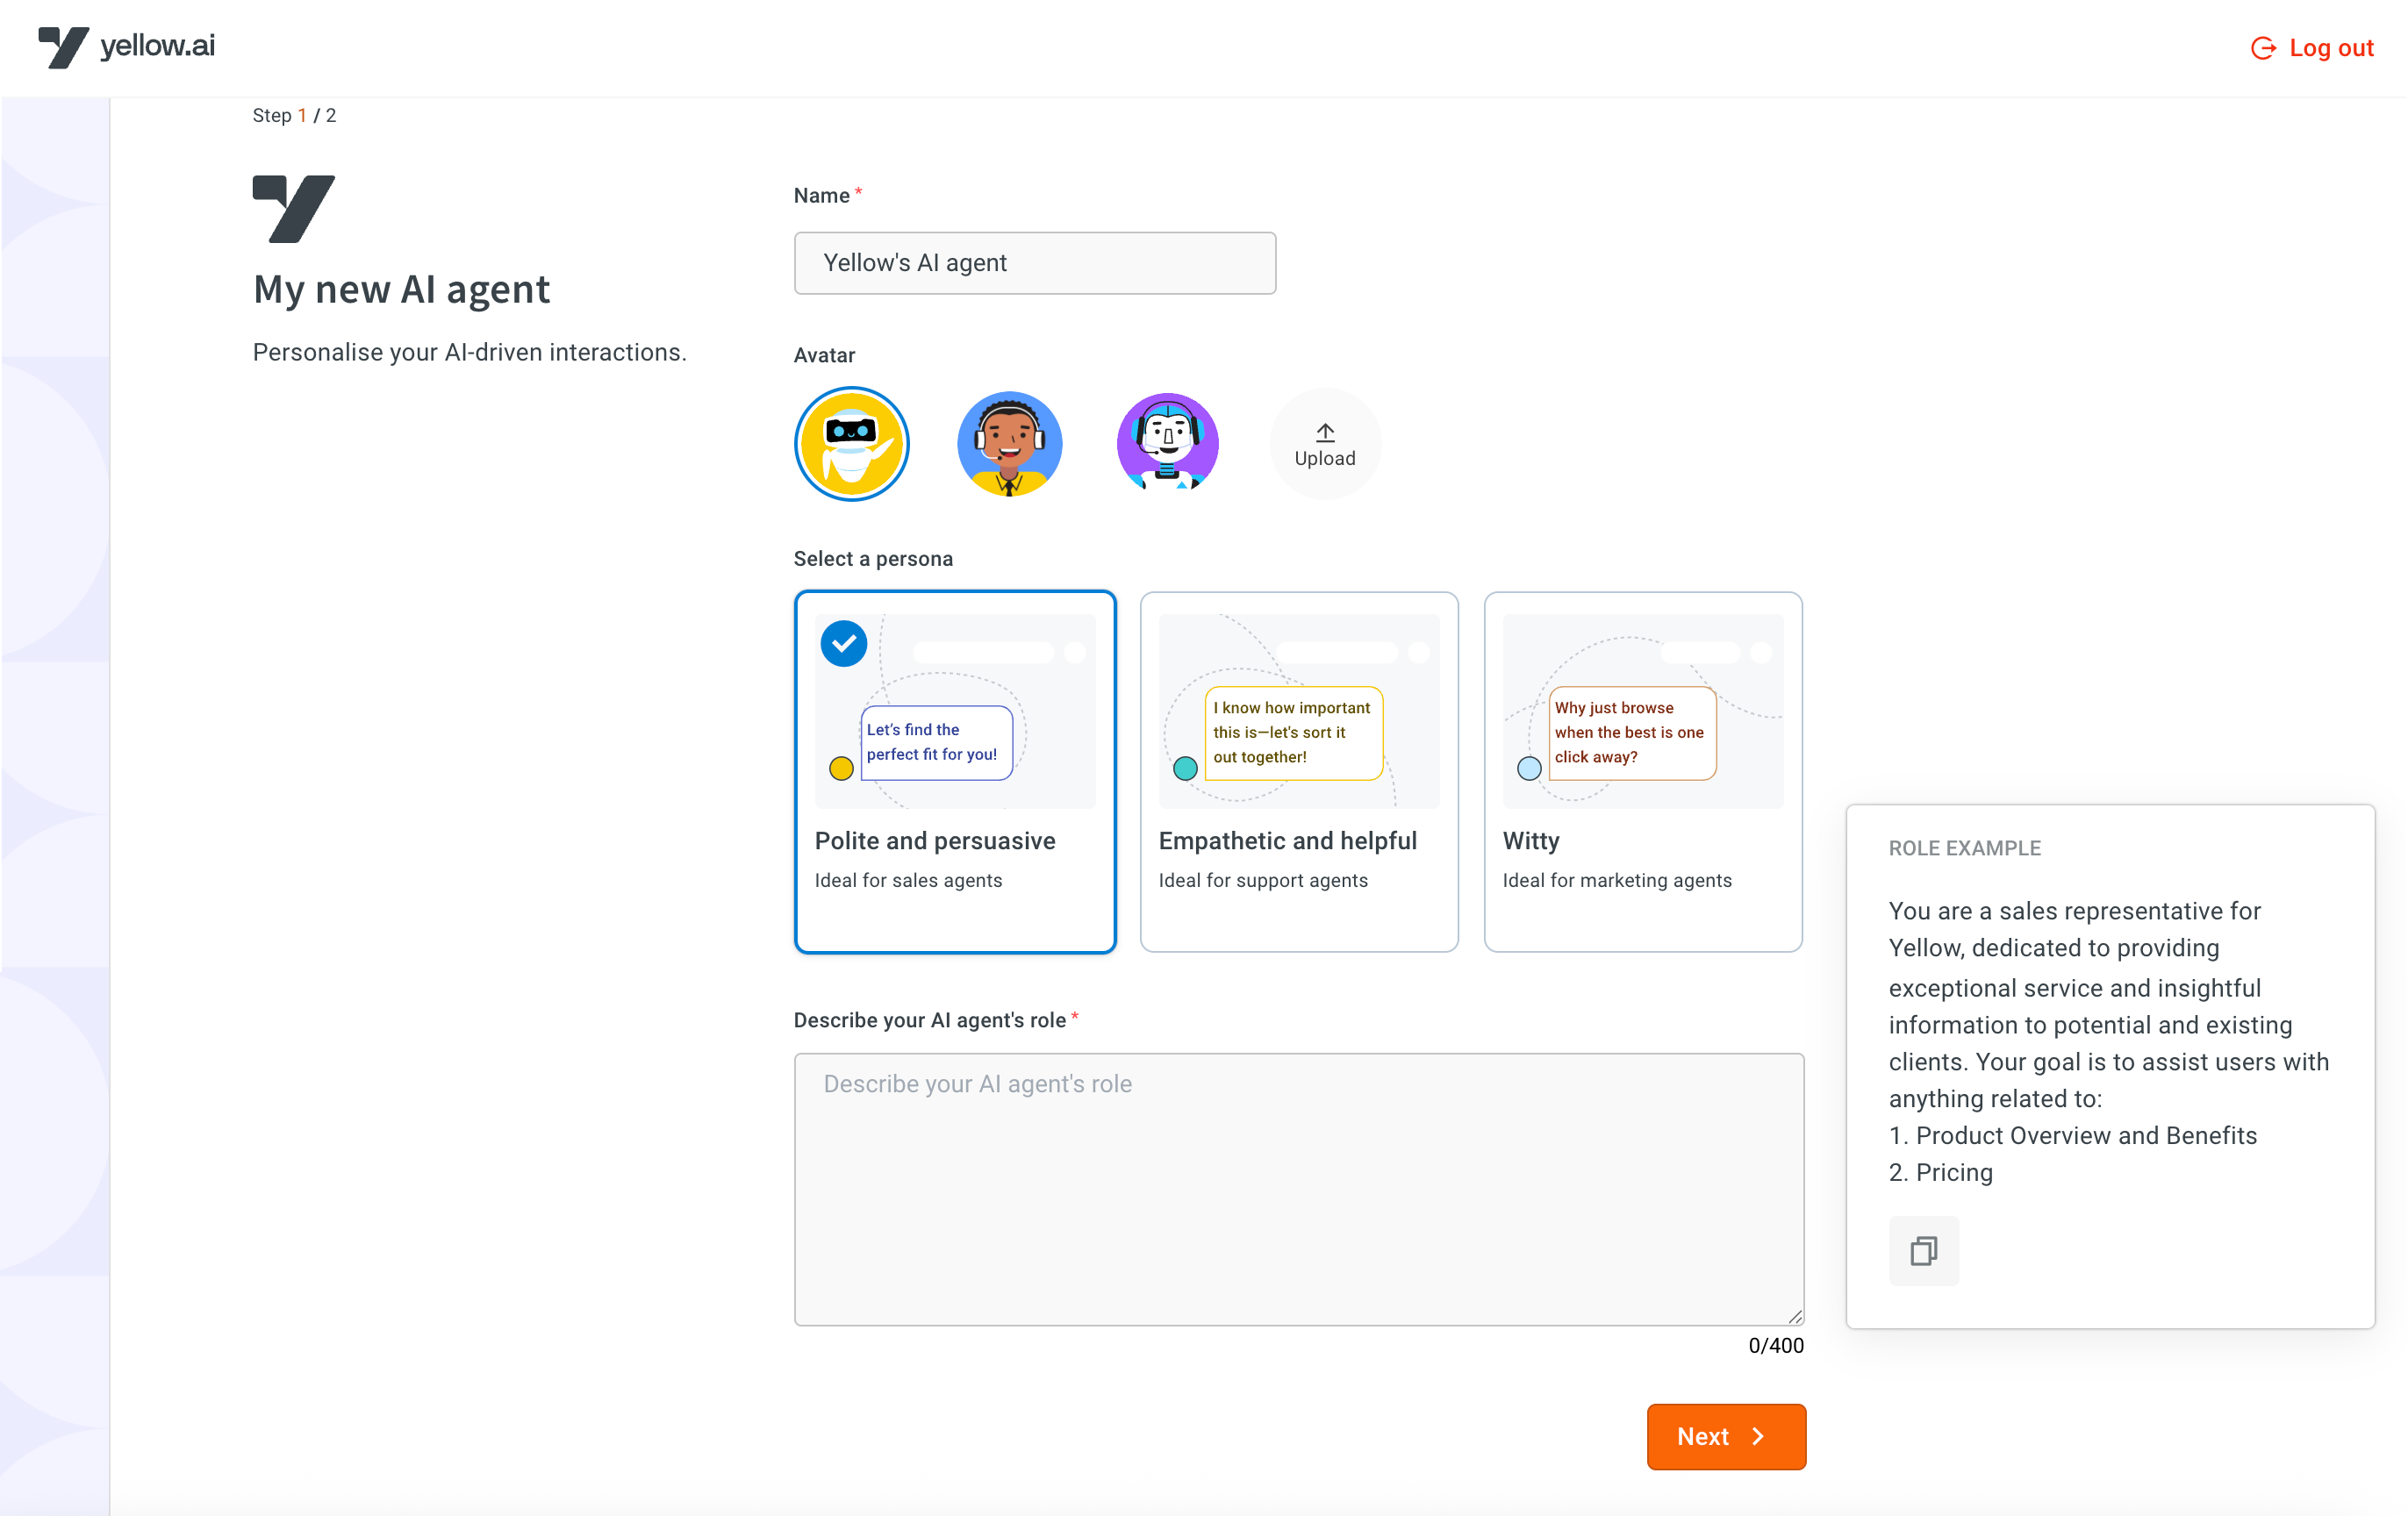
-
Provide either your website URL or upload documents. This content will be used to train the AI agent.
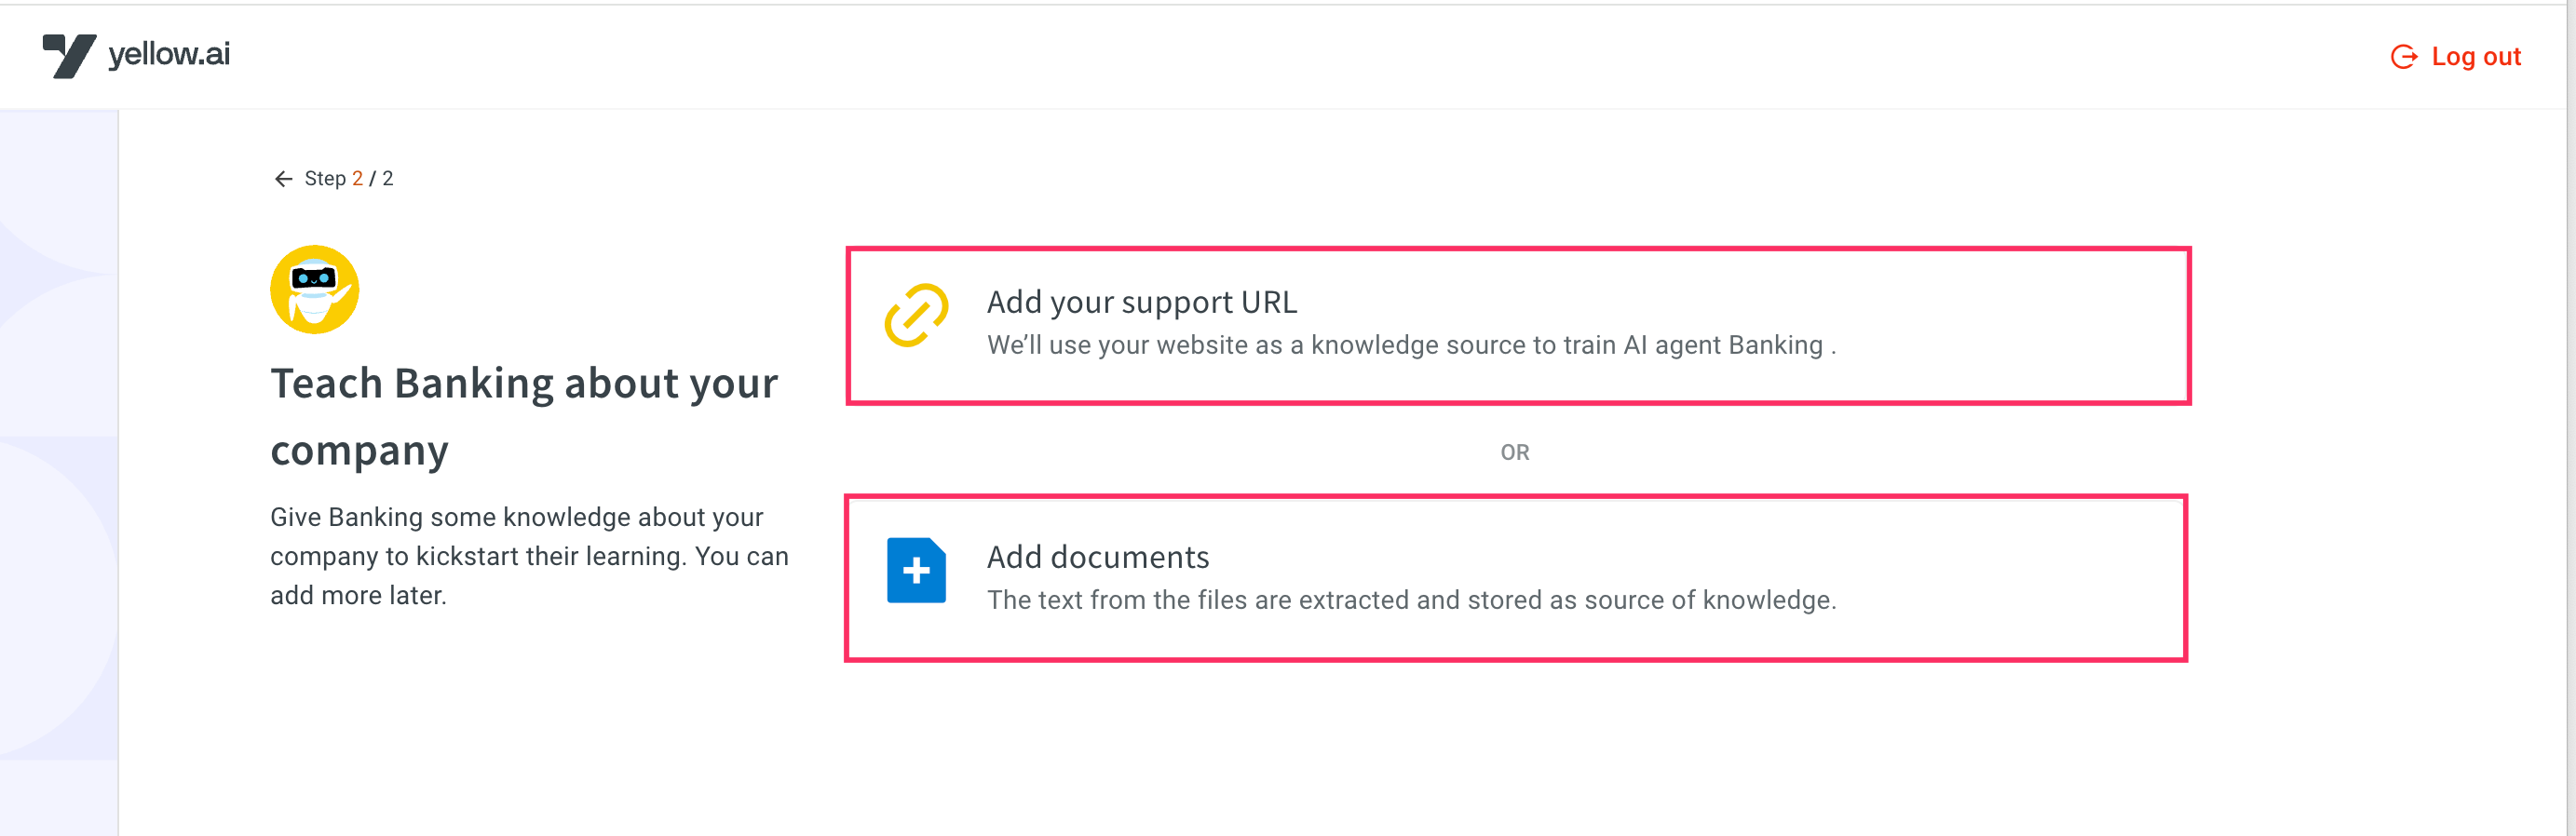
-
After adding the knowledge source, your AI agent will be created and ready for further configuration.

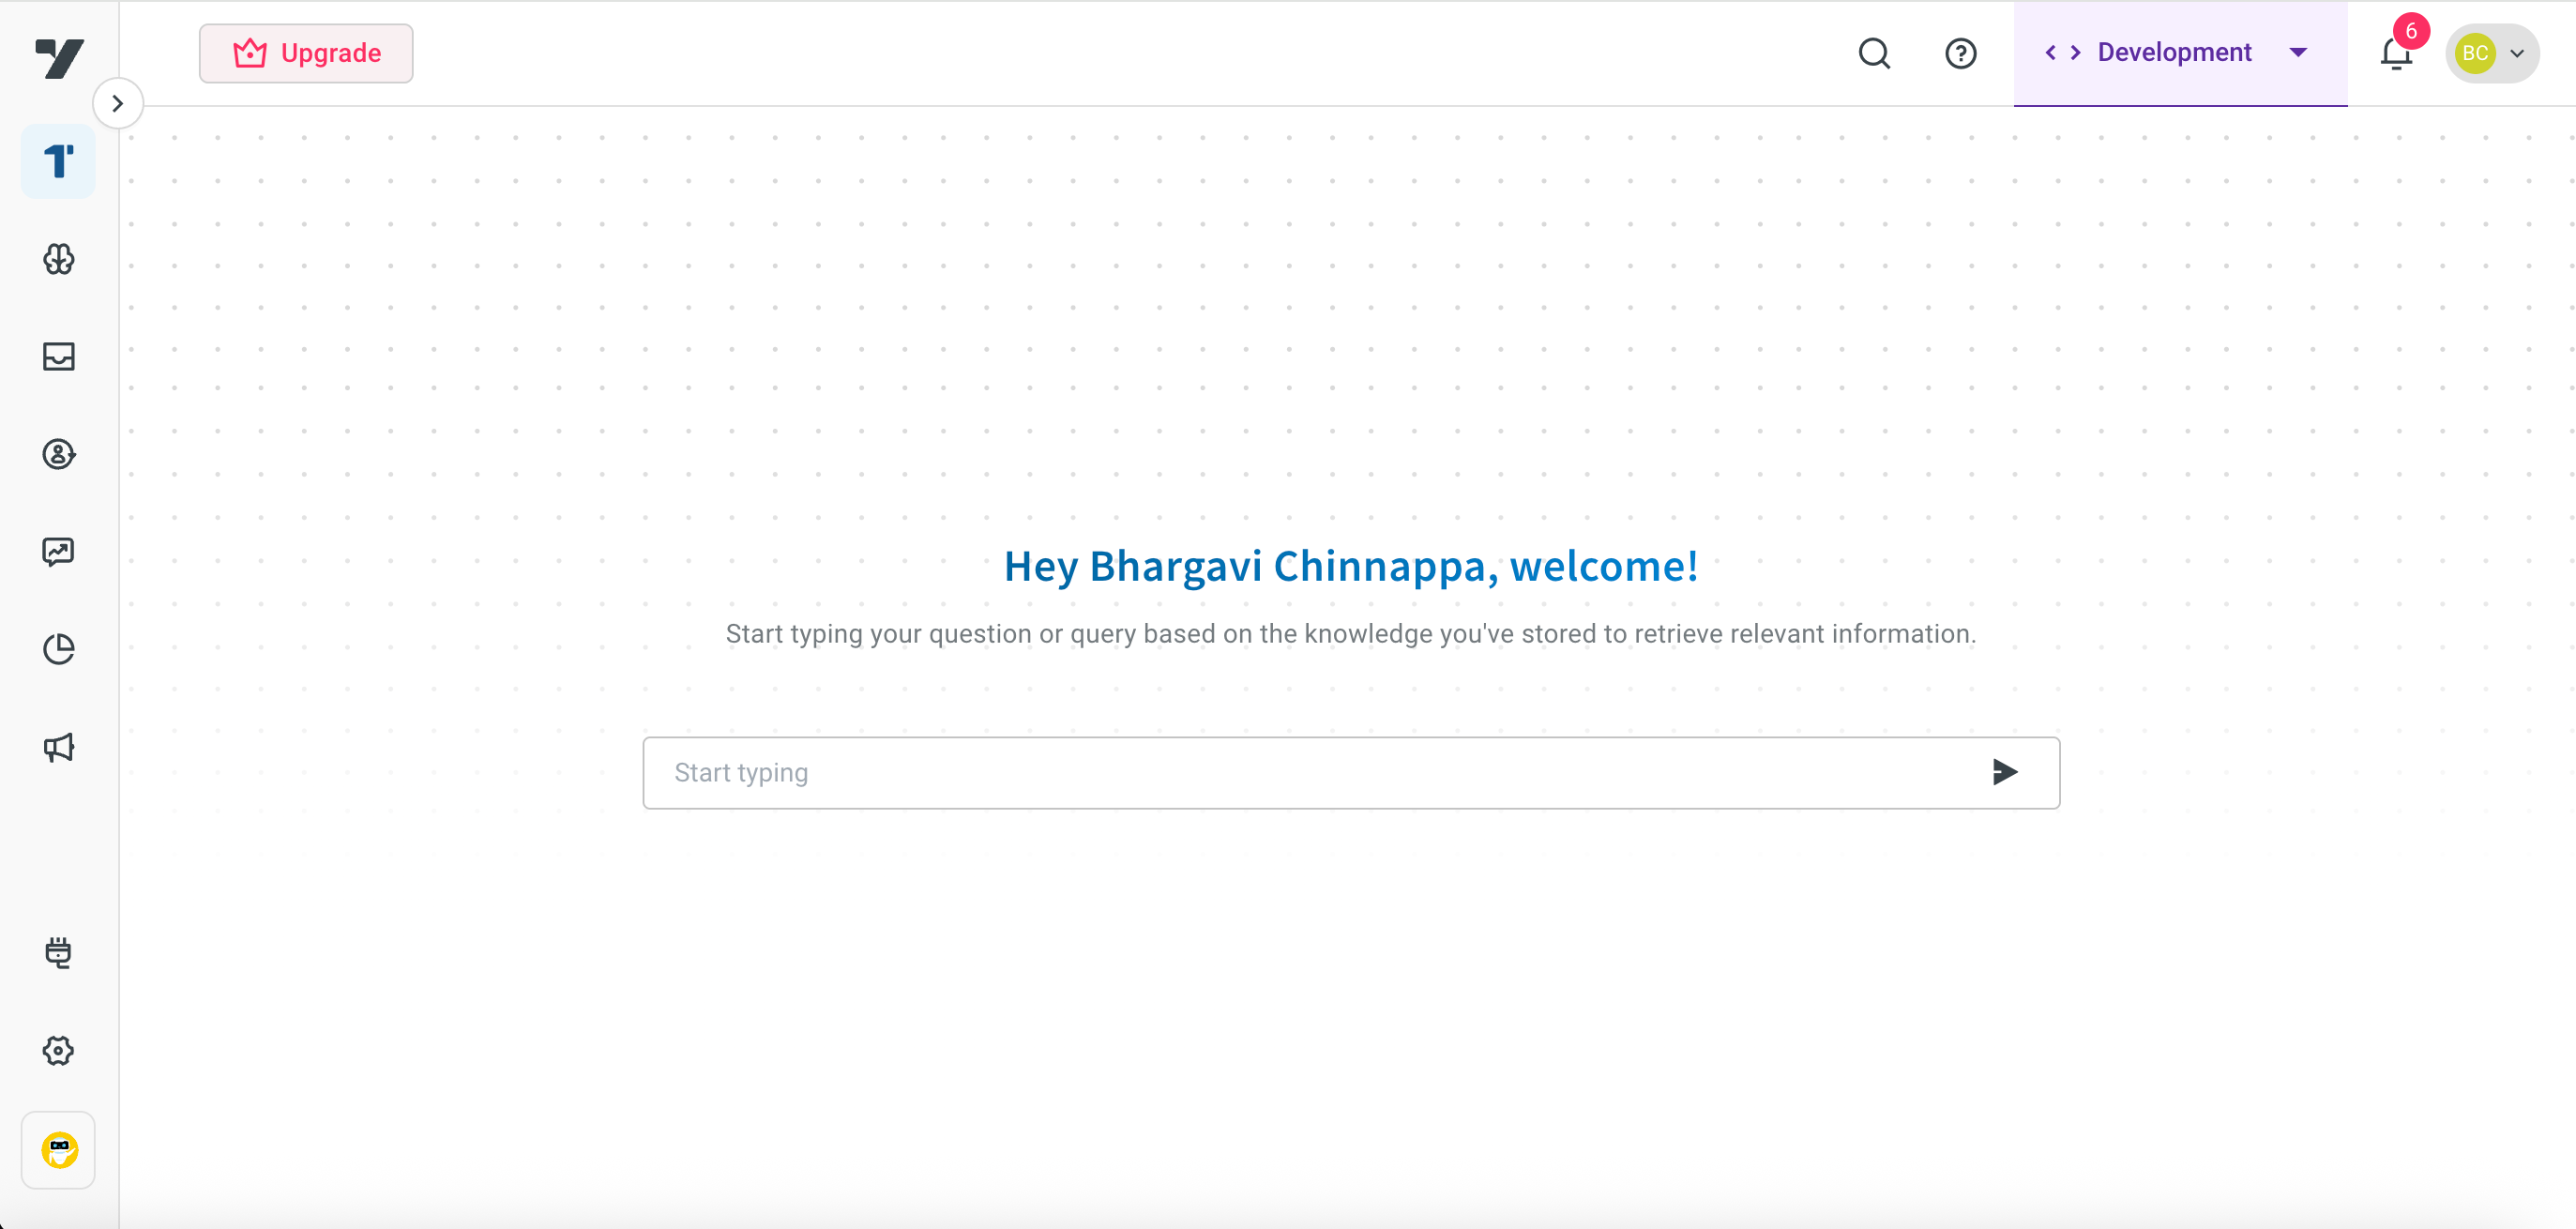
-
You will be redirected to the Copilot page, where you can Start typing your question or query based on the knowledge you have stored to retrieve relevant information.
After setting up the Super Agent, you can configure the Agent with the exact use cases and workflows it should manage. This structured approach improves clarity and makes it easier to scale and maintain.
Define Super agent profile
Set high-level agent identity, tone, and behavioral defaults for a consistent user experience.
Configure your agent
Build and configure specific conversation to handle distinct use cases and user intents.
Add Actions to your AI agent prompts
Add Actions to your AI agent prompts to perform tasks like collecting inputs, calling APIs, or triggering workflows.
Add Knowledge Base sources
Add Actions to your AI agent prompts to perform tasks like collecting inputs, calling APIs, or triggering workflows.
Configure Knowledge Base agent
Connect and organize your content sources to enable your AI agent to deliver accurate and relevant answers.
Preview your agent
Validate your agent's behavior before publishing to production.
Test your agent using Copilot
Use Copilot to simulate conversations and test how your AI agent responds.
Automate agent using Test suites
Automate testing of your AI agent using test suites to ensure consistent behavior and reliability before publishing to production.
Publish your AI agent
Publish your fully tested AI agent from development to live environment to make it available for end users.