Send event to bot workflow
This documentation outlines the process of using the "sendEventToBot" function to add or update data in your app's payload after the bot has been initialized. By following these guidelines, you can enhance the functionality and relevance of your bot interactions for both developers and end-users.
Updating Payload Using the sendEventToBot Function
You can use the sendEventToBot function to add or update data within your bot's payload even after the bot has been initialized. You can use this function to ensure that your bot's data remains up-to-date throughout its interaction within the app. To use the sample payload, refer to the Android, Cordova, Flutter, iOS, and React Native SDK documentation.
Flow and Prerequisites
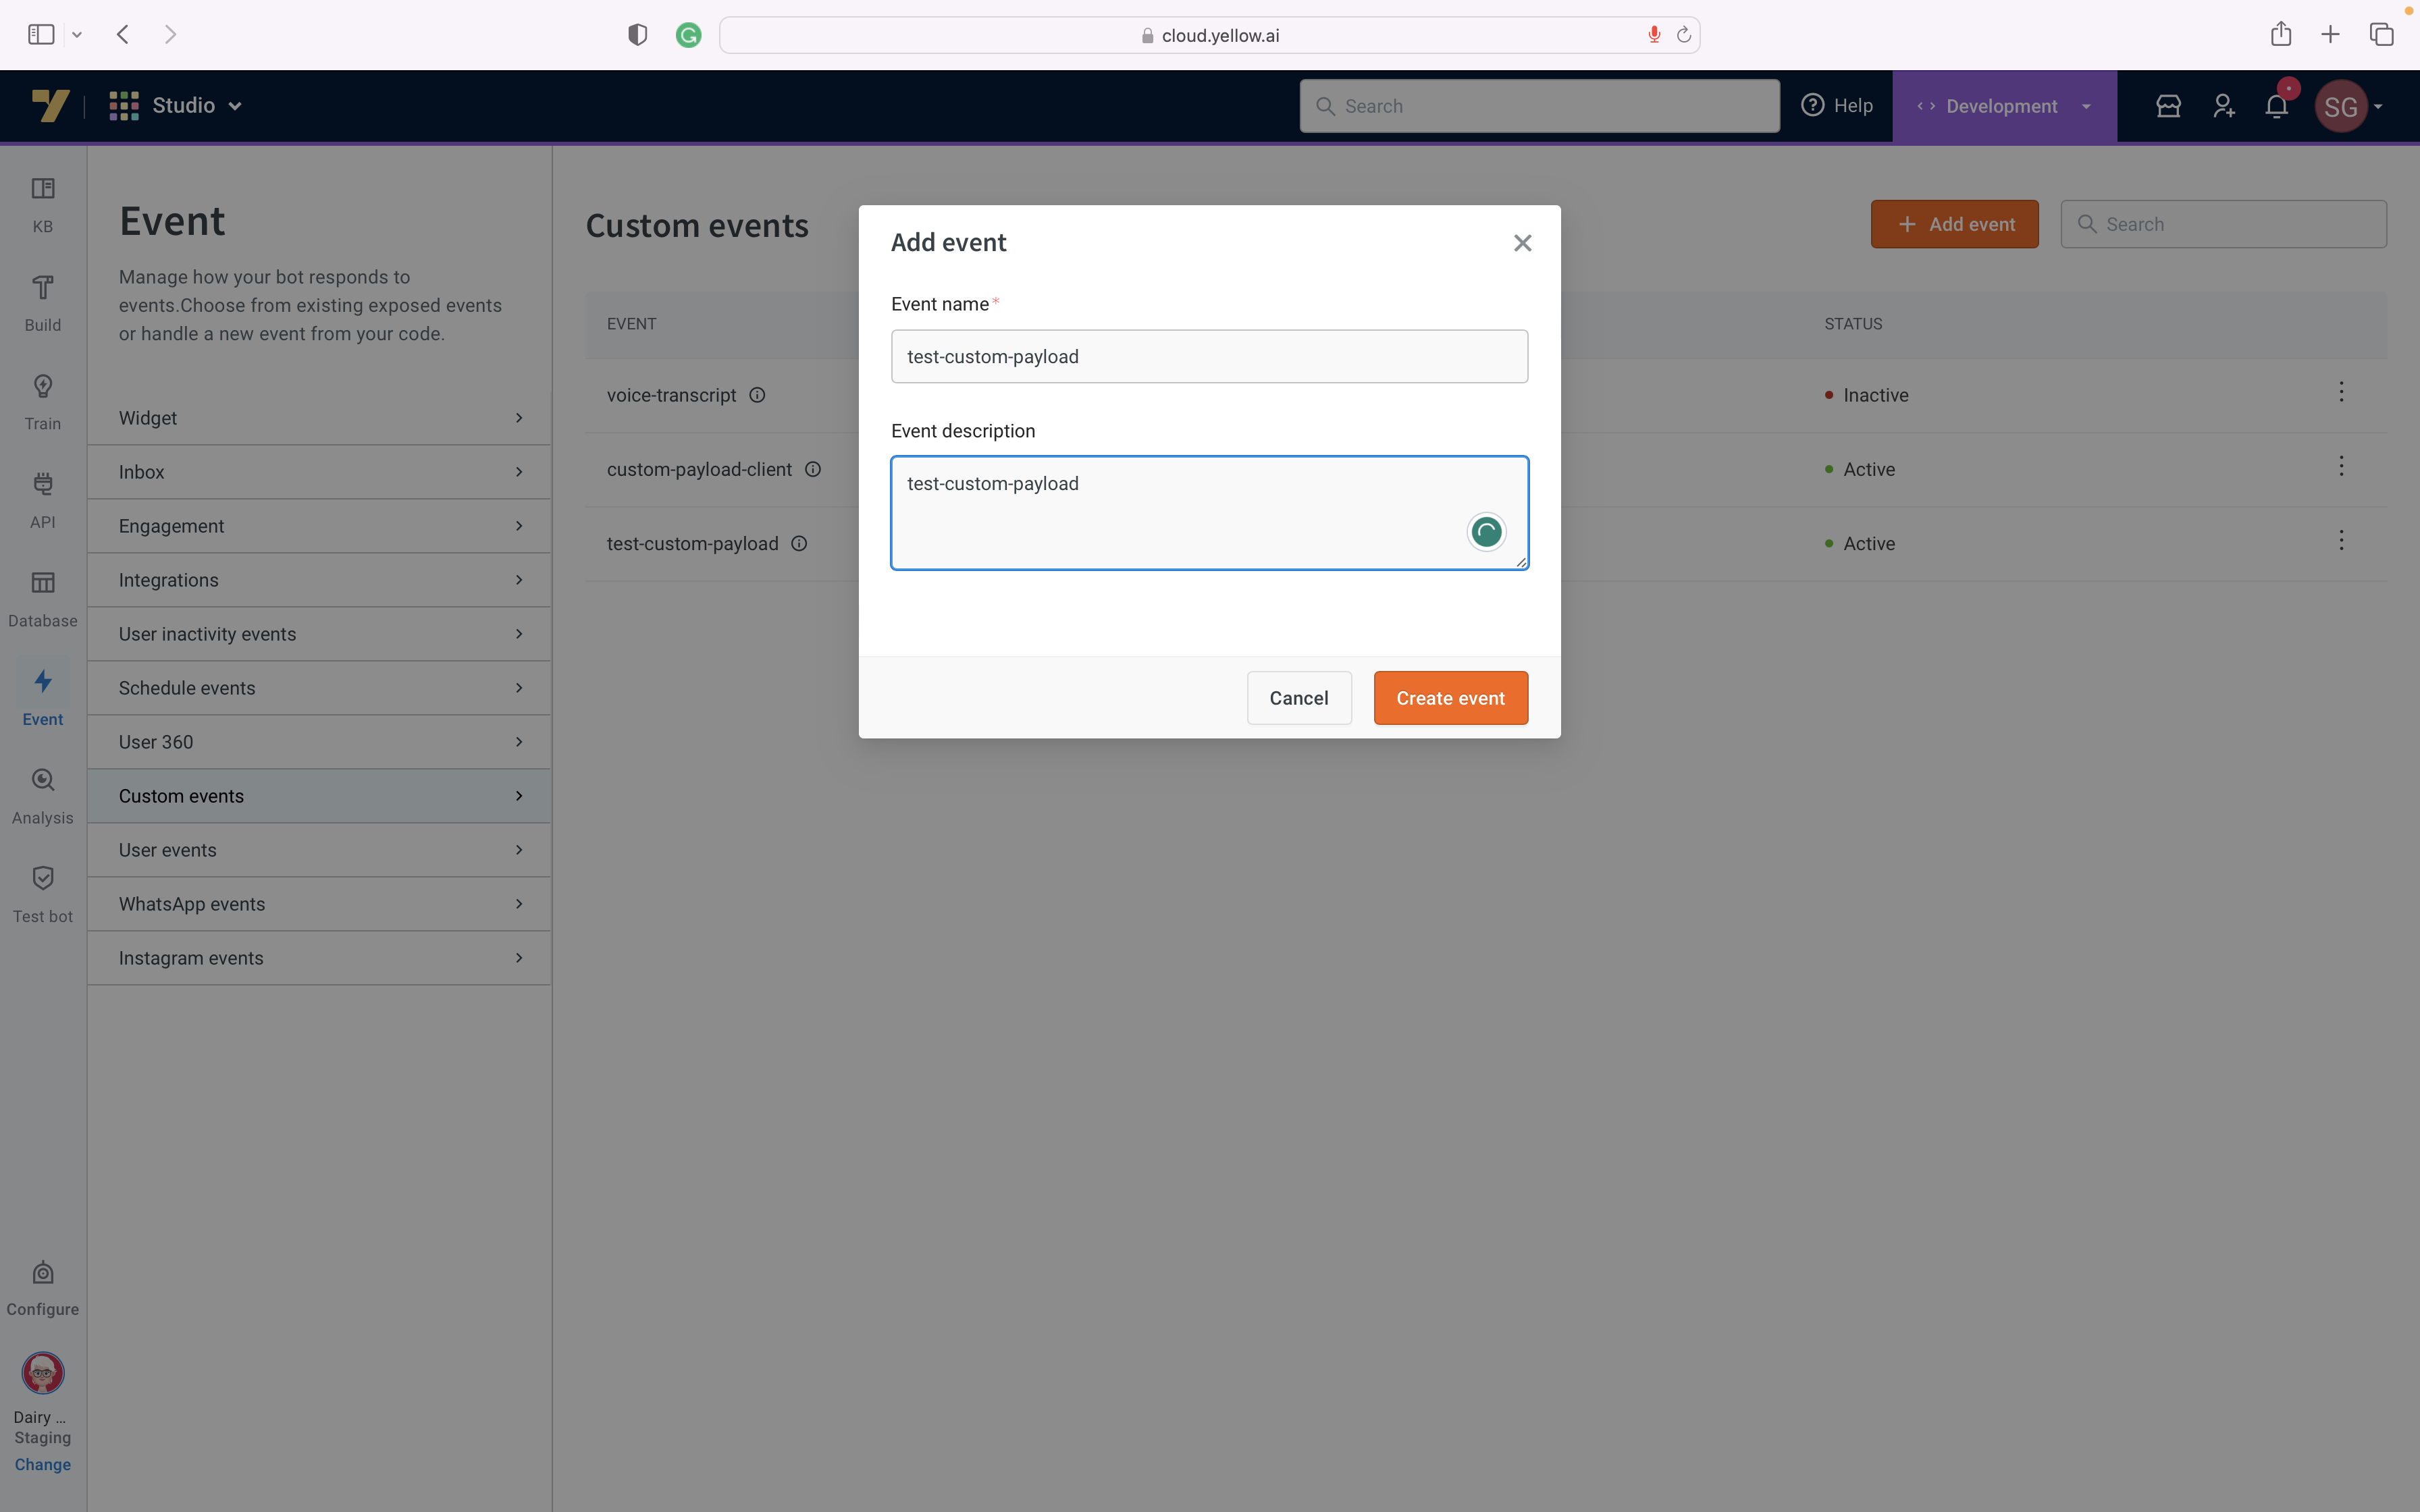
Accessing the Bot Portal:
- To begin, go to your bot portal on the Yellow website.
- Navigate to the "Automation" section and click on "Event."
Creating a Custom Event:
Within the "Event" section, create a custom event that you intend to use for updating your payload.
Ensure that the custom event is activated and ready for use.
Building a Flow:
Navigate to Automation > Build.
In the following video demonstration, you will notice an event named 'test-custom-payload.' This event will serve as the code to identify the event in the
sendEventToBotfunction, and the associated data will contain the refresh token.
Example:
code: 'test-custom-payload',
data: { "refreshToken": <TOKEN> }
After performing the steps mentioned in the prerequisites, you can proceed to use sendEventToBot function to add or update data after the bot has been successfully launched.
This functionality is essential for keeping your app's data synchronized with the bot's state, ensuring a seamless and up-to-date user experience.