iOS Chatbot SDK
Installation
CocoaPods
To integrate YMChatbot into your Xcode project using CocoaPods, specify it in your Podfile:
pod 'YMChat'
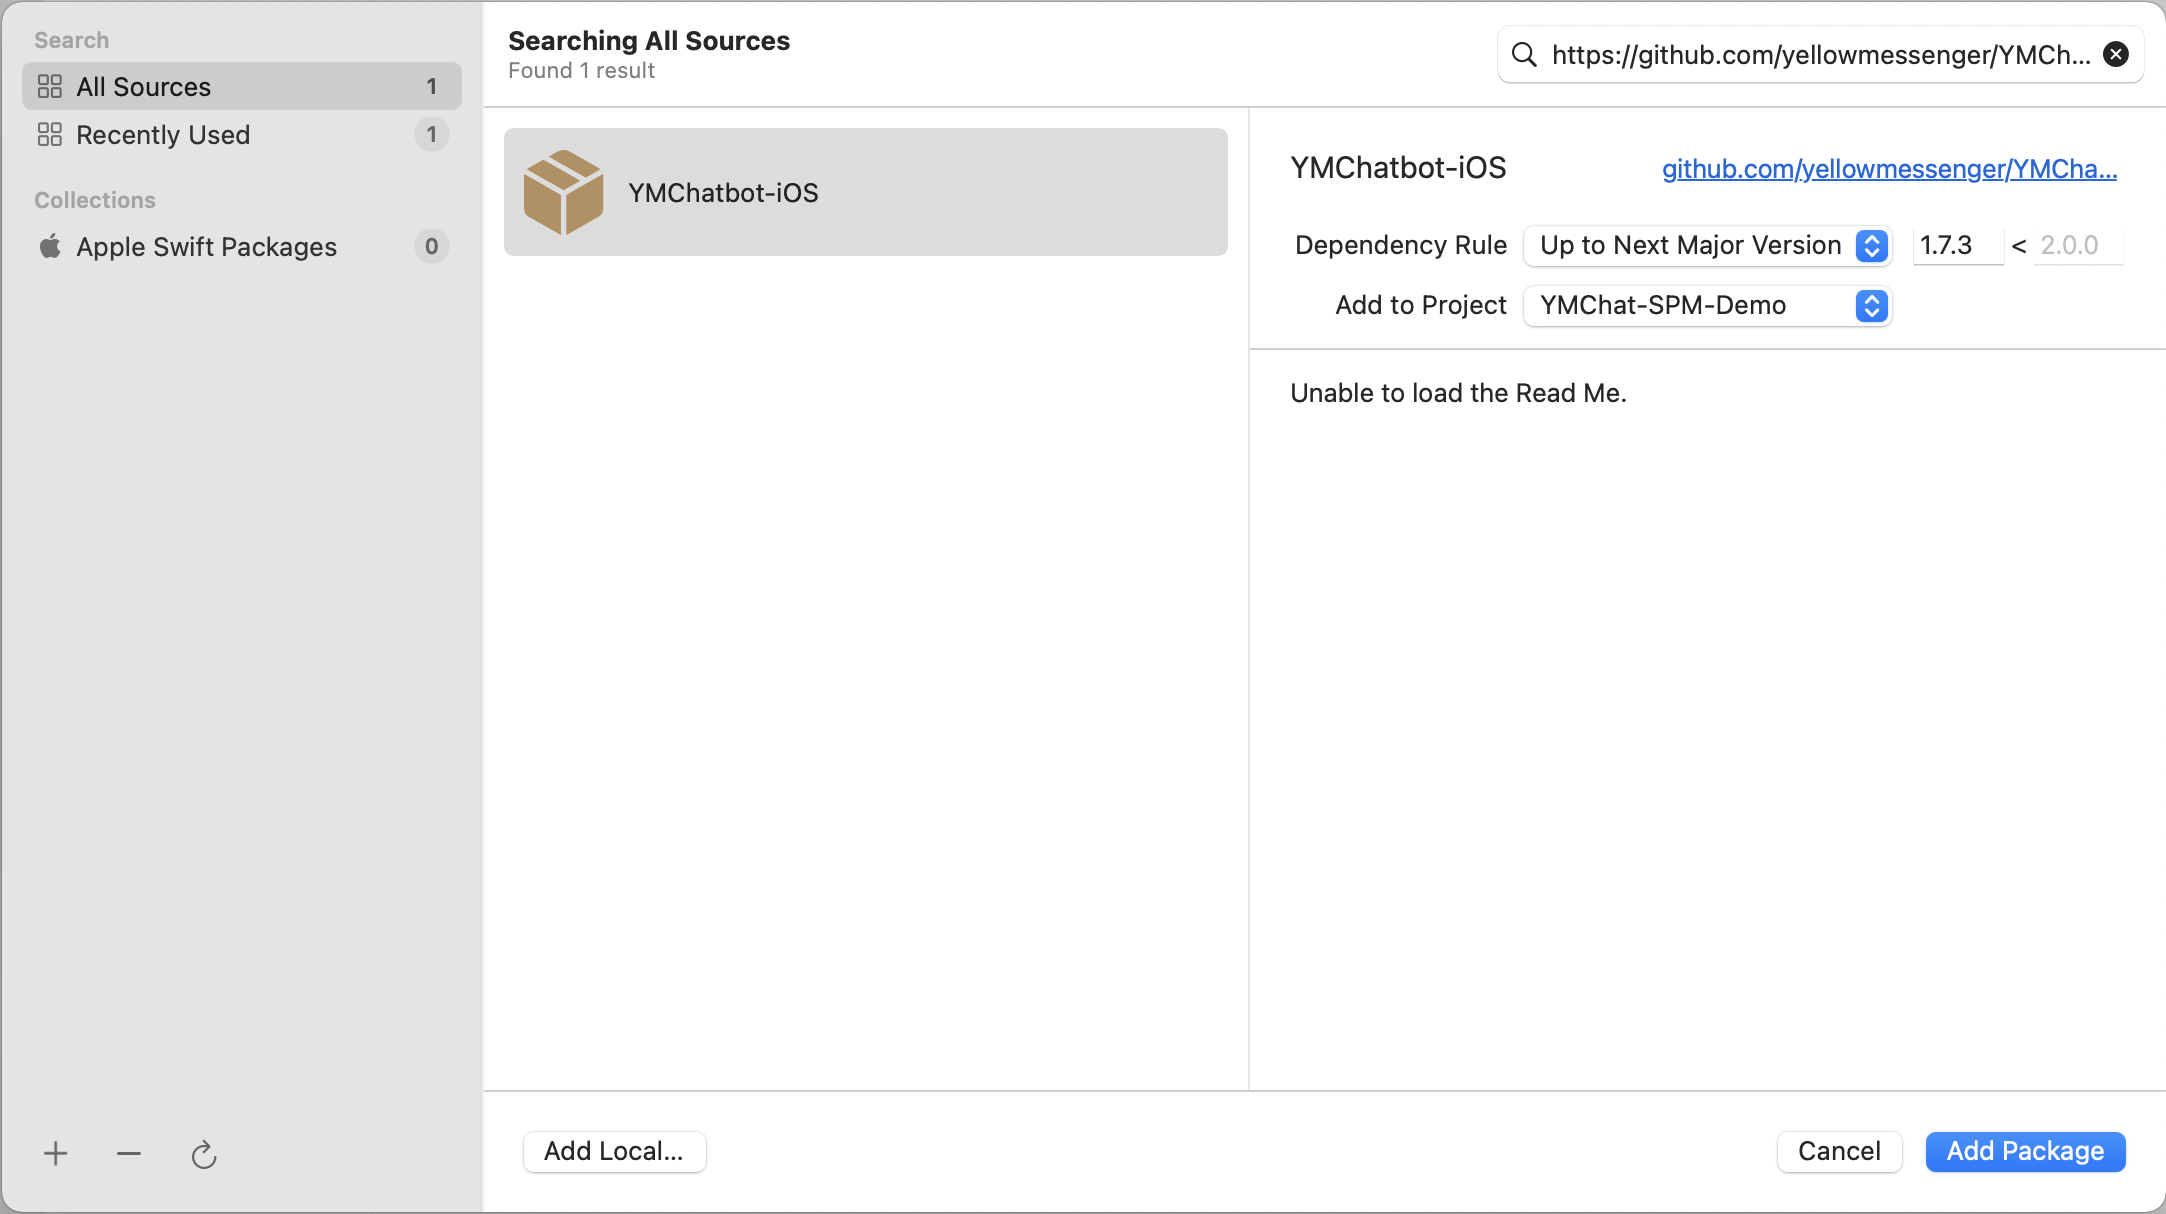
Swift Package Manager Install
To integrate YMChatbot into your Xcode project using SPM, specify it in your Package.swift:
dependencies: [
    .package(url: "https://github.com/yellowmessenger/YMChatbot-iOS.git", .upToNextMajor(from: "1.7.3"))
]
Add Package directly to your Swift Project
iOS 12 and above
Basic Usage
Import the YMChat framework in the Swift file
import YMChat
After the framework is imported the bot can be presented with few lines as below
do {
    let config = YMConfig(botId: "x1234567890")
    YMChat.shared.config = config
    try YMChat.shared.startChatbot(on: self)
} catch {
    print("Error occured while loading chatbot \(error)")
}
YMConfig
YMConfig can be used to set the bot id and other bot related settings. It is recommended to set all appropriate config before starting the bot
Initialize YMConfig
YMConfig requires botID to initialize. All other settings are optional.
let config = YMConfig(botId: "<bot-id>")
YM AuthenticationToken
ymAuthenticationToken is used to associate an identity of the user with the chat bot. This token is unique and remains constant for each individual user, and should be kept secure.
Whenever chatbot is launched with ymAuthenticationToken it will load the previous chats associated with this user since inception.
config.ymAuthenticationToken = "your-token"
Note: History will load only when Show history flag is enabled in the channel settings
Use Secure YM Auth
You can pass useSecureYmAuth to enable additional security to your chat history. This safeguards your chatbot from unauthorized access even if an unauthorized party tries to access the token.
To enable secure YmAuth, set useSecureYmAuth to true.
config.useSecureYmAuth = true
For more detailed information on how to set up secure YMAuthentication, click here.
Push Notifications
YMChat supports firebase notifications. Assign your FCM token to deviceToken
config.deviceToken = "your-firebase-device-token"
To set up push notifications, a Firebase service account JSON file is required. You need to map the service account JSON file against your bot ID. For detailed instructions on obtaining and using the Firebase service account JSON file, please refer to the link provided here.
Payload
Additional information can be passed in the form of key value pair from app to bot using payload.
config.payload = ["name": "ym.bot.name", "device-type": "mobile"]
Payload can be used to pass information from host app to bot. The payload dictionary should be JSON compatible else an error will be thrown
For passing data from bot to app refer bot Bot Events
Payload is securely passed in HTTPS post request to protect the information passed in it
Trigger journey
A specific journey can be triggered on launch, by passing the slug in the payload.
config.payload = ["JourneySlug" : "checkout-cart"]
On Premise / Region Specific deployments
Your on-prem deployment URL can be set to customBaseUrl
config.customBaseUrl = "https://yourcustomurl.com"
If the bot is deployed in a specific region(e.g. r1,r2,r3..rn) on yellow.ai cloud, set the customBaseUrl as follows
config.customBaseUrl = "https://rx.cloud.yellow.ai"
Here rx = r1,r2,r3,r4,r5 etc
Custom loader
You can customize the loading image while bot loads. Just pass the URL in the following way. It is recommended to use jpg, png, svg or gif
config.customLoaderUrl = "https://example.com/your/custom/image.gif"
V2 bot
You can enable V2 bot by setting the version in config. Default value is 1
config.version = 2
Speech to Text
Enable Speech to Text
Speech to text can be enabled by setting the enableSpeech flag. Default value is false
config.speechConfig.enableSpeech = true
The following config has deprecated in v1.20.0:
config.enableSpeech = true
Mic Icon Color
You can change the mic button icon color by setting fabIconColor in speechConfig of YMConfig:
config.speechConfig.fabIconColor = UIColor.white
Mic Background Color
You can change the background color of the mic button by setting fabBackgroundColor in speechConfig of YMConfig.
config.speechConfig.fabBackgroundColor = UIColor.blue
Set Mic Button Movable
You can set the mic button as movable or static by setting isButtonMovable in speechConfig of YMConfig. Default value is true
config.speechConfig.isButtonMovable = true
Hide Input Bar
You can hide the input bar while bot is loading by setting the disableActionsOnLoad flag present in config. Default value is false
config.disableActionsOnLoad = true
Use Lite version
You can use lite version of the bot by setting the useLiteVersion flag present in config. Default value is false
config.useLiteVersion = true
Colors
Status bar background
Status bar background color can be set using statusBarColor variable present in YMConfig
config.statusBarColor = UIColor.red
Status bar style
Status bar style can be set on statusBarStyle variable present in YMConfig.
Values can be either default, lightContent or darkContent. Default type is default
config.statusBarStyle = UIStatusBarStyle.darkContent
Close button
Close button color can be set on closeButtonColor
config.closeButtonColor = UIColor.blue
Theme setup
You can customize the appearance of your chatbot interface by applying a theme. Using the YMConfig's theme property, you can modify various aspects of your chatbot, including its name, description, primary and secondary colors, icon, and click icon.
You can set the theme using the theme property of the YMConfig object.
let theme = YMTheme() // YMTheme will holds the theme properties for your chatbot.

// update properties of theme variable

config.theme = theme // sets the theme to your bot config
Set bot name
Define your bot's name using theme.botName.
theme.botName = "Demo Bot Name"
Set bot description
Provide a description for your bot using theme.botDescription.
theme.botDescription = "Demo Bot Description"
Set bot primary color
Customize the primary color of your bot using theme.primaryColor.
theme.primaryColor = .black
Set bot secondary color
Define the secondary color of your bot using theme.secondaryColor.
theme.secondaryColor = .white
Set bot bubble background color
Customize the background color of your bot bubble or message using theme.botBubbleBackgroundColor.
theme.botBubbleBackgroundColor = .green
Set link color
Customize the link color in messages using theme.linkColor.
theme.linkColor = "#FF0000";
Set bot icon
Choose an icon to represent your bot using theme.botIcon.
theme.botIcon = "https://cdn.yellowmessenger.com/XJFcMhLpN6L91684914460598.png"
Set bot click icon
Define an icon for the minimized state of your bot using theme.botClickIcon.
theme.botClickIcon = "https://cdn.yellowmessenger.com/XJFcMhLpN6L91684914460598.png"
Start chatbot
Once the config is set, chat bot can be presented by calling startChatbot() method and passing your view controller as an argument
do {
    try YMChat.shared.startChatbot(on: self)
} catch {
    print("Error occured while loading chatbot \(error)")
}
Initialise View
initialiseView() creates an instance of UIViewController which can be used to show the chat view. This view controller can be presented over an existing view controller or can be pushed in navigation controller.
do {
   let chatViewController = try YMChat.shared.initialiseView()
   self.navigationController?.pushViewController(chatViewController, animated: true)
} catch {
    print("Error occured while loading chatbot \(error)")
}
Bot Events
Bot events are used to pass information from bot to app. For passing events from app to bot refer Payload
Events from bot can be handled using delegate pattern.
YMChat.shared.delegate = self
Once the delegate is assigned define the eventResponse(_:) function. The handler class should conform to YMChatDelegate
func onEventFromBot(_ response: YMBotEventResponse) {
    print("Event received \(response)")
    if response.code == "code-from-bot" {
        print("Even from a bot has been received", response.data)
    }
}
Bot close event
Bot close event is separetly sent and it can be handled in following way. The handler class should conform to YMChatDelegate
func onBotClose() {
    print("Bot closed")
}
Disabling external link navigation
To prevent url opening in the external browser, set shouldOpenLinkExternally to false in config and listen to url-clicked event in onEventFromBot listner to get the url of the link clicked.
config.shouldOpenLinkExternally = false
Close bot
Bot can be programatically closed using closeBot() function
YMChat.shared.closeBot()
Reload bot
To reload the bot with the same configuration, use the reloadBot() function. This will reload the bot without closing and reopening it.
YMChat.shared.reloadBot()
Register Device
If you want to receiving push notifications without or before launching the bot, you can register your device.
To use this api apiKey, botId, deviceToken and ymAuthenticationToken are mandatory parameters.
    let config = YMConfig(botId: "your bot id")
    config.deviceToken = "your FCM Token"
    config.ymAuthenticationToken = "your ymAuthentication token"

    // Set custom base url in case your bot does not belong to india region and yellow cloud
    // Example- If your bot is in `r5` region custom base url would be `https://r5.cloud.yellow.ai`
    // config.customBaseUrl = "`https://r5.cloud.yellow.ai`"

    YMChat.shared.registerDevice(apiKey: apiKey, ymConfig: config) {
        print("Success")
    } failure: { error in
        print(error)
    }
Unlink Device Token
If you want to stop receiving push notifications you can unlink the device.
To use this api apiKey, botId and deviceToken are mandatory parameters.
Device token typically is unlinked when the user logs out of the app.
    let config = YMConfig(botId: "your bot id")
    // Set the FCM token as device token, this is required so that it can be removed and customer stop receiving the notification
    config.deviceToken = "your FCM Token"
    // Set custom base url in case your bot does not belong to india region and yellow cloud
    // Example- If your bot is in `r5` or EURO region custom base url would be `https://r5.cloud.yellow.ai`
    // config.customBaseUrl = "`https://r5.cloud.yellow.ai`";

    YMChat.shared.unlinkDeviceToken(apiKey: apiKey, ymConfig: config) {
        print("Token removed successfully")
    } failure: { errorString in
        print("ERROR: \(errorString)")
    }
API key can be generated/found by visiting https://cloud.yellow.ai -> Overview -> Configure -> API Key section
Unread Message Count
If you want to show an indicator in your app if there is any unread messages, you can achieve that by calling the given api when bot is in closed state.
Pre condition to use this api is that customer must have opened the bot at least once with ymAuthenticationToken otherwise you will receive an error message.
To use this api botId and ymAuthenticationToken are mandatory parameters.
    let config = YMConfig(botId: "your bot id")
    // `ymAuthenticationToken` is required to identify the right
    config.ymAuthenticationToken = "your ymAuthentication token"
    // Set custom base url in case your bot does not belong to india region and yellow cloud
    // Example- If your bot is in `r5` region custom base url would be `https://r5.cloud.yellow.ai`
    // config.customBaseUrl = "`https://r5.cloud.yellow.ai`";

    YMChat.shared.getUnreadMessagesCount(ymConfig: config) { count in
        print("Unread message count:" + count)
    } failure: { error in
        print(error)
    }
Revalidate Token
When your authentication token expires, you can use revalidate token to generate a new token.
Once your secure YMAuth is enabled, whenever your authentication token expires, the server will automatically initiate a request to get a fresh token from Yellow.
When you are using the ym-revalidate-token event, your application must include both the apiToken and refreshSession as mandatory parameters. This ensures a seamless and secure revalidation process.
YMChat.shared.revalidateToken(token: "new token", refreshSession: refreshSession)
For more detailed information on how to set up secure YMAuthentication, click here.
Send Event To Bot
If you intend to transmit data back to the bot after it has been successfully launched and is in a running state, you can make use of this API.
To use this api event is a mandatory parameter.
let event = YMEventModel(code: "code", data: ["token": "token"])
YMChat.shared.sendEventToBot(event: event)
For more detailed information on how to send event to bot workflow, click here.
Permissions
We are requesting for following permissions
<key>NSMicrophoneUsageDescription</key>
<string>Your microphone will be used to record your speech when you use the Voice feature.</string>
<key>NSSpeechRecognitionUsageDescription</key>
<string>Speech recognition will be used to determine which words you speak into this device's microphone.</string>
Apple's Speech Framework is added in the SDK to support the Speech to Text feature, and it will only be used when it has been declared in your config.
Logging
Logging can be enabled to understand the code flow and to fix bugs.
YMChat.shared.enableLogging = true
Demo App
A demo has been created to better understand the integration of SDK in iOS app https://github.com/yellowmessenger/YMChatbot-iOS-DemoApp
For more info feel free to email us at [email protected]