Best practices to create an Email bot
Follow the below best practices to build an email bot:
- Log in to cloud.yellow.ai and create a bot.
- Configure email channel:
- Navigate to Channels > Email and click on Add account.
- Provide necessary details.
- Click Save.
Refer to this guide, to understand email channel configuration.
Once the channel is configured, reach out to the platform team to enable email automation on the bot. As this feature is gated, it requires activation from the backend. Provide the bot ID and email address configured to do this.
-
After configuring an email channel, you'll have the option to create a pre-processing flow. This serves as an initialization journey where you can define custom logic to process email information. This allows you to determine whether the ticket should be handled by the bot or escalated to an agent based on your specified criteria.
-
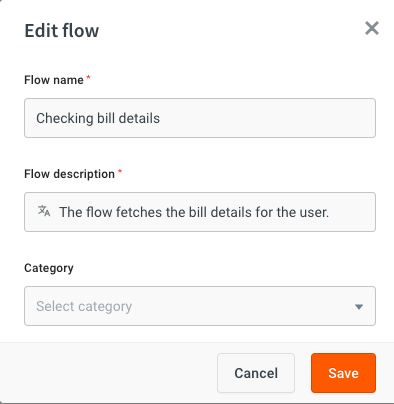
Creating flows in Email Bot:
- It is important to provide detailed flow description. This information is critical for intent identification within the LLM layer.
- There is no necessity to include utterances and intents in the training section.
- If there are any entities within the flow,they should be trained in the entity section.
- Only text nodes, action nodes, conditional nodes and integration nodes are supported. Other nodes are not compatible with email bot’s functionality.
- If similar flows need to be configured for different channels, ensure to use Channel filter node, to customize the behavior based on each channel’s requirement.

You can also configure KB (upload documents or add a website URL) and test the email bot.
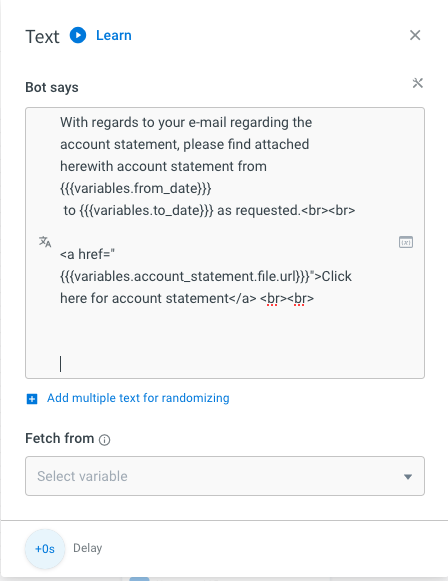
- Response configuration: When configuring a response in a text node, it is not required to create a template message in HTML format. A default response template is already configured for the bot. Therefore, only the text response needs to be provided. When formatting responses for multiple entities, it should be done using this function.
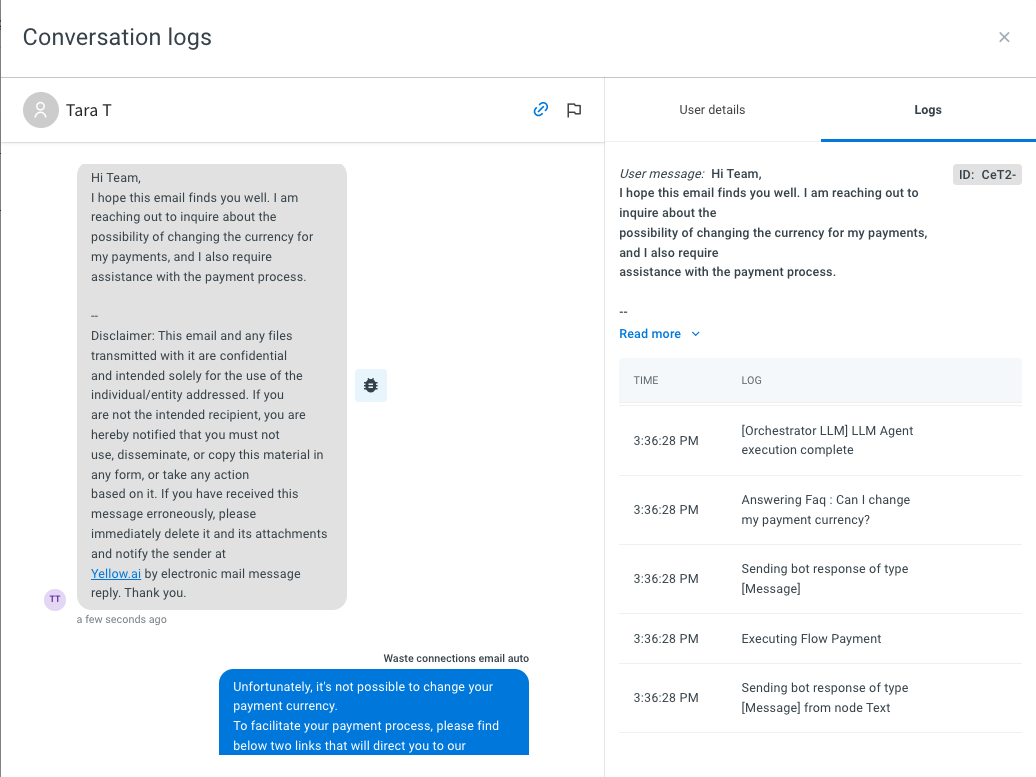
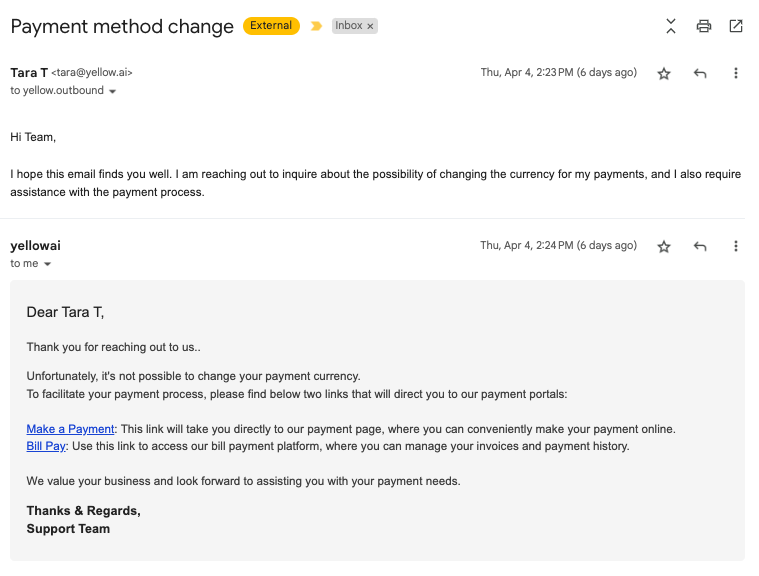
- Test the output: Once the email is configured and the flows are created, the bot automatically generates responses to any emails received on the configured email ID. Send a test email configured and check the automated response generated.
- Debug your flow: Analyze the conversation by looking at it on Analyze > Conversation logs.
- Review the responses generated during the conversation.
- For further debugging, click on Logs and locate the debug icon.
- Click on the debug icon to view detailed step-by-step logs, including responses at each step.